Hey there, fellow plant lovers!
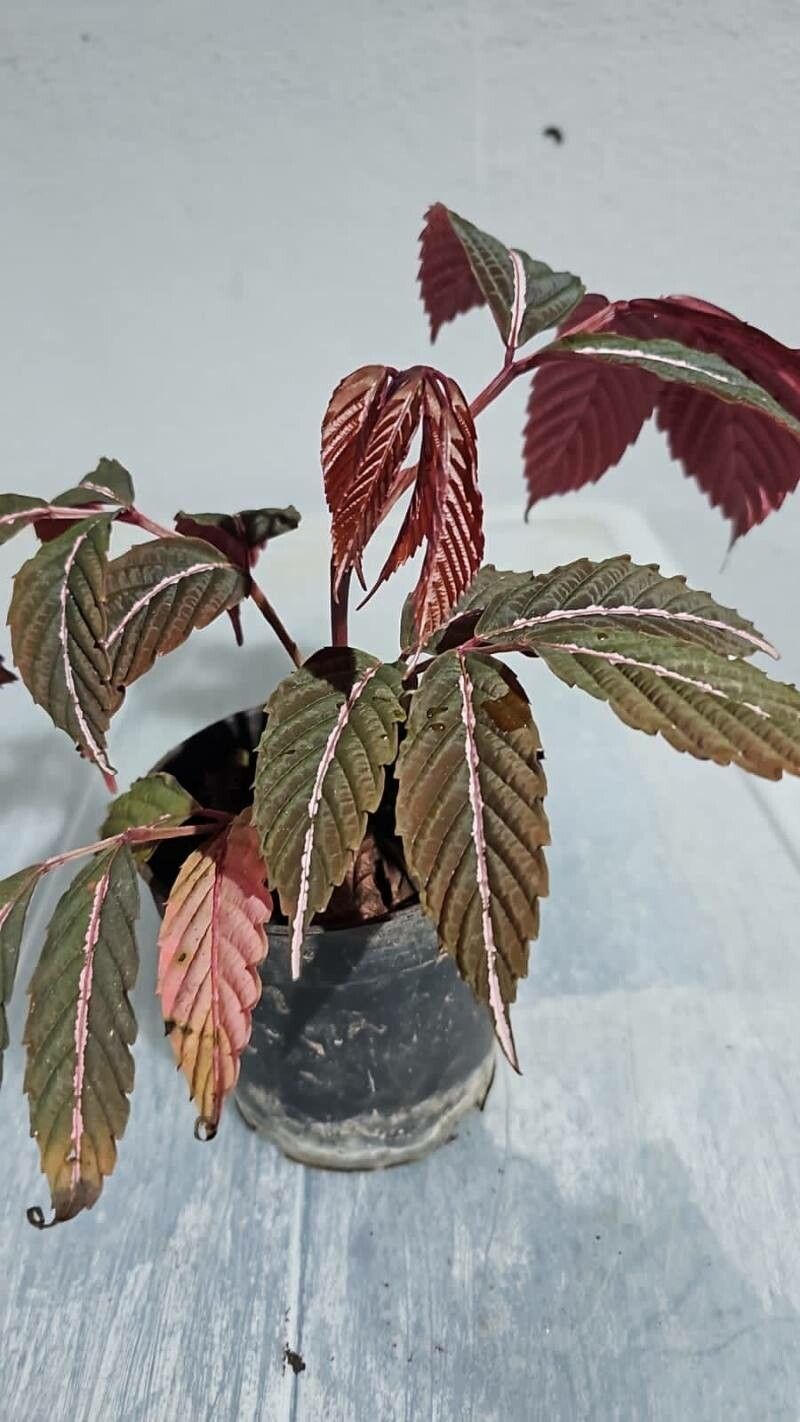
If you’ve ever admired the lush, deep-green foliage and elegant upright habit of a Leea amabilis, you’ve likely fallen for its charm. This beauty, sometimes called the “West Indian Holly,” brings a touch of the tropics to any indoor space. And the best part? You can easily have more! Propagating Leea amabilis is surprisingly rewarding, and while it might seem a little daunting at first, I promise you, it’s a very achievable goal.
The Best Time to Start
For the highest chance of success, I always recommend propagating Leea amabilis during its active growing season. Think late spring through summer. This is when the plant has the most energy to put into developing roots. You’ll be taking cuttings from healthy, vigorous new growth.
Supplies You’ll Need
Before we get our hands dirty, let’s gather our supplies:
- Sharp pruning shears or a clean knife: For making precise cuts.
- Well-draining potting mix: A good blend of peat moss, perlite, and a bit of compost works wonders. You can also use a commercial “seed starting” or “cuttings” mix.
- Rooting hormone (optional but recommended): This gives your cuttings a helpful nudge. I like powdered forms, but gels work too.
- Small pots or containers: Clean, with drainage holes, of course!
- Plastic bags or a propagator: To create a humid environment.
- Water: For watering your cuttings.
- Spray bottle: For misting.
Propagation Methods
Let’s dive into how to make more of these gorgeous plants!
Stem Cuttings: This is my go-to method for Leea amabilis.
- Select your cutting: Look for a healthy stem that’s about 4-6 inches long. You want a piece of growth that’s firm but not woody. It should ideally have at least two to three leaf nodes.
- Make the cut: Using your sharp shears or knife, make a clean cut just below a leaf node. The leaf node is where new roots will want to form.
- Prepare the cutting: Gently remove the leaves from the bottom half of the cutting. If the leaves are very large, you can even cut the remaining leaves in half to reduce water loss.
- Apply rooting hormone: Dip the cut end of the stem into your rooting hormone, tapping off any excess.
- Plant the cutting: Make a small hole in your potting mix with a pencil or your finger. Insert the cut end of the stem, making sure the nodes where you removed the leaves are buried. Gently firm the soil around the cutting.
- Water and cover: Water the soil lightly until it’s evenly moist. Then, place the pot inside a plastic bag or propagator, creating a mini-greenhouse. Make sure the leaves aren’t touching the plastic if possible.
Water Propagation: This method is a bit more hands-off initially.
- Take your cutting: Same as above, select a 4-6 inch stem cutting with at least two leaf nodes.
- Prepare the cutting: Remove the lower leaves, leaving just a couple at the top.
- Place in water: Put the cutting in a clean jar or glass of room temperature water, making sure the leaf nodes where you removed leaves are submerged.
- Find a good spot: Place the jar in a bright location, but out of direct sunlight.
- Change the water: Change the water every few days to keep it fresh and prevent rot.
The “Secret Sauce” (Pro Tips)
Over the years, I’ve learned a few tricks that really up the success rate for these guys:
- Bottom heat is your friend: If you’re using stem cuttings, popping them on a gentle heated propagator mat can make a world of difference. It encourages root development from below.
- Don’t let those leaves touch the water (in water propagation): This is crucial! If the submerged leaves sit in water, they’ll start to rot, and that’s a quick way to lose your cutting. Trim them off if you have to.
- Patience is key with humidity: That plastic bag or propagator lid is your secret weapon for maintaining humidity, which is vital for preventing cuttings from drying out. Don’t rush to remove it until you see good root development.
Aftercare & Troubleshooting
Once your cuttings have rooted – you’ll see new growth or feel resistance when you gently tug on the cutting – it’s time for a little more attention.
- Transitioning from water: If you propagated in water, gently plant your rooted cutting in the prepared potting mix. Water thoroughly.
- Getting used to drier air: Slowly acclimate your new plant to room humidity by gradually opening the plastic bag or propagator over a few days.
- Watering: Water when the top inch of soil feels dry. Don’t let it get waterlogged.
- Light: Continue to keep them in bright, indirect light.
- Troubleshooting rot: The most common culprit for failure is rot. If your cutting turns black and mushy, it’s likely rotted. This is often due to overwatering, poor drainage, or not changing the water often enough. If you see signs of rot early, you might be able to salvage part of the cutting by making a fresh cut above the rotted area and starting again.
Propagating plants is a journey, and Leea amabilis is a wonderful companion on that journey. Don’t be discouraged if your first few attempts aren’t picture-perfect. Keep nurturing them, observe what works best in your environment, and before you know it, you’ll have a whole jungle of these lovely plants. Happy propagating!
Resource:
https://identify.plantnet.org/k-world-flora/species/Leea%20amabilis%20H.J.Veitch/data