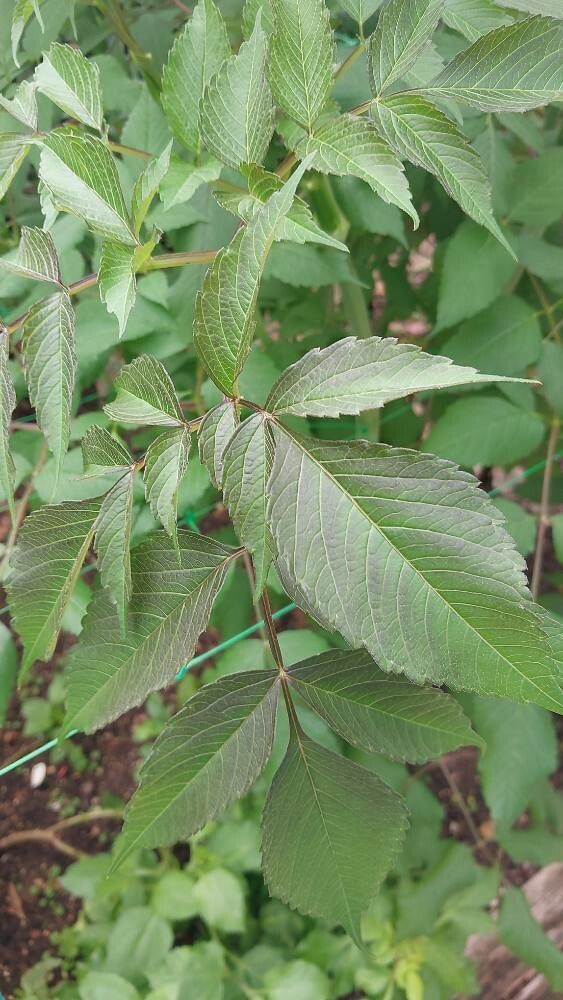
Oh, dahlias! Those late summer beauties that just explode with color and endless variety. You know, the ones that make your garden sing during those golden months. And while buying a new dahlia tuber is always exciting, there’s a special kind of joy you get from creating your own. Propagating Dahlia sorensenii, or any dahlia for that matter, is a wonderfully rewarding experience, a chance to multiply those garden stars without breaking the bank. For beginners? I’d say it’s moderately easy, especially with a bit of patience and these tips.
The Best Time to Start
Timing is everything, my friend. For most dahlia propagation, late winter to early spring is your golden window. Think February, March, maybe even early April, depending on where you live. You want to do this just as the tubers are starting to wake up from their dormancy, before they’ve put on a ton of new growth. This is when they’re full of stored energy, ready to sprout and put on a show.
Supplies You’ll Need
Gathering your tools beforehand makes the whole process smoother. Here’s what I usually have on hand:
- Sharp Pruning Shears or a Clean Knife: For making those crucial cuts. Sterilize them with rubbing alcohol to prevent disease.
- Rooting Hormone: Not strictly mandatory, but it can give your cuttings a significant boost. I prefer a powder or gel.
- Potting Mix: A well-draining, sterile potting mix is key. Some people like to add perlite or vermiculite for extra aeration. I often use a mix of equal parts peat moss, perlite, and compost.
- Small Pots or Trays: Clean, with drainage holes!
- Plastic Bags or a Propagation Dome: To create a humid environment for your cuttings.
- Watering Can or Spray Bottle: For gentle watering.
- Labels and a Marker: To keep track of what’s what!
Propagation Methods
There are a couple of favorite ways to get more Dahlia sorensenii from your existing plants.
Stem Cuttings
This is probably the most popular method for dahlias.
- Find Your Material: Gently dig up your dahlia tubers. You can do this in late winter or early spring. Once they’re out, look for the “eyes” or dormant buds on the crown of the tuber. These are where new shoots will emerge.
- Divide the Tubers (Optional but Recommended): If your tuber is large, you can divide it so each section has at least one eye and a piece of tuber. Use your clean knife to make the cuts. Let these cuts air dry for a day or two in a cool, dry place to callus over. This helps prevent rot.
- Force New Growth (for Cuttings): To get those perfect softwood cuttings, we’ll coax some new shoots. Plant your divided tubers (or whole smaller ones) in pots with your potting mix, burying them just shallowly. Keep them barely moist and in a warm spot. Within a few weeks, you should see new shoots starting to appear.
- Take the Cuttings: When these new shoots are about 3-4 inches long, it’s time to take cuttings. Carefully cut just below a leaf node (where the leaf attaches to the stem) using your sterilized shears. You want to select stems that are green and pliable, not woody.
- Prepare the Cuttings: Remove the lower leaves, leaving just a few at the top. If the leaves are large, you can even cut them in half to reduce water loss.
- Dip in Rooting Hormone: Briefly dip the cut end of each cutting into your rooting hormone. Tap off any excess.
- Pot Them Up: Fill your small pots with your prepared potting mix. Make a small hole in the center with your finger or a pencil. Insert the cutting into the hole, ensuring the leaf nodes are covered by the soil. Gently firm the soil around the base.
- Create Humidity: Water gently and then cover the pot with a plastic bag or place it under a propagation dome. Make sure the plastic doesn’t touch the leaves. Place the pots in a warm spot with bright, indirect light.
Division
This is the simplest method and works well if a robust tuber clump has developed.
- Dig and Clean: Carefully dig up your dahlia tubers in late winter or early spring. Gently brush off as much of the soil as possible.
- Identify Healthy Sections: Look for the “eyes” or dormant buds on the crown of the tuber. Each piece you divide must have at least one eye to grow.
- Make the Cuts: Using a sharp, sterile knife, divide the tuber clump. Aim for pieces that are roughly the size of your fist, ensuring each has an eye.
- Air Dry: Let the cut surfaces air dry for a day or two in a cool, dry spot to callus.
- Plant: You can then plant these divided sections directly into the garden (after the last frost) or into pots to get them started indoors.
The “Secret Sauce” (Pro Tips)
Here are a couple of things I’ve learned over the years that make a difference:
- Don’t Let the Leaves Touch the Water (for stem cuttings in water): If you opt for water propagation (which I find a bit trickier with dahlias due to rot risk), ensure NO leaves are submerged. Lower leaves are magnets for rot. Only the very bottom of the stem should be in the water.
- Bottom Heat is Your Friend (for stem cuttings): While not essential, consistent bottom heat from a seedling heat mat can significantly speed up rooting. It mimics that lovely warm soil that encourages roots to form. Just keep it gentle!
- Patience with “Eyes”: When you’re dividing tubers, don’t be disheartened if you don’t see a huge, prominent eye. Sometimes they’re tiny little bumps. Just ensure you’re taking a section that has a piece of the crown where those buds originate.
Aftercare & Troubleshooting
Once your cuttings have roots (you’ll often see them peeking out the drainage holes or notice new growth, after about 3-6 weeks), it’s time to treat them like young plants.
- Acclimatize: Gradually remove the plastic cover over a few days to let them get used to the drier air.
- Watering: Water them when the top inch of soil feels dry. Don’t let them sit in soggy soil, that’s a recipe for disaster.
- Light: Continue to provide them with bright, indirect light. As they get bigger, you can start introducing them to more direct sunlight, but do it gradually.
- Transplanting: Once they are well-rooted and have developed a few sets of true leaves, you can transplant them into larger pots or into your garden beds after the danger of frost has passed.
The most common problem you’ll face is rot. If a cutting turns black and mushy, it’s usually a sign of too much moisture or lack of air circulation. If this happens, try to salvage any healthy parts if possible, but often it’s best to discard it and start again with fresh material and a better-draining mix. You might also see cuttings shrivel. This can be due to too much heat and not enough moisture, or simply losing too much water through the leaves. Keep an eye on them!
A Little Encouragement
Propagating dahlias is a journey, and like any good garden endeavor, it teaches you patience. Don’t expect every cutting to take. Celebrate the ones that do! Enjoy the process of nurturing these little bits of potential life. Before you know it, you’ll have a whole new gang of Dahlia sorensenii ready to fill your garden with their magnificent blooms. Happy propagating!
Resource: