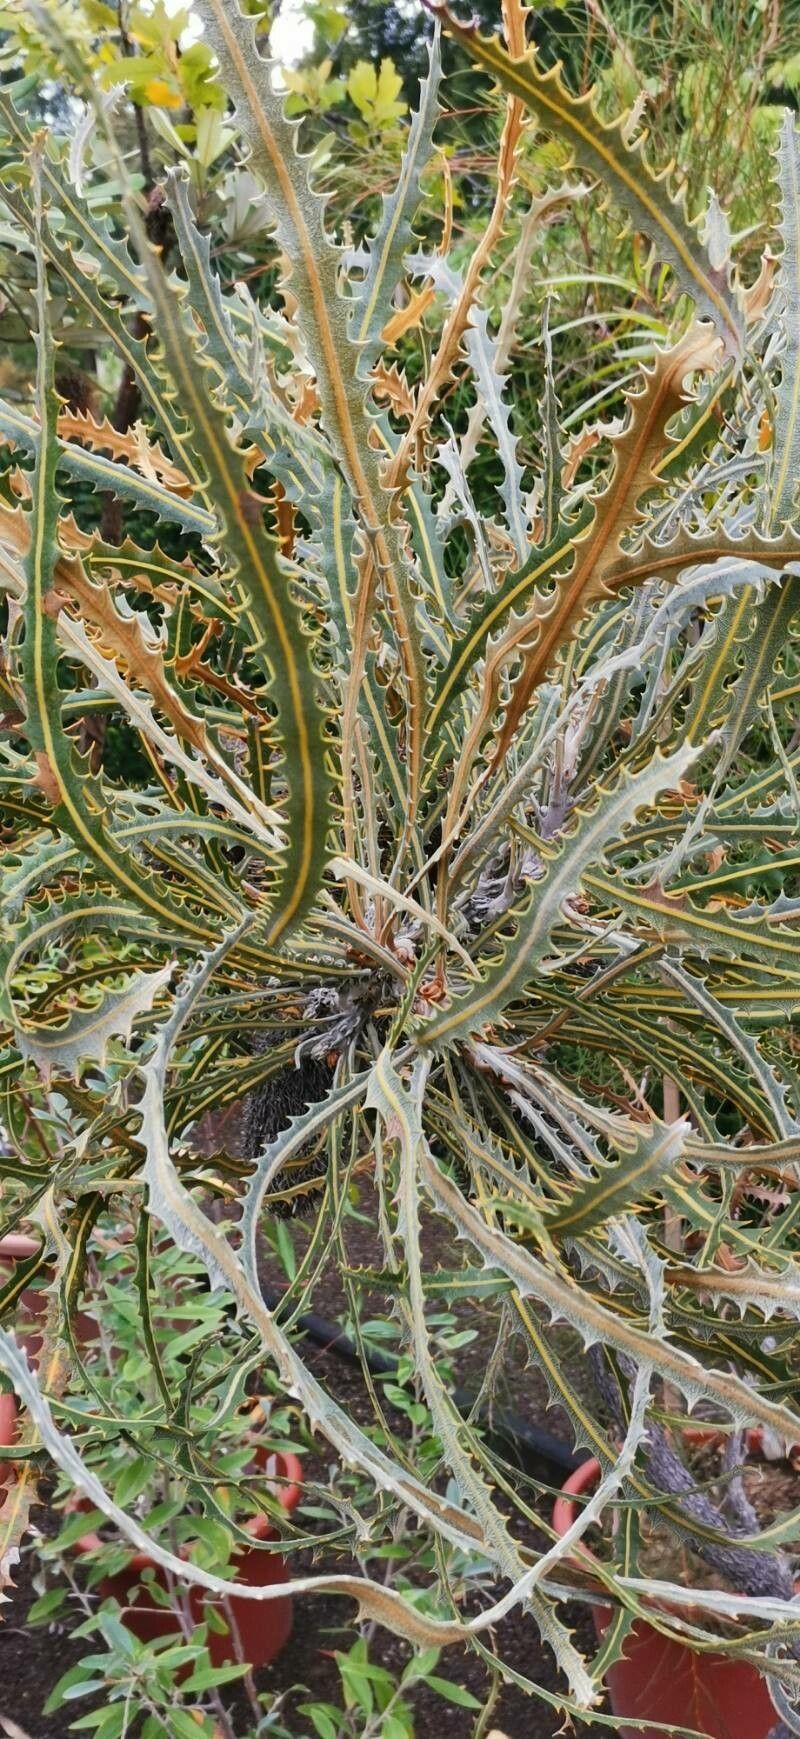
Hello, fellow garden enthusiasts! Today, I want to chat about a truly magnificent plant that has captured my heart over the years: Banksia elderiana, often called the “Pincushion Banksia” or “Prostrate Banksia” depending on the form. Its stunning, fuzzy flower heads are an absolute magnet for native birds and pollinators, bringing so much life and colour to the garden. And here’s the best part: propagating this beauty isn’t as daunting as you might think, though it does have its own little quirks. It’s a wonderfully rewarding journey to coax a new life from an existing plant.
The Best Time to Start
For Banksia elderiana, the sweet spot for propagation is typically late spring or early summer. This is when the plant is actively growing and has plenty of energy to put into developing new roots. You’ll want to take cuttings from current season’s growth – these are the softer, non-woody stems. If you try too early in the season, the stems might not be mature enough. Too late, and they might not have enough time to establish before the cooler weather sets in.
Supplies You’ll Need
Before we get our hands dirty, let’s gather our tools:
- Sterilised pruning shears or secateurs: Clean tools are crucial to prevent disease.
- Rooting hormone powder or gel: This really gives your cuttings a head start.
- A well-draining potting mix: I like a mix of coarse sand, perlite, and a good quality potting soil. Banksias hate wet feet!
- Small pots or seedling trays: Make sure they have drainage holes.
- A clear plastic bag or propagator lid: To create a humid environment.
- Sharp knife or scalpel: For preparing cuttings.
- Labels and a pen: To identify your cuttings.
- Watering can or spray bottle: For gentle watering.
Propagation Methods
The most reliable method for Banksia elderiana is through stem cuttings. It’s how I’ve had the most success.
- Take your cuttings: On a mild morning, select a healthy, 5-10 cm long stem from current season’s growth. Make a clean cut just below a leaf node (where leaves attach to the stem). Remove the lower leaves, leaving just a few at the top. If the leaves are very large, you can even cut them in half to reduce water loss.
- Prepare the cutting: Gently dip the cut end into water first, then into your chosen rooting hormone. Tap off any excess.
- Plant your cuttings: Fill your small pots with your well-draining mix. Make a hole in the centre with a pencil or your finger. Gently insert the cutting, ensuring the base is firm in the soil. Firm the soil around the base.
- Water gently: Water the soil thoroughly but gently. You want it moist, not waterlogged.
- Create humidity: Place the potted cutting into a clear plastic bag, or cover the pot with a propagator lid. Ensure the leaves do not touch the sides of the plastic, as this can encourage rot. Seal it up!
- Provide warmth and light: Place your cuttings in a bright spot that receives indirect sunlight. Avoid direct sun which can scorch them. For an extra boost, bottom heat from a heat mat can significantly speed up root formation.
The “Secret Sauce” (Pro Tips)
Here are a couple of things I’ve learned that make a real difference with Banksias:
- Use charcoal: I like to add a small layer of horticultural charcoal at the bottom of my pots before adding the soil mix. It helps keep the soil sweet and can deter fungal issues, which are a Banksia’s worst enemy.
- Don’t disturb them too soon: Patience is a virtue here! Resist the urge to tug on your cuttings to see if they have roots. Wait at least 4-6 weeks. You’ll usually see new leaf growth as a sign of successful rooting.
- Consider a gentle mist: While the plastic bag provides humidity, a very light misting inside the bag every so often (especially in very dry conditions) can keep the leaves from wilting too much.
Aftercare & Troubleshooting
Once you see signs of rooting – usually new growth at the tip – it’s time to gradually acclimatise your new plant to open air. Start by opening the plastic bag for a few hours each day, increasing the time over a week. Water sparingly, only when the top layer of soil feels dry to the touch.
The most common problem you’ll encounter is rot. If your cutting turns black and mushy, or you see mould developing, it’s likely too much moisture and not enough air. Sadly, these cuttings are usually lost. Don’t be discouraged; try again with a fresh cutting, ensuring your soil is even more free-draining and you’re not overwatering.
A Encouraging Closing
Propagating Banksia elderiana is a process that rewards careful attention and a good dose of patience. Don’t be disheartened if your first few attempts aren’t successful. Every garden, and every cutting, is a learning experience. Enjoy the process of nurturing these new plants, and soon you’ll have your very own little bottlebrush beauties to share or plant out! Happy gardening!
Resource:
https://identify.plantnet.org/k-world-flora/species/Banksia%20elderiana%20F.Muell.%20&%20Tate/data