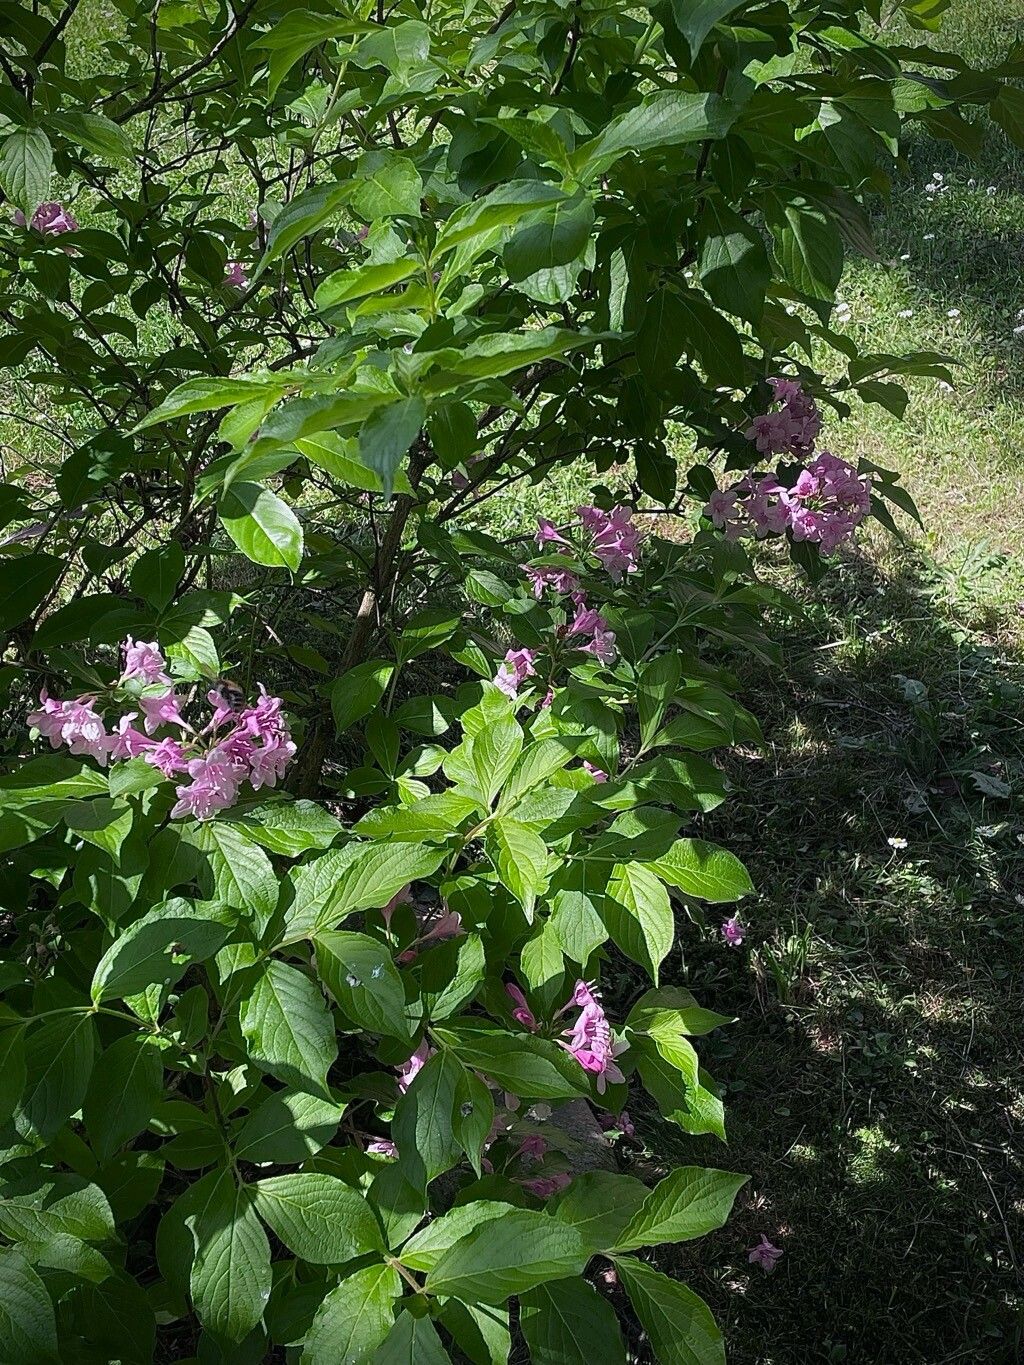
Hello fellow garden enthusiasts! If you’re anything like me, you’ve probably admired those gorgeous, trumpet-shaped blooms cascading from Weigela florida shrubs. They bring such cheerful color to the garden, don’t they? Well, I’ve got some exciting news for you: propagating Weigela is absolutely doable, and it’s a wonderfully rewarding way to share these beauties or simply grow your own collection. Don’t worry if you’re new to this; Weigela is quite forgiving, making it a fantastic plant for beginners to try their hand at.
The Best Time to Start
For the absolute best success rates with Weigela, I always reach for my pruning shears in mid-summer. This is when the plant has finished its main flush of flowers and is producing what we call “semi-hardwood” cuttings. These cuttings have a good balance of flexibility and firmness, offering a great chance of rooting. Think late June through July, as the new growth starts to firm up but hasn’t gone fully woody.
Supplies You’ll Need
Gathering your supplies beforehand makes the process so much smoother. Here’s what I typically have on hand:
- Pruning shears or sharp knife: Clean and sharp is key to making clean cuts.
- Potting mix: A well-draining, sterile potting mix is crucial. I often use a blend of equal parts peat moss or coco coir and perlite or vermiculite.
- Small pots or propagation trays: Ensure they have drainage holes.
- Rooting hormone (optional but recommended): This gives your cuttings a helpful boost. Look for a powder or gel.
- Plastic bags or a propagator lid: To maintain humidity.
- Spray bottle: For misting.
- Labels: To remember what you’ve planted and when!
Propagation Methods
Let’s get our hands dirty! I find stem cuttings to be the most reliable method for Weigela.
From Stem Cuttings (My Favorite Method):
- Select Your Cuttings: On a healthy Weigela bush, look for stems that are growing this year and have started to firm up. You want pieces that bend but don’t snap easily.
- Take the Cuttings: Using your clean, sharp pruners, cut sections of stem about 6 to 8 inches long. Make your cut just below a leaf node (where a leaf attaches to the stem).
- Prepare the Cuttings: Gently remove the leaves from the bottom half of the cutting. If the leaves are large, I’ll even cut the remaining ones in half to reduce water loss.
- Apply Rooting Hormone (Optional): Dip the cut end of the Wiegela cutting into the rooting hormone, tapping off any excess.
- Plant the Cuttings: Fill your pots or trays with your well-draining potting mix. Make a hole with a pencil or your finger and insert the cutting, pushing the soil gently around it to ensure good contact. Keep at least two leaf nodes buried below the soil line.
- Water Gently: Water the soil thoroughly so it’s moist but not waterlogged.
- Create a Humid Environment: Cover the pots with a plastic bag, creating a mini-greenhouse effect. You can use stakes to keep the plastic from touching the leaves. Alternatively, place them in a propagator with a lid.
- Provide Light and Warmth: Place your cuttings in a bright spot with indirect light. Avoid direct sun, which can scorch them.
The “Secret Sauce” (Pro Tips)
Here are a few little tricks I’ve learned over the years that really make a difference:
- Don’t Let Those Leaves Drip: If you’re using a plastic bag, make sure none of the leaves are touching the inside of the bag. Those water droplets can lead to fungal issues and rot.
- Bottom Heat is Your Friend: If you have a propagation mat or can place your pots on top of a warm (not hot!) appliance, the gentle warmth from below can significantly speed up root development. It mimics the warmth of the soil in summer.
- Air Circulation is Key: While you want humidity, completely sealing them too long can also encourage rot. Every few days, lift the plastic or open the propagator lid for about 15-30 minutes to let air circulate. This helps prevent fungal growth.
Aftercare & Troubleshooting
Once your Weigela cuttings have taken root (this can take anywhere from 4 to 8 weeks, sometimes longer!), you’ll start to see new leaf growth. This is the best sign!
Continue to keep the soil consistently moist but not soggy. As the new plants grow stronger, you can gradually acclimate them to lower humidity by slowly opening the plastic bag or propagator lid over a week or two. You can then move them into individual pots if they aren’t already.
The most common problem you might encounter is rot. If a cutting looks black and mushy at the base, or the leaves are wilting and brown despite being moist, it’s likely rotted. This usually happens when the soil is too wet, there’s poor drainage, or not enough air circulation. If you see one piece rotting, remove it immediately to prevent it from spreading to others.
A Encouraging Closing
Be patient with your new Weigela babies! Propagation is a journey, and sometimes nature works at its own pace. Don’t be discouraged if not every single cutting takes. That’s part of the learning process, and the thrill of seeing those first tiny roots emerge is an unparalleled joy. Happy propagating, and enjoy those beautiful blooms for years to come!
Resource:
https://identify.plantnet.org/k-world-flora/species/Weigela%20florida%20(Bunge)%20A.DC./data