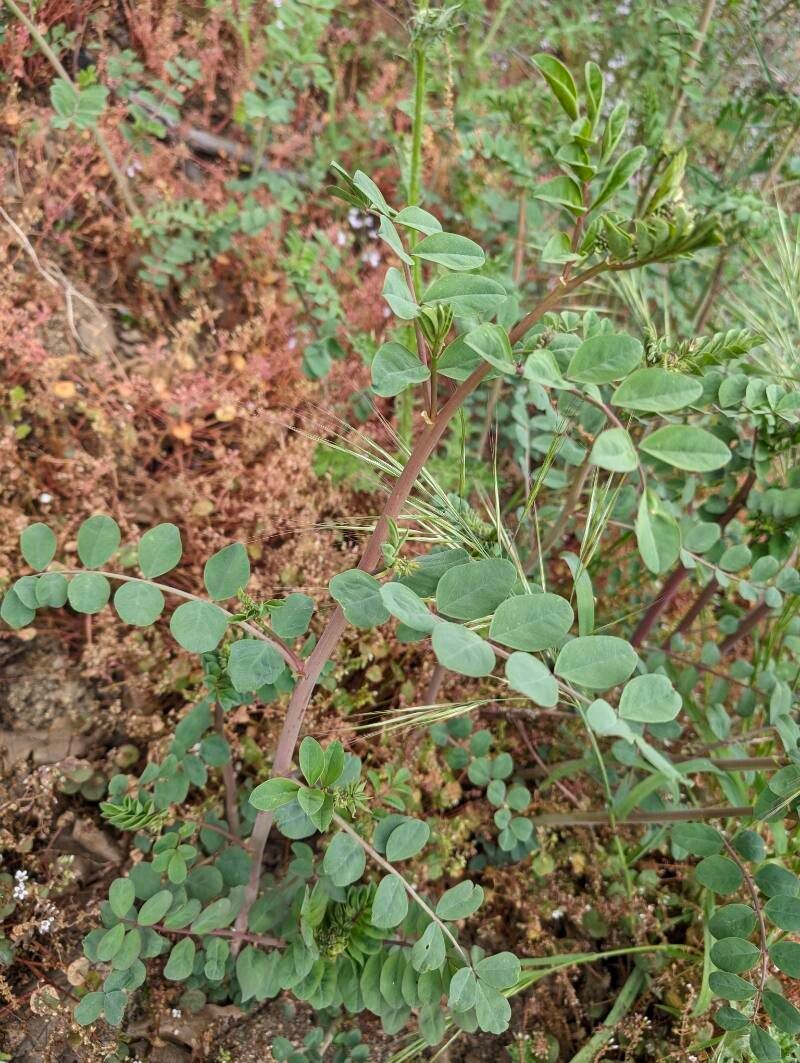
Oh, hello there! Pull up a chair and let’s chat about a little gem of a plant, Hosackia crassifolia. If you’re looking for a plant that brings a bit of sunshine and charm to your garden, you’ve come to the right place. Its lovely foliage and often cheerful flowers are a joy, and the thought of making more of them yourself? That’s where the real magic happens.
Why Propagate Hosackia crassifolia?
Think of it as creating little bits of your existing happiness to share or to fill those bare spots in your garden. There’s a deep satisfaction in nurturing a new life from a tiny piece of your beloved plant. And the good news? While it might seem daunting, Hosackia crassifolia is generally quite accommodating, making it a fantastic choice for those just dipping their toes into the world of plant propagation. You’ve got this!
The Best Time to Start
My favorite time to try propagating Hosackia crassifolia is when the plant is actively growing, usually in late spring or early summer. This is when it has abundant energy to put into developing new roots. You’re looking for stems that are vigorous and healthy, not old and woody, or brand new and floppy.
Supplies You’ll Need
Gathering your tools before you begin makes the whole process so much smoother. Here’s what I usually have on hand:
- Sharp, clean pruning shears or a sharp knife: Essential for taking clean cuts.
- Small pots or seed trays: For starting your new plants.
- A good quality potting mix: A blend of peat, perlite, and a bit of compost works wonders. I sometimes add a touch of sand for drainage.
- Rooting hormone (optional but recommended): A little dab can really boost your success rates.
- Plastic bags or a propagator: To create a humid environment.
- Watering can or spray bottle: For gentle watering.
- Labels and a marker: So you remember what you planted and when!
Propagation Methods: Let’s Get Planting!
There are a couple of reliable ways to bring more Hosackia crassifolia into your life.
1. Stem Cuttings: My Go-To Method
This is usually the most successful and straightforward way for this lovely plant.
- Take Your Cuttings: Find healthy, non-flowering stems. Using your sharp shears or knife, take cuttings that are about 4-6 inches long. Make the cut just below a leaf node (the point where a leaf attaches to the stem).
- Prepare the Cuttings: Gently strip off the lower leaves, leaving just two or three at the tip. If your cuttings are particularly long, you can even cut the remaining leaves in half. This reduces water loss.
- Dip in Rooting Hormone (Optional): If you’re using rooting hormone, dip the cut end into the powder or gel. Tap off any excess.
- Pot Them Up: Fill your small pots with your prepared potting mix. Make a hole in the center with a pencil or your finger, then insert the cutting. Firm the soil gently around it.
- Create Humidity: Water the soil gently. Then, cover the pot with a plastic bag or place it in a propagator. Make sure the leaves don’t touch the sides of the bag if possible.
2. Division: For Established Plants
If you have a mature, well-established Hosackia crassifolia, you might be able to divide it. This is best done in early spring before vigorous new growth begins.
- Dig Up the Plant: Carefully dig up the entire plant, trying to disturb the roots as little as possible.
- Separate the Roots: Gently tease apart the root ball. You’re looking for sections that have their own roots and shoots. You can often just use your hands, but if it’s a bit stubborn, a clean trowel or knife can help you make a clean cut.
- Replant: Pot up the divided sections into their own containers with fresh potting mix, or replant them directly into your garden. Water them in well.
The “Secret Sauce” (Pro Tips)
Here are a few little tricks that I’ve found make a big difference:
- Bottom Heat is Your Friend: If you can, placing your pots on a heat mat can really encourage root development. It mimics the natural warmth of the soil in spring and summer.
- Don’t Drown Them: While humidity is good, soggy soil is the enemy. Make sure your pots have drainage holes and that the soil mix is airy. Let the top layer of soil dry out slightly between waterings.
- Fresh Air Now and Then: Even with the plastic bag, it’s a good idea to open up the bag or propagator for a few minutes each day to allow for airflow and to prevent fungal issues. This is especially important once you see signs of root growth.
Aftercare & Troubleshooting
Once your cuttings have settled in, keep them in a bright spot but out of direct, harsh sunlight. Water them when the top inch of soil feels dry. Be patient; it can take anywhere from a few weeks to a couple of months for roots to form. You’ll know they’re making progress when you see new leafy growth.
The most common problem you might encounter is rot. If a cutting turns mushy and black, it’s usually a sign of too much moisture or a lack of air circulation. Don’t despair! Just remove the affected cutting and check your watering and airflow. Sometimes, a cutting just isn’t going to make it, and that’s part of the process. Learn from it and try again.
Keep Growing!
See? Not so scary, is it? Propagating Hosackia crassifolia is a wonderfully rewarding experience. So grab your shears, find a healthy plant, and give it a try. Be patient with yourself and your new plant babies. There’s so much joy to be found in watching them grow. Happy gardening!
Resource:
https://identify.plantnet.org/k-world-flora/species/Hosackia%20crassifolia%20Benth./data