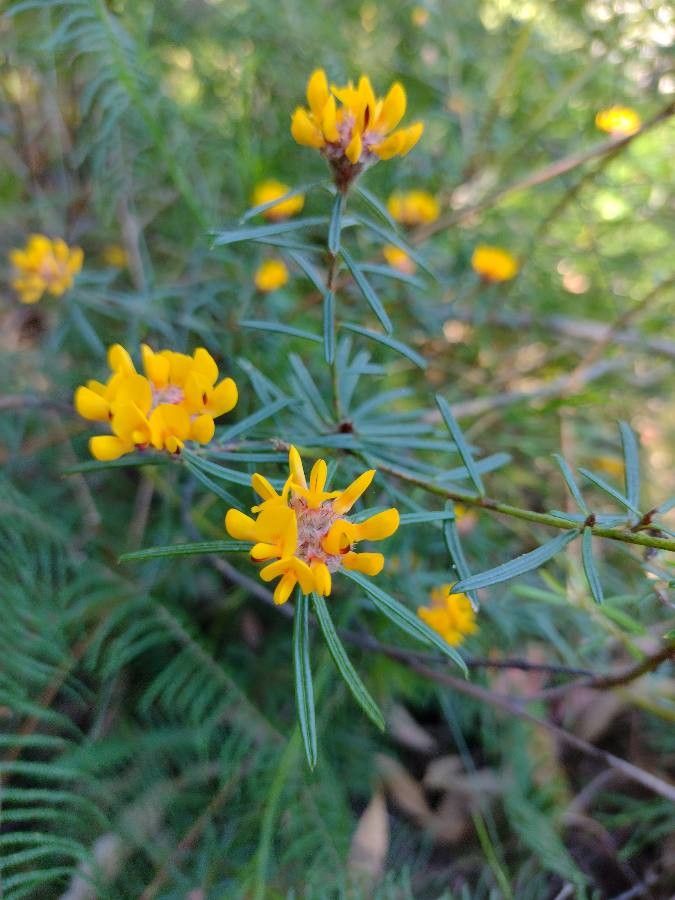
Well hello there, fellow plant lover! I’ve got something truly special I want to share with you today: how to bring more of that delightful Pultenaea rosmarinifolia into your garden. You know, the one with the pretty yellow pea-like flowers and those lovely, narrow, rosemary-like leaves. It’s just such a charmer, isn’t it? And there’s something uniquely satisfying about growing a whole new plant from a tiny snippet of an old favorite. Don’t let the name scare you – this beauty is quite willing to share itself with you, and I find it’s a wonderfully rewarding plant to propagate, even for those just dipping their toes into the world of plant multiplication.
The Best Time to Start
For Pultenaea rosmarinifolia, I’ve found the sweet spot for taking cuttings is really late spring to early summer. Think May or June here in the Northern Hemisphere. The plant is actively growing then, full of vigor, and the new shoots are just firm enough to handle the process. Trying to take cuttings when the plant is stressed, like during a heatwave or deep winter, is just setting yourself up for disappointment. We want happy, healthy plant material to work with!
Supplies You’ll Need
Gathering your supplies beforehand makes the whole process so much smoother. Here’s what you’ll want on hand:
- Sharp pruning shears or secateurs: Essential for clean cuts that heal well.
- Rooting hormone: This isn’t strictly mandatory for every plant, but for something like Pultenaea, it can give you a significant edge. Look for one with IBA (indole-3-butyric acid).
- A well-draining potting mix: A good mix for cuttings usually involves equal parts perlite and peat moss or coco coir. You can also buy specialized seed-starting or cutting mixes.
- Small pots or seed trays: Clean pots are a must to avoid introducing diseases.
- A clear plastic bag or propagation dome: This creates a humid microclimate, which is key for keeping those cuttings happy.
- A gentle misting bottle: For keeping moisture levels consistent.
- Labels: Trust me, you’ll thank yourself later!
Propagation Methods
While you could try division, I’ve had the most consistent success with stem cuttings for Pultenaea rosmarinifolia. It’s a reliable way to get multiple new plants.
Stem Cuttings:
- Select your parent plant: Look for a healthy, well-established Pultenaea. You want to take cuttings from semi-hardwood. This means the stem is starting to firm up but isn’t woody and old. It should snap cleanly when bent, not just bend limply.
- Take your cuttings: Using your sharp secateurs, cut healthy shoots that are about 3-4 inches long. Make your cut just below a leaf node (that’s where a leaf grows from the stem). Remove a few of the lower leaves.
- Prepare the cuttings: If you’re using rooting hormone, dip the cut end of each cutting into the powder, tapping off any excess.
- Potting up: Fill your clean pots with your prepared potting mix and moisten it thoroughly. Make a small hole in the center of the mix with your finger or a pencil. This prevents you from knocking off the rooting hormone.
- Insert the cuttings: Gently push the prepared cutting into the hole, ensuring the leaf nodes that will be below the soil line are in contact with the mix. Firm the mix gently around the stem.
- Create humidity: Water the pot gently. Then, cover the pot with a clear plastic bag or pop it into a propagation dome. Make sure the leaves aren’t touching the inside of the bag, as this can encourage rot. You can use stakes to prop up the bag if needed.
- Placement: Place the pots in a bright spot but out of direct sunlight. The warmth from a windowsill is usually enough, but if your home is cooler, you might consider using a heat mat to provide bottom warmth. This really speeds things up.
The “Secret Sauce” (Pro Tips)
Now, for a couple of little tricks I’ve learned over the years that can really make a difference:
First, and this is a big one for most cuttings but especially for something like this legume: don’t let the leaves touch the water in your misting bottle or if condensation drips. This sounds simple, but trapped moisture on foliage is a fast track to fungal diseases and rot. A good airflow around the cuttings, even within their humid dome, is crucial.
Second, and this is more about the timing: make sure your cuttings are from current year’s growth. You want those energetic, pliable shoots. Old, woody stems just don’t have the same drive to root. Think of it like trying to get a sleepy teenager out of bed versus an excited one ready for an adventure!
Aftercare & Troubleshooting
Once your cuttings are potted, the goal is to maintain consistent moisture and high humidity for them. Mist them gently if the soil looks dry, but don’t let them sit in soggy conditions. You can also peek under the bag every few days to check for any signs of rot or mold – if you see it, remove the affected cutting immediately and improve ventilation.
You’ll know your cuttings are starting to root when you see new leaf growth. It’s a beautiful sign of success! This can take anywhere from 4-8 weeks, sometimes longer. Once you see good signs of rooting and new growth, you can gradually acclimate your new plants to normal room humidity by opening the bag or dome for longer periods each day. Then, you can carefully transplant them into slightly larger pots with a regular potting mix.
If you see your cuttings wilting, turning black, or becoming mushy, that’s usually a sign of rot. This is often due to overwatering, poor drainage, or a lack of airflow. Don’t despair if a few don’t make it; it’s part of the learning process, and you can always try again!
A Encouraging Closing
So there you have it – my go-to method for propagating Pultenaea rosmarinifolia. Be patient with your little green babies. They’ll tell you when they’re ready. Enjoy the process of coaxing new life from your favorite plants. It’s a truly magical thing to witness, and soon you’ll have even more of these lovely blooms to brighten your days. Happy propagating!
Resource:
https://identify.plantnet.org/k-world-flora/species/Pultenaea%20rosmarinifolia%20Lindl./data