Oh, hello there! Come on in, pull up a chair. I’ve got a fresh pot of coffee brewing, and I thought we could chat about one of my favorite subjects: spreading the green love! Today, we’re going to dive into propagating Pancheria ferruginea.
Welcome to the Wonderful World of Pancheria ferruginea
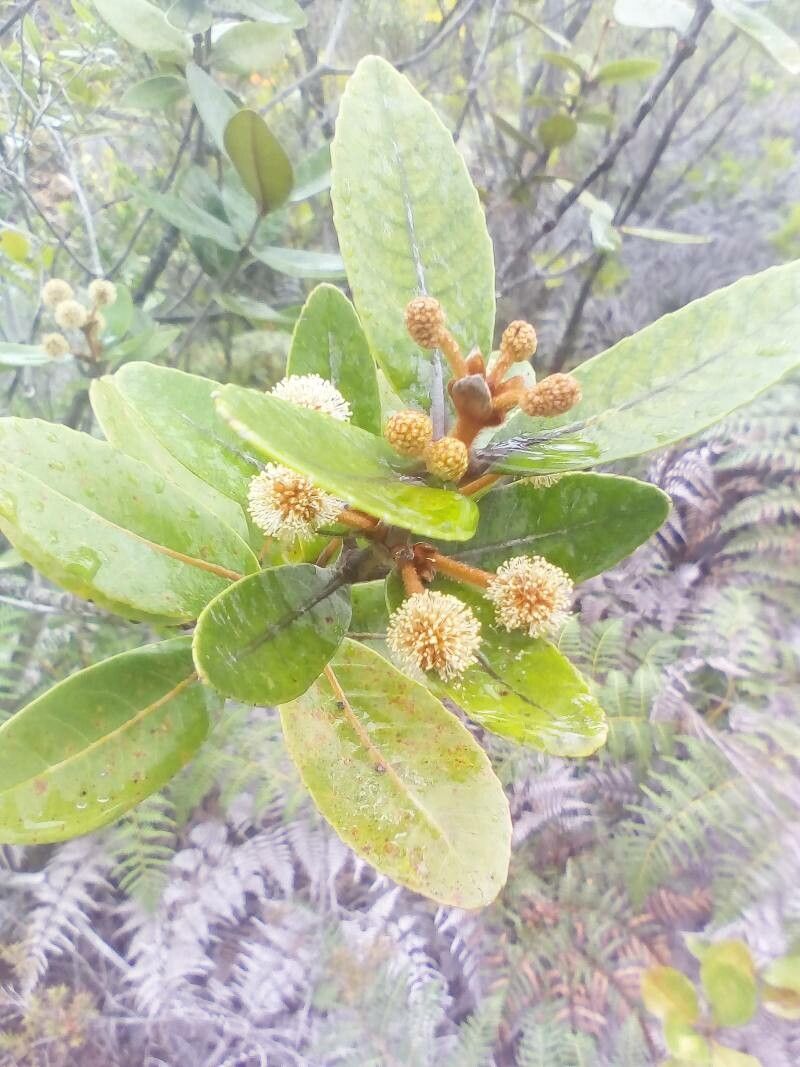
Now, if you haven’t met Pancheria ferruginea yet, prepare to be charmed. This beauty, often called the Rusty Shield Fern, has this lovely coppery fuzz on its emerging fronds and stems – it’s just delightful. It’s not a plant you see everywhere, which makes nurturing your own from a cutting or division feel extra special. Some might find propagating this particular fern a tad more involved than, say, a spider plant, but with a little care and patience, I promise you, it’s an incredibly rewarding journey. It’s a fantastic project for someone looking to step up their propagation game!
When to Get Your Hands Dirty
For the best chance of success with Pancheria ferruginea, I always recommend starting in late spring or early summer. This is when the plant is in its most vigorous growth phase. You’ll find new shoots unfurling readily, and the stems will have plenty of energy to develop roots. Trying to propagate when it’s dormant is like asking someone to run a marathon after a long nap – not ideal!
Your Propagation Toolkit
Before we get started, let’s make sure you have everything you need. It’s like packing for a perfect picnic; being prepared makes all the difference.
- Sharp, clean pruning shears or a knife: We want nice, clean cuts, not ripped stems.
- Well-draining potting mix: A good blend of peat moss, perlite, and a bit of coarse sand usually works wonders for ferns. I often use about a 1:1:1 ratio.
- Small pots or propagation trays: Enough to hold your cuttings.
- Rooting hormone (optional but recommended): Especially helpful for woody stems. Look for one with IBA.
- Clear plastic bags or domes: These create a mini-greenhouse effect, keeping humidity high.
- Watering can with a fine rose: To water gently.
- A trowel or small shovel: For handling soil.
Bringing New Pancheria to Life
There are a couple of ways we can get new Pancheria plants going. I’ve found both of these to be quite effective:
Method 1: Stem Cuttings – The Classic Approach
This is probably my go-to for many plants, and Pancheria ferruginea is no exception.
- Select your cutting: Choose a healthy, non-flowering stem that’s about 4-6 inches long. Look for one that’s a bit mature but not woody. It should have a few sets of leaves.
- Make the cut: Using your clean pruning shears or knife, make a clean cut just below a leaf node (where a leaf meets the stem). This is where the magic happens.
- Prepare the cutting: Gently remove the lower leaves from the cutting. You want about 2-3 leaves remaining at the top to catch light. If the remaining leaves are very large, you can even cut them in half to reduce water loss.
- Dip in rooting hormone (optional): If you’re using rooting hormone, lightly moisten the cut end and dip it into the hormone powder. Tap off any excess.
- Plant your cutting: Fill your small pots with your prepared potting mix. Make a small hole in the center with your finger or a pencil.
- Insert the cutting: Gently place the cut end of your stem into the hole and firm the soil around it.
- Water gently: Give the soil a good watering until it’s evenly moist but not waterlogged.
- Create humidity: Cover the pot with a clear plastic bag or place it inside a propagation dome. Make sure the leaves don’t touch the plastic if possible.
Method 2: Division – The Natural Multiplier
If your Pancheria ferruginea is already a bit bushier, you might be able to divide it. This is like giving your plant a haircut and getting new plants from the trimmings.
- Gently remove the plant: Carefully take the entire Pancheria plant out of its pot. Try to disturb the root ball as little as possible.
- Inspect the root ball: Look for natural divisions. You’ll often see where the plant has spread from its base, with distinct clumps of stems and roots.
- Separate the divisions: Using your hands or a clean, sharp knife, carefully pull or cut apart the root ball into sections. Each section should have several stems and a good portion of the root system.
- Pot up the divisions: Plant each division into its own pot filled with your well-draining potting mix.
- Water thoroughly: Give each new pot a good watering to help settle the soil and encourage root establishment.
The “Secret Sauce” for Success
Now, let me share a few little tricks I’ve learned over the years that really make a difference:
- Bottom heat is your best friend: Fern roots love warmth! Placing your pots on a heated propagation mat can significantly speed up root formation. It mimics the natural warmth of spring soil.
- Don’t let leaves touch the water: This is crucial in both methods. If leaves are submerged, they’re much more prone to rotting before they can root. Keep them elevated and out of any standing water.
- Patience and observation are key: Some plants are quick to root, while others take their sweet time. Don’t be tempted to pull them up too early! You’ll know they’re rooting when you see new growth appearing.
Nurturing Your New Sprouts
Once your cuttings or divisions have established some roots (you might see them peeking out of the drainage holes or notice new leafy growth), it’s time for a little extra TLC.
- Gradually acclimate: Start by opening the plastic bag or dome for a few hours each day, slowly increasing the time over a week. This helps them adjust to the regular humidity of your home.
- Water sparingly: Keep the soil consistently moist but never soggy. Overwatering is still the enemy!
- Bright, indirect light: Place your new plants in a spot that receives bright, filtered light. Direct sun can scorch delicate new growth.
Troubleshooting? The most common issue is rot, which is usually caused by too much moisture and poor air circulation. If you see blackening or mushy stems, sadly, it’s probably a goner. Don’t get discouraged! Sometimes you just need to try again. Another sign of failure is that the cutting just wilts and never recovers – that could be a sign it didn’t get enough moisture or warmth.
Keep Digging In!
Propagating plants is such a beautiful way to connect with nature and multiply the joy in your home. Don’t be afraid to experiment, and remember that every gardener, no matter how experienced, has their share of cuttings that don’t make it. The process itself is a learning experience.
So, go on, give it a try! I’m rooting for you (pun intended!). Happy gardening!
Resource:
https://identify.plantnet.org/k-world-flora/species/Pancheria%20ferruginea%20Brongn.%20&%20Gris/data