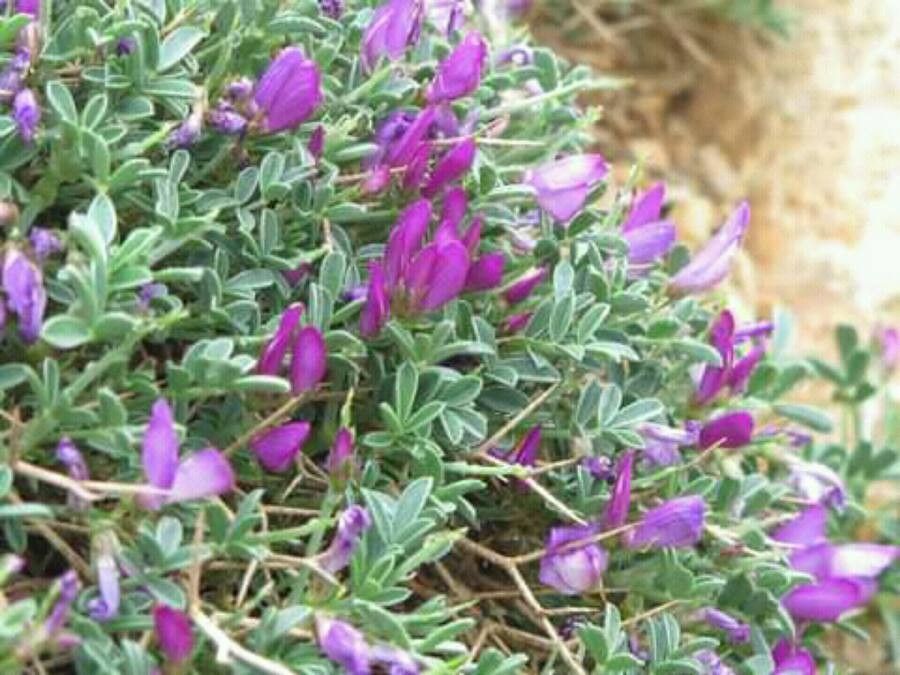
Oh, Onobrychis cornuta! What a delightful plant to bring into your garden. It’s like a little bit of sunshine with its charming little blooms. I’ve always found it incredibly satisfying to watch a new plant emerge from something I’ve nurtured myself, and Onobrychis cornuta is no exception. If you’re just starting out in propagation, you might find this a tad bit more hands-on than, say, a succulent, but with a little care and attention, you’ll be rewarded with beautiful new specimens. It’s a journey worth taking!
The Best Time to Start
For Onobrychis cornuta, the real sweet spot for propagation is late spring to early summer. This is when the plant is actively growing and has plenty of energy to put into developing new roots. You’ll want to take cuttings from healthy, vigorous stems that aren’t flowering. Think of it as catching the plant at its peak vitality – that’s when it’s most eager to grow!
Supplies You’ll Need
Gathering your tools beforehand makes the whole process smoother. Here’s what I usually have on hand:
- Sharp Pruning Shears or a Clean Knife: For making clean cuts. Crucial for preventing disease.
- Well-Draining Potting Mix: I often use a mix of equal parts peat moss and perlite, or a commercial seed-starting mix. For Onobrychis cornuta, good drainage is key.
- Small Pots or Seed Trays: With drainage holes, of course!
- Rooting Hormone (Optional but Recommended): This can give your cuttings an extra boost, especially if they’re a bit tricky. I prefer a powder or gel.
- Watering Can with a Fine Rose: For gentle watering.
- Plastic Bag or Propagator Lid: To create a humid environment for your cuttings.
- Labels: To keep track of your varieties and dates!
Propagation Methods
While Onobrychis cornuta can sometimes be tricky, stem cuttings are generally a reliable method. Dividing established plants is also a good option.
Stem Cuttings:
- First, select a healthy, non-flowering stem from your parent plant.
- Using your sharp pruning shears or knife, make a clean cut just below a leaf node. A “node” is that little bump where a leaf grows from the stem. You want your cuttings to be about 4-6 inches long.
- Gently remove the lower leaves from the cutting. Leave just a couple of leaves at the top. This reduces water loss.
- If you’re using rooting hormone, dip the cut end into the rooting hormone until it’s coated. Gently tap off any excess.
- Prepare your pots with the well-draining potting mix. Make a small hole in the center of the mix with your finger or a pencil.
- Insert the cutting into the hole, making sure the leaf nodes where you removed the leaves are below the soil surface. Gently firm the soil around the base of the cutting.
- Water gently until the soil is moist but not soggy.
- Now, here’s where we create a mini-greenhouse! Cover the pot with a clear plastic bag or a propagator lid. This traps humidity, which is vital for cuttings to root. Make sure the leaves don’t touch the sides of the bag.
- Place the pot in a bright spot with indirect light. Avoid direct sunlight, which can scorch the delicate cuttings.
Division (for established plants):
If you have a mature Onobrychis cornuta that’s looking a bit crowded, division is a great way to multiply your plants.
- The best time for this is also early spring, just as new growth is starting.
- Carefully dig up the entire plant, trying to disturb the roots as little as possible.
- Gently shake off excess soil to expose the root ball.
- With clean hands or a trowel, separate the plant into smaller sections. Each section should have healthy roots and some above-ground shoots.
- Replant each division in its own pot or a new spot in the garden, ensuring they have good drainage. Water them in well.
The “Secret Sauce” (Pro Tips)
Beyond the basic steps, there are a few things I’ve learned that can really make a difference:
- Don’t Let the Leaves Touch the Water: When you’re using the plastic bag method, if the leaves of your cutting are touching the condensation inside the bag, they can start to rot. Try to rig the bag so it’s suspended above the foliage. It’s those little details that count!
- Bottom Heat is Your Friend: While not strictly essential for Onobrychis cornuta, a gentle warmth from below can significantly speed up root development. You can achieve this with a seedling heat mat. It mimics the warm soil of summer and encourages those roots to get going.
- Be Patient with the Hormone: If you’re using rooting hormone, don’t overdo it. A light dusting is all you need. Too much can actually inhibit root growth!
Aftercare & Troubleshooting
Once your cuttings have started to show signs of life – new leaf growth is a great indicator – it’s time to gradually introduce them to more normal conditions.
- Acclimatize Slowly: Over a week or two, start opening the plastic bag for increasingly longer periods. This helps the new plant adjust to lower humidity.
- Watering: Continue to keep the soil consistently moist but never waterlogged. Overwatering is the quickest way to underwater your new, precious little plants.
- Transplanting: When your cuttings have developed a good root system (you can often see roots emerging from the drainage holes or gently tugging on a cutting will reveal resistance), they’re ready to be transplanted into their own pots.
Now, what if things don’t go as planned? The most common problem you’ll encounter is rot. If your cutting turns mushy, black, or just looks generally unhealthy, it’s usually a sign of too much moisture or poor air circulation. If you see this, try to remove the affected cutting immediately to prevent it from spreading. Sometimes, a cutting just doesn’t take, and that’s okay! Gardening is all about learning.
A Encouraging Closing
Don’t get discouraged if your first few attempts aren’t perfect. Every gardener has had their share of failed cuttings. The key is to keep trying, observe your plants, and learn as you go. There’s a magic in nurturing a new life from a tiny cutting. Enjoy the process, celebrate your successes, and soon you’ll have a whole garden filled with your own Onobrychis cornuta! Happy growing!
Resource:
https://identify.plantnet.org/k-world-flora/species/Onobrychis%20cornuta%20(L.)%20Desv./data