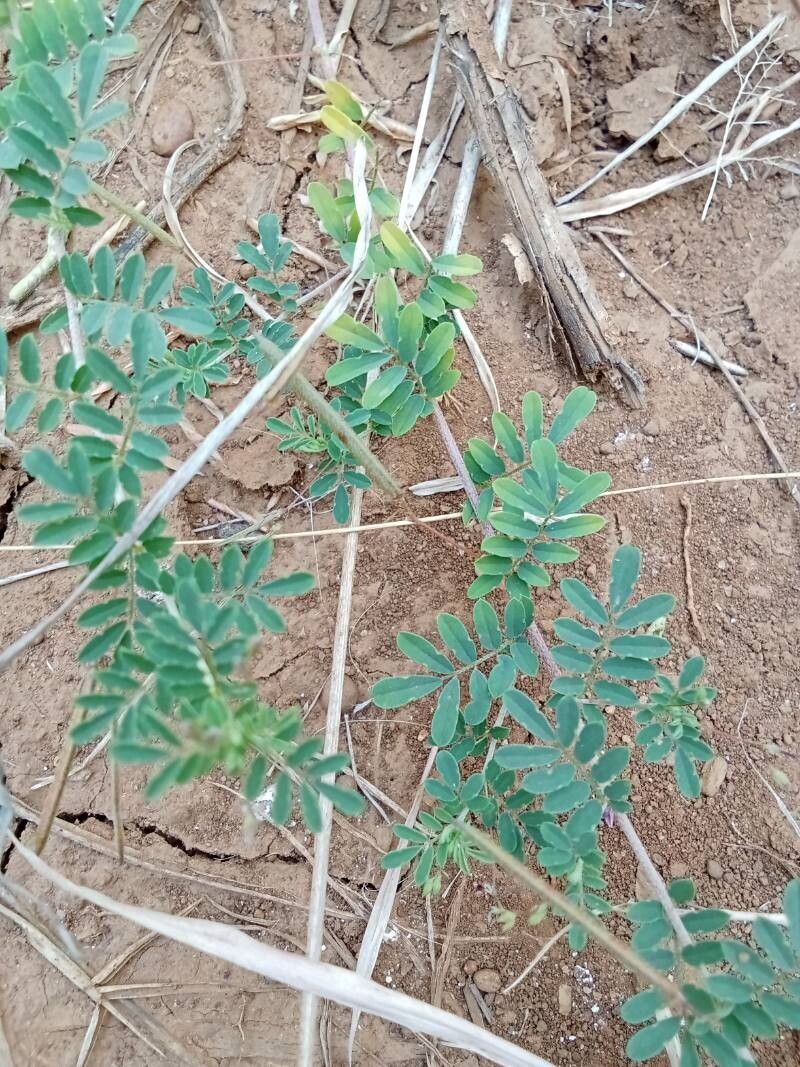
Oh, hello there! I’m so excited to chat with you today about one of my absolute favorites: Indigofera brevicalyx. If you’ve ever seen this charming little shrub, with its delicate pink to lavender pea-like flowers cascading down gracefully, you know exactly why I’m so smitten. It brings such a lovely, airy feel to the garden, and the hum of pollinators around it is pure joy.
Propagating your own Indigofera brevicalyx is incredibly rewarding. It’s like creating a little bit of magic, watching a tiny cutting transform into a healthy new plant. And for those of you just dipping your toes into the world of plant propagation, I’m happy to report that Indigofera brevicalyx is quite forgiving. It’s a wonderful plant to practice your skills on!
The Best Time to Start
For the best chance of success with Indigofera brevicalyx cuttings, aim for late spring to early summer. This is when the plant is actively growing, the stems are semi-hardwood (meaning they’re firm but not woody), and they have plenty of energy to put into rooting. You want lively, healthy stems, not old, woody growth or brand new, super-soft shoots.
Supplies You’ll Need
Gathering your tools before you begin makes the whole process smoother. Here’s what I usually have on hand:
- Sharp Pruning Shears or a Clean Knife: For making clean cuts on your stems.
- Rooting Hormone: To give your cuttings a helping hand to develop roots. I prefer a powder or gel.
- Small Pots or Seedling Trays: About 3-4 inches in size work well. Make sure they have drainage holes!
- Well-Draining Potting Mix: A good blend is essential. I like to use a mix of perlite, peat moss, and a bit of compost. You can also buy specific “seed starting” or “cutting” mixes.
- Plastic Bags or a Clear Dome: To create a humid environment, which is crucial for cuttings.
- Watering Can or Spray Bottle: For gentle watering.
Propagation Methods
We’ll focus on stem cuttings, as this is the most straightforward and successful method for Indigofera brevicalyx in my experience.
- Take Your Cuttings: On a pleasant morning, select healthy, non-flowering stems from your mature plant. Using your sharp shears or knife, cut stems that are about 4-6 inches long. Make the cut just below a leaf node (where a leaf attaches to the stem). Remove any lower leaves, leaving just a few at the top. Don’t be too precious; it’s better to have too many cuttings than too few!
- Prepare the Cuttings: Dip the cut end of each stem into your rooting hormone. Tap off any excess. This helps stimulate root formation.
- Plant Your Cuttings: Fill your pots with your prepared potting mix. Make a small hole in the center of each pot with your finger or a pencil. Gently insert the prepared cutting into the hole, ensuring the leaves are not buried. Firm the soil gently around the base of the stem.
- Water Gently: Water your newly planted cuttings thoroughly but gently. You want the soil to be moist, but not waterlogged.
- Create a Humid Environment: This is key! Place a clear plastic bag over the pot, securing it loosely around the base with a rubber band, or cover the tray with a clear plastic dome. This traps moisture and keeps the humidity high, which prevents the cuttings from drying out before they can root. Place the pots in a bright spot that receives indirect sunlight. Direct sun will scorch them.
The “Secret Sauce” (Pro Tips)
Here are a few tricks I’ve learned over the years that can really boost your success rate:
- Avoid Leaf-to-Soil Contact: Make sure none of the remaining leaves are touching the soil surface. If they are, they’re more prone to rot.
- Bottom Heat is Your Friend: If you have one, placing your pots on a gentle heat mat can significantly speed up the rooting process. This mimics the warmth of spring soil. Just ensure the heat isn’t too intense.
- Don’t Disturb Too Soon: Resist the urge to pull on your cuttings to check for roots! You’ll know they’ve rooted when you see new leaf growth emerging. This usually takes 3-6 weeks, sometimes a bit longer.
Aftercare & Troubleshooting
Once you see signs of new growth, your cuttings have likely rooted!
- Gradual Acclimation: Slowly start to acclimate your new plants to your home’s environment. This means gradually opening the plastic bag or dome a little each day for about a week, allowing them to adjust to lower humidity.
- Continue Gentle Watering: Keep the soil consistently moist but never soggy. As the roots develop, they’ll be able to handle slightly drier conditions.
- Repotting: Once they have a good root system and are growing vigorously, you can transplant them into slightly larger pots with your regular potting mix.
Now, what if things go wrong? The most common culprit is rot. If your cuttings turn mushy, brown, or fall over, it’s usually a sign of too much moisture and not enough air circulation. Ensure your soil drains well and that you aren’t overwatering. Sometimes, despite our best efforts, a cutting just won’t take – that’s part of the learning curve! Don’t get discouraged.
A Encouraging Closing
Remember, gardening is a journey, and propagation is a wonderfully patient art. Each cutting is a new beginning, a chance to share the beauty of Indigofera brevicalyx with your garden and perhaps even with friends. So, be patient, enjoy the process, and get ready to celebrate those first tiny roots! Happy propagating!
Resource:
https://identify.plantnet.org/k-world-flora/species/Indigofera%20brevicalyx%20Baker%20f./data