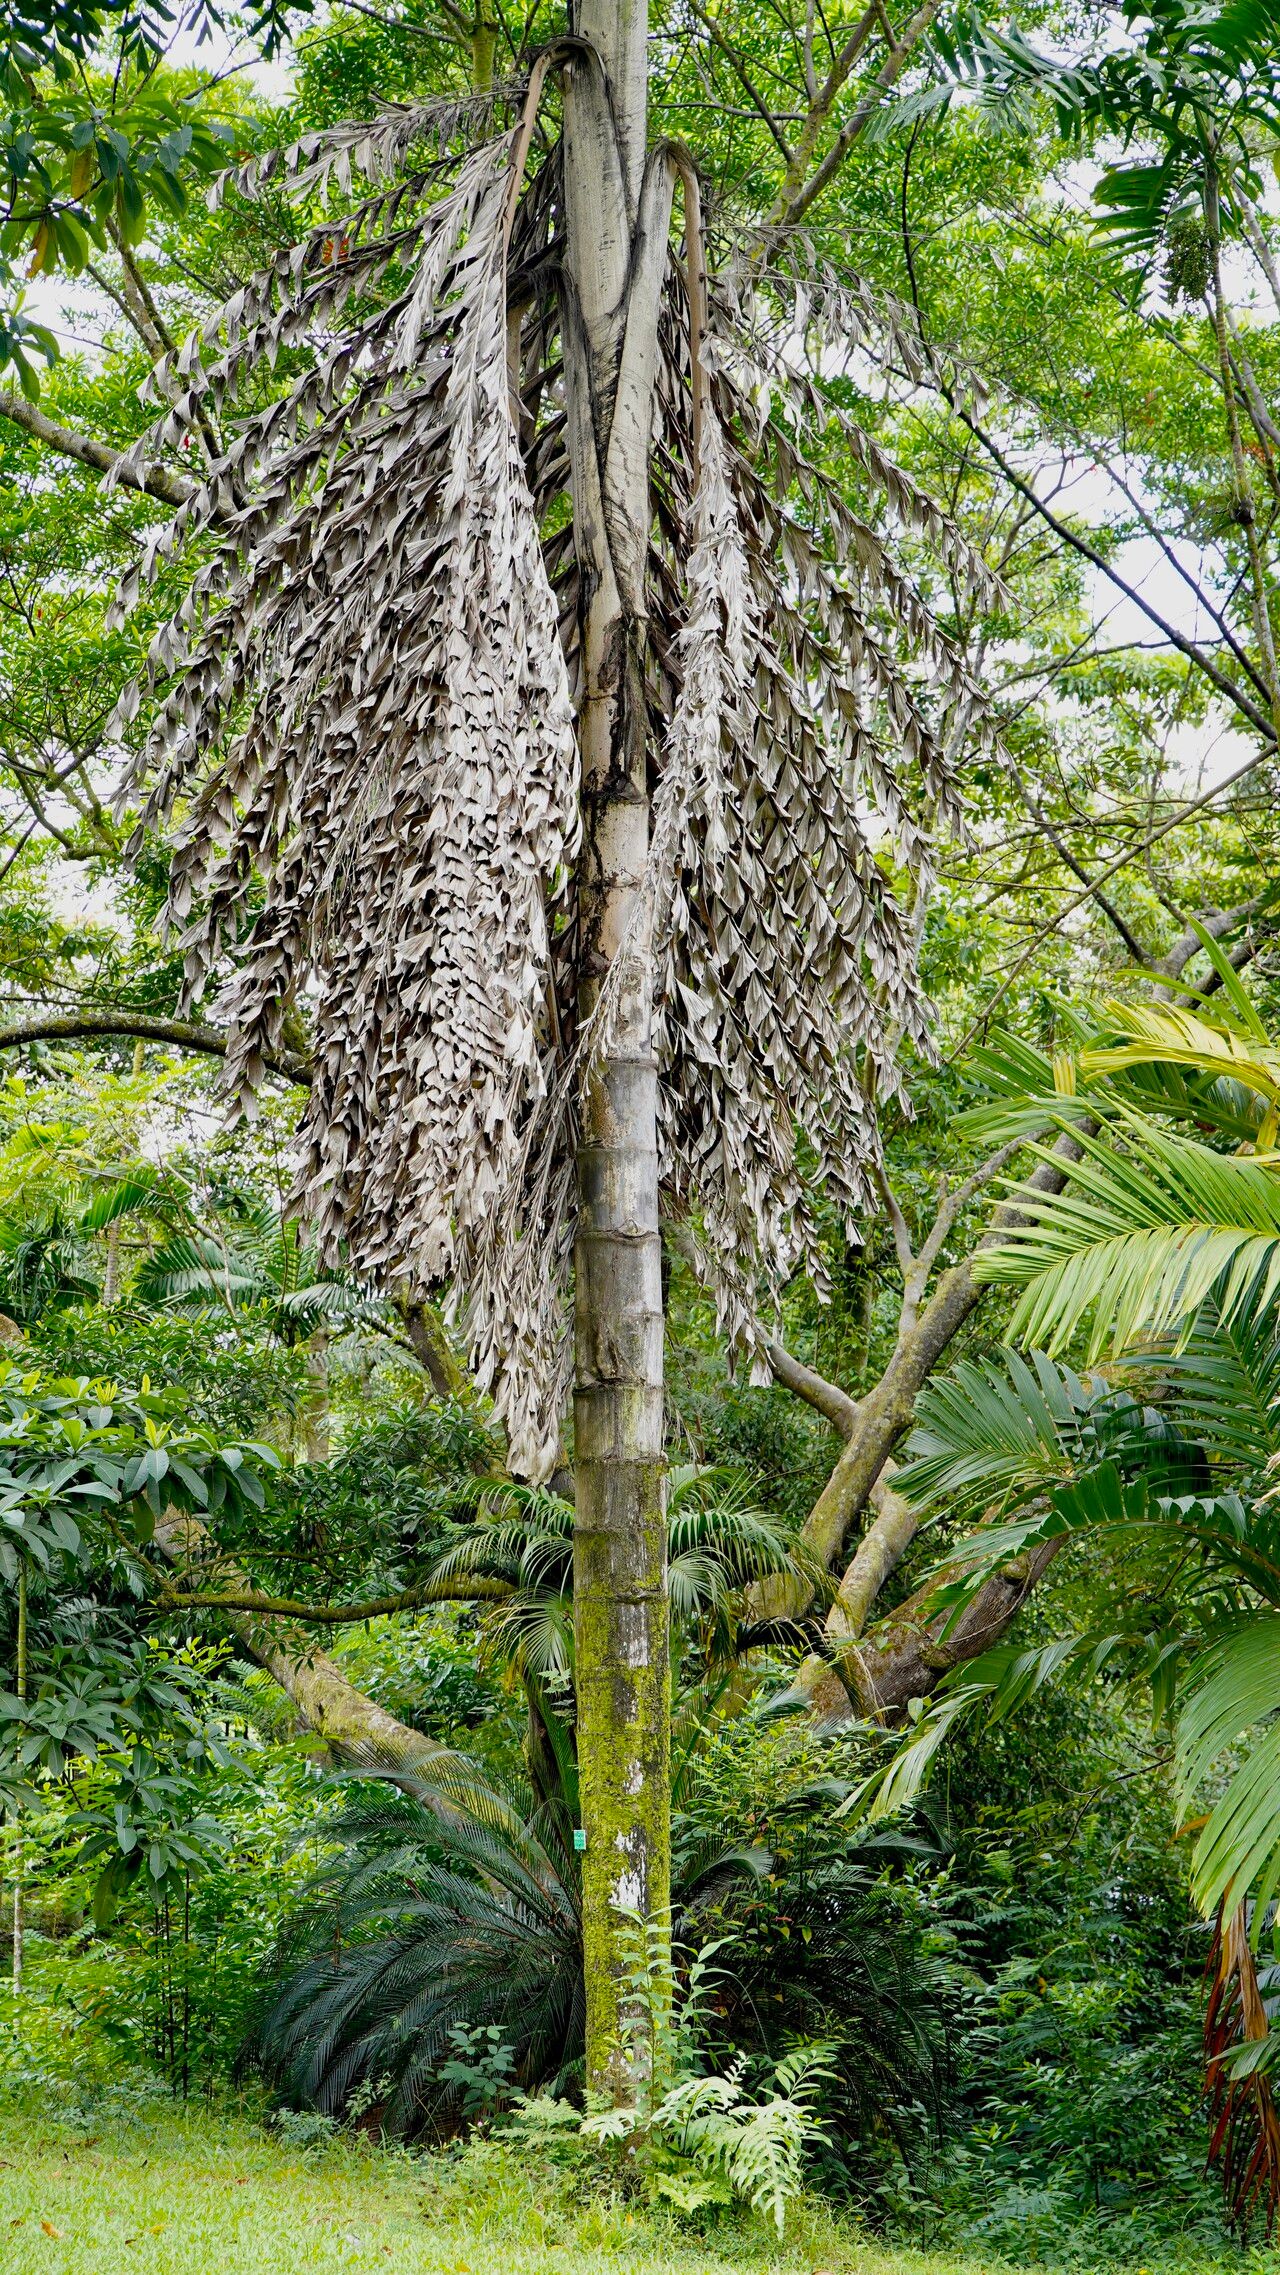
Oh, the Caryota rumphiana! If you’re like me, you’ve probably fallen in love with its dramatic, fishtail-shaped fronds and its tropical flair. It’s a stunner, really, bringing a touch of the exotic right into your home or garden. And the best part? You can create more of these beauties! Propagating Caryota rumphiana is incredibly rewarding. While it’s not as straightforward as, say, a pothos for absolute beginners, it’s definitely achievable with a little patience and the right approach. I’ve always found the most joy in nurturing a new life from something small.
The Best Time to Start
Timing is everything, as they say! For Caryota rumphiana, the sweet spot for propagation is generally during its active growing season. For most of us, this means late spring through summer. You’ll see the most vigorous growth then, meaning your cuttings or divisions will have the best chance to establish themselves quickly. Look for healthy, mature plants that are putting out new shoots.
Supplies You’ll Need
Gathering your tools beforehand makes the whole process smoother. Here’s what I always have on hand:
- Sharp, sterile pruning shears or a clean knife: This is non-negotiable for clean cuts that heal faster and prevent disease.
- Well-draining potting mix: I usually go for a mix that’s about 50% potting soil and 50% perlite or coarse sand. Some growers swear by a peat-based mix, but I find a good aeration is key.
- Small pots or seedling trays: Choose pots with drainage holes!
- Rooting hormone (optional but recommended): A powder or gel applied to the cut end can significantly boost your success rate.
- Clear plastic bags or a propagator: To create a humid microclimate.
- Water: For watering and, depending on your method, for rooting.
- A spray bottle: For misting.
Propagation Methods
Caryota rumphiana is primarily propagated by division or seed. While growing from seed is an option, it can be a slower and less predictable journey. For most home growers, division of offsets is the most practical and rewarding method.
Division of Offsets
This is like carefully separating a baby plant from its parent.
- Assess your plant: Look for young shoots or pups that have emerged from the base of the parent plant. These usually have their own small root system developing.
- Gently unpot the parent plant: This is often the trickiest part. Carefully ease the entire root ball out of its current pot. You want to avoid disturbing the roots too much.
- Locate the offset: With the root ball exposed, you can clearly see where the offsets are attached to the mother plant.
- Separate the offset: Using your sharp, sterile knife or shears, carefully cut the offset away from the parent plant. Try to keep as many of the offset’s roots intact as possible. If an offset has a good root system, it’s much more likely to take off.
- Allow to callous (optional but good practice): Let the cut surface on both the parent and the offset dry and form a slight callus for a few hours, or even overnight, in a dry, airy spot. This helps prevent rot.
- Pot up the offset: Plant the offset in a small pot filled with your well-draining potting mix. Water it lightly.
- Provide humidity: Place the potted offset in a humid environment. I often use a clear plastic bag placed loosely over the pot, or pop it into a propagator. Make sure the bag doesn’t touch the leaves too much.
The “Secret Sauce” (Pro Tips)
Here are a few things I’ve learned over the years that make a real difference:
- Don’t drown those roots: When dividing, if your offset has some roots, make sure the potting mix is just lightly moist, not soggy. Overwatering at this stage is a fast track to root rot. Let the top inch of soil dry out before watering again.
- Patience with the “calyptra”: Caryota species sometimes produce a protective cap known as a calyptra around new shoots. Don’t be tempted to forcibly remove it! Let it naturally shed or split open as the new frond emerges. Trying to rush it can damage tender new growth.
- Bottom heat is your friend: If you have a way to provide gentle bottom heat (like a seed starting mat), it can really encourage root development, especially for divisions. It mimics what happens in nature and gives those roots a nice warm place to grow.
Aftercare & Troubleshooting
Once your offset is potted up and settled into its new home, keep it in bright, indirect light. Avoid direct sun, which can scorch tender new growth. Continue to mist occasionally if you’re using a humidity dome.
The first signs of success will be new leaf growth. It might take a few weeks, so don’t despair if you don’t see immediate results!
Common signs of failure to watch out for:
- Yellowing leaves: This can indicate too much water, too little light, or stress from the propagation process.
- Mushy stems or base: This is a clear sign of rot, usually caused by overwatering and poor drainage. If you see this, often the plant is a goner, but you can try to salvage any healthy parts by cutting them away and starting again.
- Wilting: If the plant wilts and doesn’t perk up after watering, it might mean the roots have rotted and can no longer absorb water.
A Encouraging Closing
Growing plants from cuttings or divisions is an incredibly rewarding experience, and Caryota rumphiana is no exception. Be patient with your new plant. It’s a transformation, a tiny miracle unfolding before your eyes. Enjoy the process, learn from any little setbacks, and before you know it, you’ll have a magnificent new Caryota rumphiana to admire. Happy growing!
Resource:
https://identify.plantnet.org/k-world-flora/species/Caryota%20rumphiana%20Mart./data