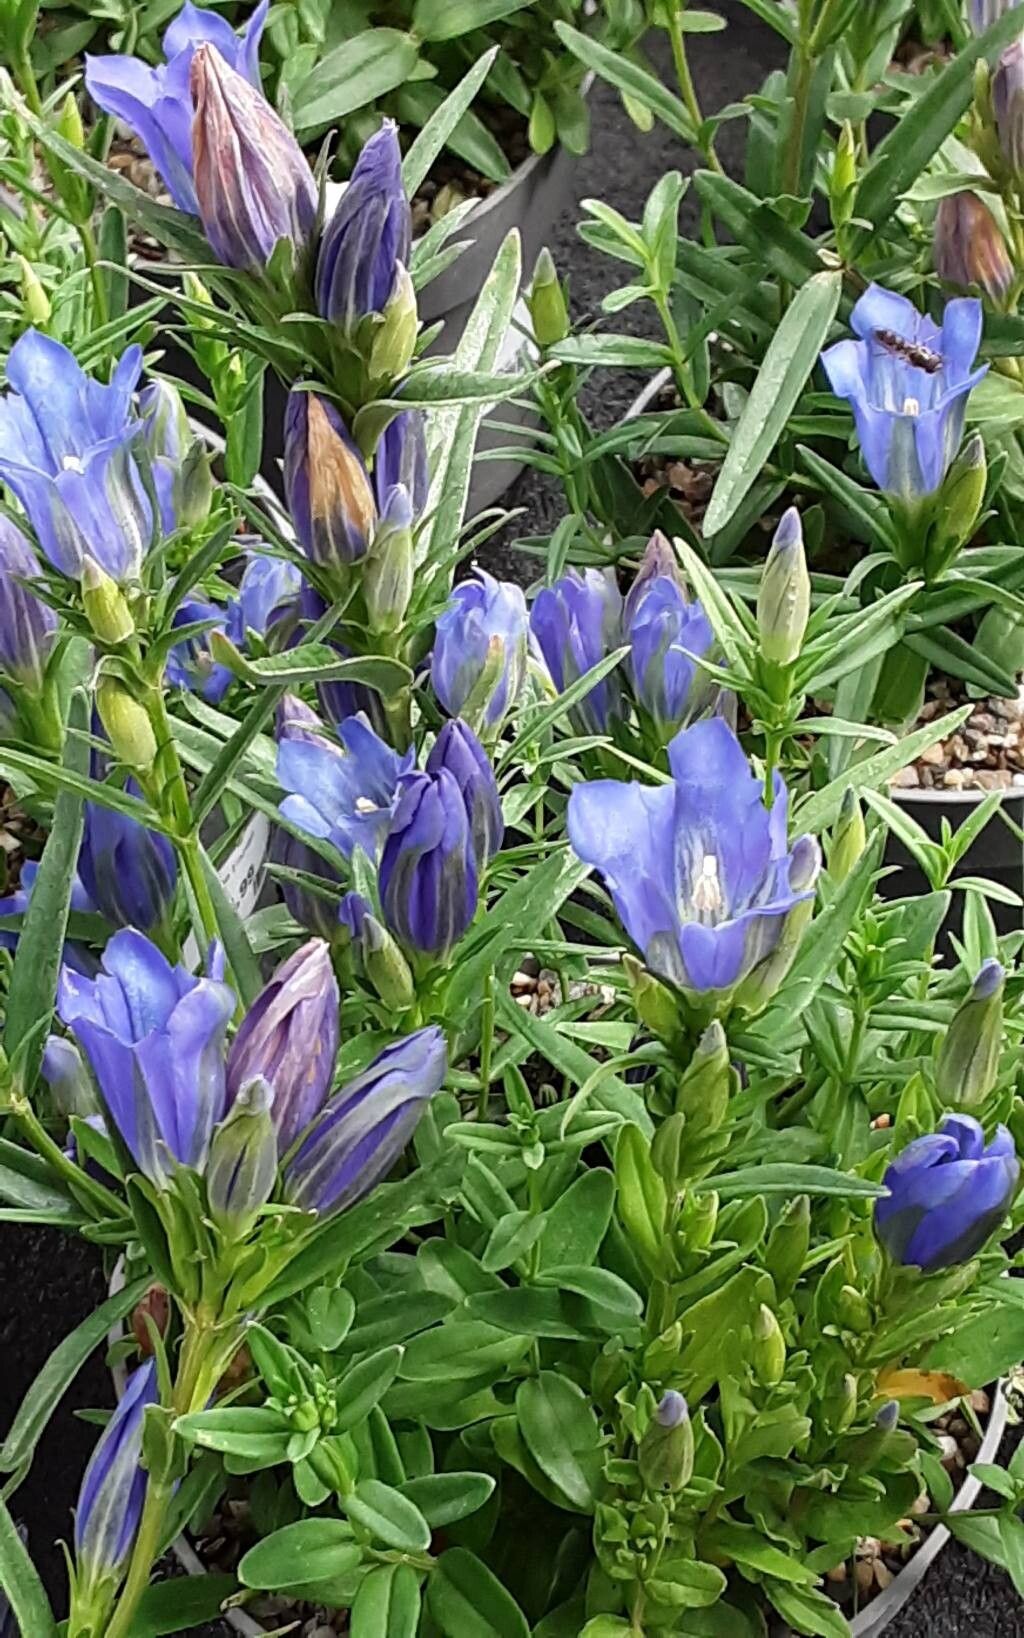
Oh, hello there, fellow plant enthusiast! I’m so delighted you’ve come to chat about the beautiful Gentiana pneumonanthe. If you’ve ever seen this gorgeous blue beauty gracing a garden, you know it’s a true jewel. Its vibrant, trumpet-shaped flowers are just breathtaking, and coaxing new life from an existing plant is one of the most satisfying gardening experiences, if you ask me. Now, Gentiana pneumonanthe can be a little bit of a diva, so I wouldn’t necessarily call it a beginner’s plant, but with a little care and attention, you can absolutely be successful!
The Best Time to Start
Timing is everything, isn’t it? For Gentiana pneumonanthe, the sweet spot for propagation is definitely late spring to early summer. This is usually when the plant is in active growth but before it starts producing seeds. You’ll want to take cuttings from healthy, new shoots that are still somewhat flexible.
Supplies You’ll Need
Let’s get our tools ready. You don’t need much, but having the right things makes all the difference:
- Sharp pruning shears or a very clean, sharp knife: For taking those crucial cuttings. Sterilize them with rubbing alcohol!
- Seedling tray or small pots: About 3-4 inches in diameter is perfect.
- Well-draining potting mix: I like a mix of equal parts perlite and peat moss, or a good quality seed-starting mix. This is key; we don’t want soggy roots.
- Rooting hormone (optional but recommended): A powder or gel can give your cuttings a helpful boost.
- Plastic bags or a propagator: To create a humid environment.
- Watering can with a fine rose: To water gently.
- Labels: So you remember what you’ve planted where!
Propagation Methods
Here are the methods that have worked best for me:
Stem Cuttings: My Go-To Method
This is how I usually tackle propagating my gentians. It’s reliable and gives you a good number of new plants.
- Take your cuttings: With your sterilized shears, select a healthy stem. Cut about 4-6 inches down from the tip, making a clean cut just below a leaf node (where the leaf attaches to the stem).
- Prepare the cuttings: Gently remove the lower leaves from the cutting, leaving just a few at the top. If the leaves are quite large, I’ll often snip them in half to reduce water loss.
- Apply rooting hormone (if using): Dip the cut end of the stem into the rooting hormone, tapping off any excess.
- Pot them up: Fill your pots with your well-draining mix. Make a little hole with your finger or a pencil, and insert the cutting. Gently firm the soil around it.
- Water and cover: Water the pots gently. Then, cover the entire pot and cutting with a clear plastic bag or place it inside a propagator. This creates that essential humid microclimate.
Division: For More Established Plants
If you have a larger, mature Gentiana pneumonanthe, division is a great way to get more plants and also rejuvenate the parent.
- Dig it up carefully: In early spring, gently excavate the plant from the ground or its pot. Try to disturb the roots as little as possible.
- Examine the root ball: You’ll see where the plant naturally divides.
- Separate the sections: Using your hands or a clean spade, carefully pull or cut the root ball into sections. Each section should have a good portion of roots and some healthy shoots.
- Replant immediately: Pot up the divisions in your well-draining mix or replant them directly in their new garden spots. Water them in well.
The “Secret Sauce” (Pro Tips)
Here are a couple of things I’ve learned over the years that really seem to make a difference:
- Don’t let the leaves touch the water: If you’re doing water propagation (which I find less successful for gentians but some people try), ensure the leaves are well above the water line. Rotting leaves will contaminate the water and potentially kill your cutting.
- Bottom heat is your friend: If you have the space and inclination, placing your seedling tray or pots on a gentle heat mat can significantly speed up root development. It mimics that lovely warm soil they crave.
Aftercare & Troubleshooting
Once your cuttings are potted, the real waiting game begins. Keep them in a bright spot, but out of direct, scorching sun. Maintain consistent moisture – the soil should be damp, not waterlogged. You’ll know they’re starting to root when you see new leaf growth appearing. This can take anywhere from a few weeks to a couple of months.
The biggest enemy here is rot. If your cuttings suddenly go limp, turn mushy, or develop black spots, it’s usually a sign of too much moisture and poor air circulation. Don’t be discouraged! Bin the slimy ones and keep an eye on the others. If the leaves start to yellow and drop off without new growth, it might mean they’re not getting enough light or humidity.
A Encouraging Closing
Propagating plants, especially those with a bit of personality like Gentiana pneumonanthe, is a journey. Be patient, observe your plants closely, and learn from each attempt. There’s such a joy in nurturing a tiny cutting into a thriving plant. Happy propagating, and happy gardening!
Resource:
https://identify.plantnet.org/k-world-flora/species/Gentiana%20pneumonanthe%20L./data