Hello fellow plant lovers!
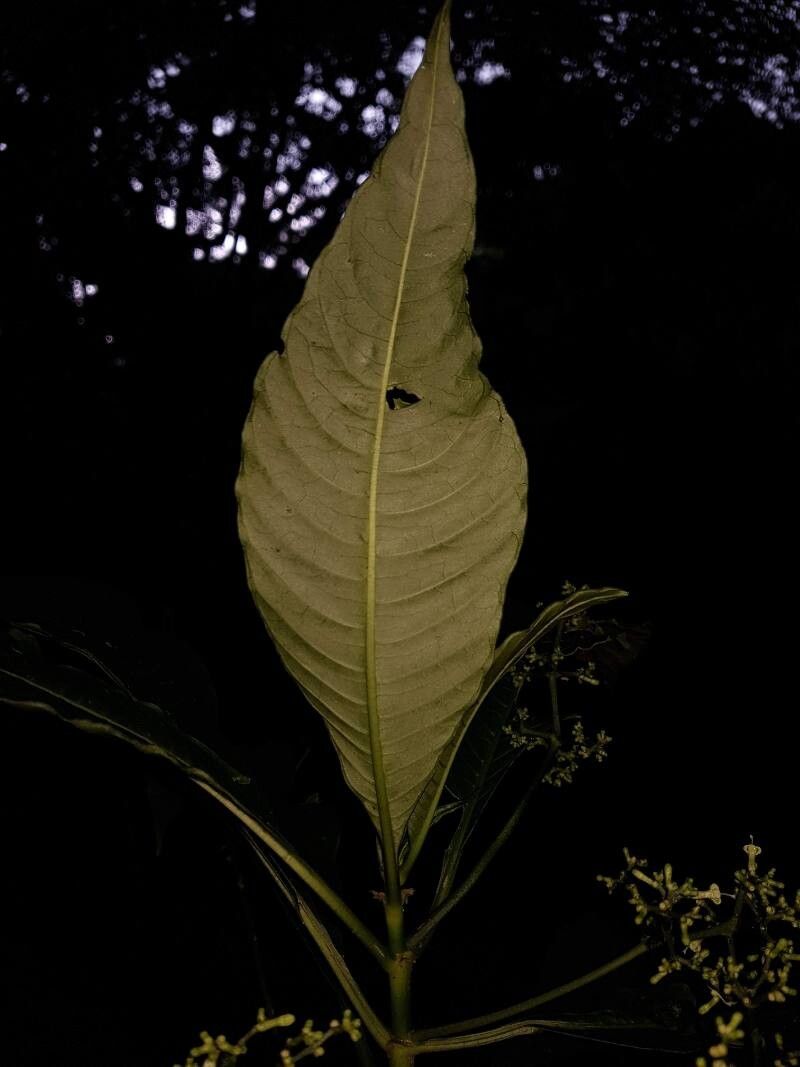
If you’ve ever laid eyes on Notopleura tolimensis, you know exactly why it’s captured your heart. Those lush, vibrant leaves, often with interesting patterns or textures, bring a touch of the exotic into any space. And the best part? You can have more of it! Propagating this beauty is incredibly rewarding, and while it might seem a little intimidating at first, I promise, with a little guidance, you’ll be a pro in no time. It’s not the absolute easiest plant to start from cuttings, but it’s definitely achievable for those willing to be a bit patient.
The Best Time to Start
For the highest chance of success with Notopleura tolimensis, timing is key. I always find that late spring or early summer is the sweet spot. This is when the plant is actively growing and has plenty of energy to put into developing new roots. Look for healthy, new growth on your existing plant – those are the ones most likely to root. Avoid taking cuttings from stressed or dormant plants.
Supplies You’ll Need
Gathering your supplies before you begin makes the whole process so much smoother. Here’s what you’ll want on hand:
- Sharp, clean pruning shears or a sharp knife: For clean cuts that heal quickly.
- Rooting hormone (optional but recommended): A little boost can make a big difference. Dip those cuttings in it!
- A well-draining potting mix: I like a blend of peat moss, perlite, and a bit of orchid bark. Aim for something that dries out relatively quickly.
- Small pots or propagation trays: With drainage holes, of course!
- A clear plastic bag or propagation dome: To create a humid environment for your cuttings.
- Water: For watering your new plants.
Propagation Methods
I’ve had the most success with Notopleura tolimensis using the stem cutting method. It’s straightforward once you get the hang of it.
- Take Your Cuttings: Select a healthy stem that’s at least 4-6 inches long. Using your clean shears or knife, make a clean cut just below a leaf node. A leaf node is where a leaf attaches to the stem – this is where roots love to emerge. Remove the lower leaves, leaving just a few at the top.
- Apply Rooting Hormone (Optional): If you’re using rooting hormone, dip the cut end into it, tapping off any excess.
- Plant Your Cuttings: Fill your pots with your prepared potting mix. Make a small hole with your finger or a pencil. Gently insert the cut end of the stem into the soil, ensuring the leaf node is buried. Lightly firm the soil around the stem.
- Create a Humid Environment: Water the soil gently. Then, cover your pot with a clear plastic bag, propped up with a stick or two so it doesn’t touch the leaves. Alternatively, use a propagation dome. This traps humidity, which is crucial for cuttings to root.
- Place in Bright, Indirect Light: Find a warm spot for your cuttings that receives plenty of bright, indirect light. Avoid direct sunlight, as it can scorch the delicate leaves and dry out the cuttings too quickly.
The “Secret Sauce” (Pro Tips)
Now, for a couple of things I’ve learned over the years that can really give you an edge:
- Don’t let the leaves touch the water trapped in the bag. If the leaves are constantly wet, they can rot before they have a chance to form roots. That’s why propping up the plastic bag is so important!
- Bottom heat is your friend! If you have a heat mat designed for seedlings and cuttings, placing your pots on it can significantly speed up rooting. It mimics the warmth of the soil in its natural environment and encourages those roots to get growing.
Aftercare & Troubleshooting
Be patient! It can take several weeks, sometimes even a couple of months, for new roots to form. You’ll know your cutting has rooted when you see new leaf growth, or if you gently tug on the cutting and feel resistance.
Once roots have developed, you can slowly start to acclimate your new plant to normal conditions. Gradually open the plastic bag or dome over a week or two. Water your plant when the top inch of soil feels dry.
The most common issue you might face is rot. If your cutting looks mushy or has dark, wilted spots, it’s likely rotted. This usually happens due to overwatering or poor drainage. If you see rot, it’s best to discard the cutting and start again, ensuring your soil drains well and you’re not keeping it too waterlogged.
So there you have it! Propagating Notopleura tolimensis is a wonderful way to expand your collection and share your love for this plant with others. Don’t get discouraged if your first attempt isn’t perfect. Gardening is all about learning and experimenting. Just enjoy the process, and soon you’ll have a whole new generation of these stunning plants gracing your home. Happy growing!
Resource: