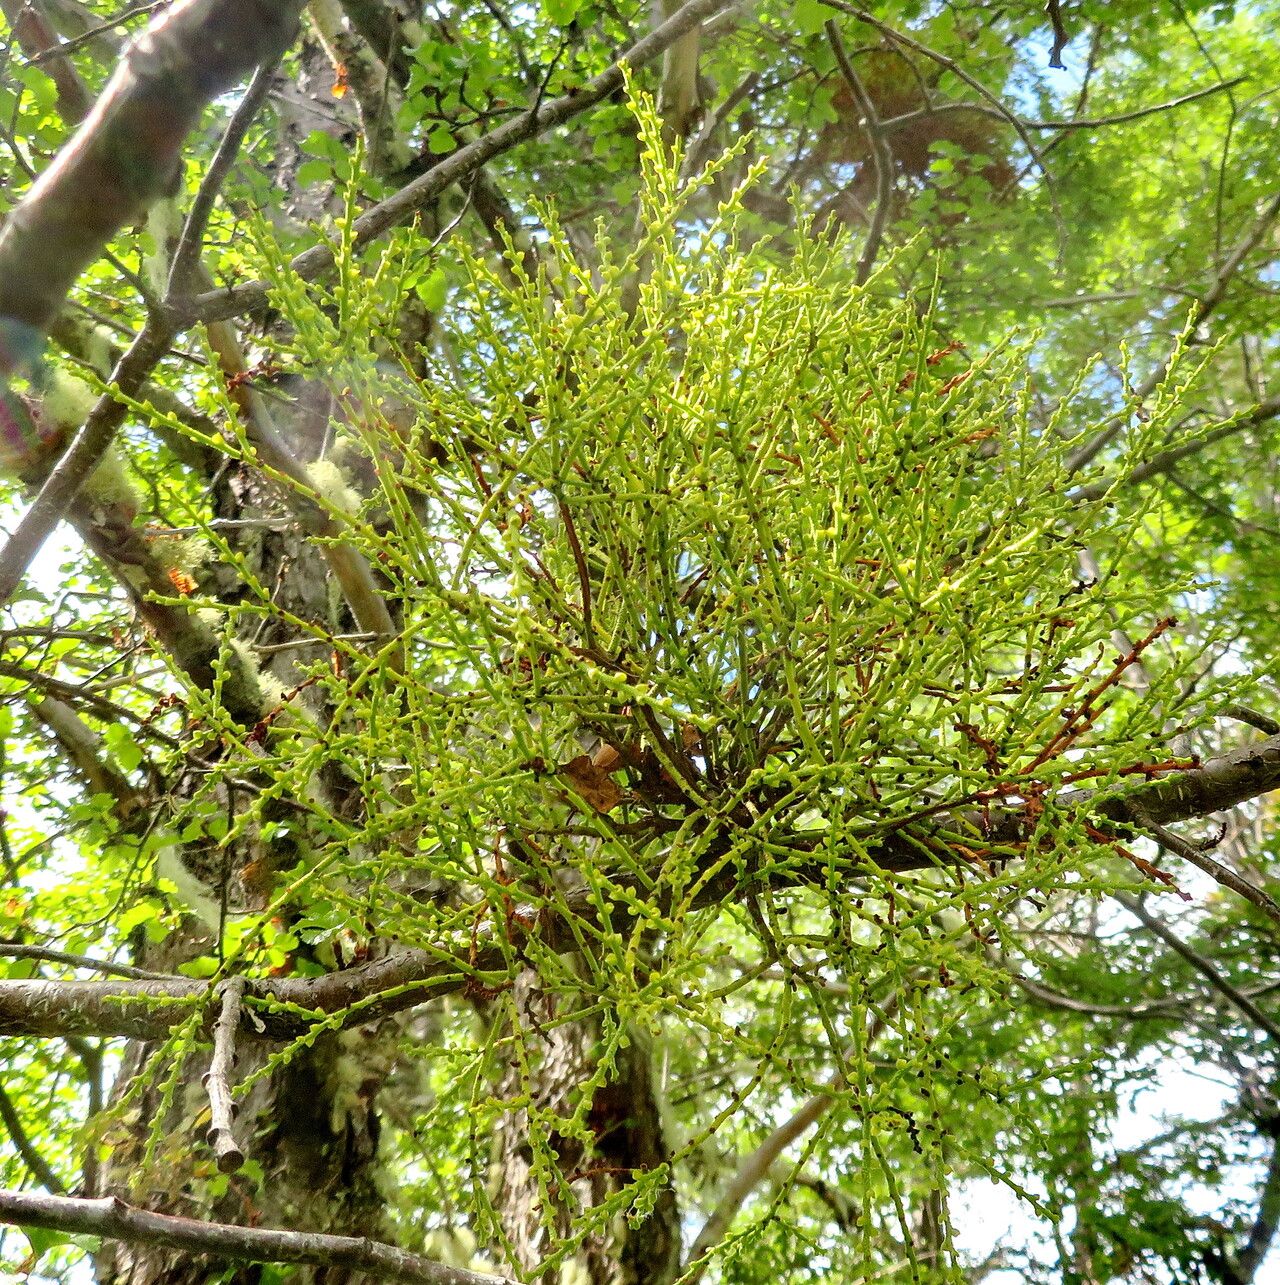
Hello fellow plant lovers! Today, we’re diving into the wonderful world of Misodendrum punctulatum. I’ve always been drawn to its delicate beauty and the unique way it adds a touch of wildness to any garden. If you’re looking for a rewarding propagation project, this might be just the plant for you. Now, I’ll be honest, it’s not the absolute easiest plant for a complete beginner, but with a little patience and the right approach, you can absolutely succeed in growing more of these beauties from your existing ones. It’s a real joy to see a tiny cutting transform into a new, thriving plant!
The Best Time to Start
The ideal time to propagate Misodendrum punctulatum is in the late spring or early summer. This is when the plant is actively growing, and the stems have a good amount of firm, but not woody, material. You want to strike when the energy is high, giving your cuttings the best chance to root. Waiting for this peak growth period makes all the difference.
Supplies You’ll Need
Gathering your supplies beforehand makes the whole process much smoother. Here’s what I always have on hand:
- Sharp pruning shears or a clean knife: For making clean cuts.
- Rooting hormone (optional but recommended): A powder or gel can give your cuttings a great boost.
- Well-draining potting mix: A good blend of perlite, peat moss, and a bit of horticultural sand works wonders.
- Small pots or propagation trays: With drainage holes, of course!
- Plastic bags or a propagation dome: To create a humid environment.
- Watering can or spray bottle: For gentle watering.
Propagation Methods
While there are a few ways to go about it, stem cuttings are my tried-and-true method for Misodendrum punctulatum.
- Taking the Cuttings: Using your clean shears, take cuttings that are about 4-6 inches long from a healthy, vigorous stem. Look for stems that are green but starting to firm up – not too soft and floppy, and not hard and woody. Make your cut just below a leaf node, which is where roots are most likely to form.
- Preparing the Cuttings: Gently remove the lower leaves from the cutting, leaving just a couple at the very top. This prevents them from rotting when they’re in the soil or water. If you’re using rooting hormone, dip the cut end into it, tapping off any excess.
- Planting the Cuttings: Fill your small pots or trays with your well-draining potting mix. Make a small hole in the center of the soil with your finger or a pencil. Carefully insert the cut end of the stem cutting into the hole, ensuring it’s snug. Gently firm the soil around the base of the cutting.
- Creating a Humid Environment: Water the soil lightly until it’s moist but not soggy. Then, cover the pot with a plastic bag or place it under a propagation dome. This traps humidity, which is crucial for cuttings that can’t absorb water through roots yet. Make sure the leaves aren’t touching the plastic if possible to prevent rot.
The “Secret Sauce” (Pro Tips)
Here are a couple of things I’ve learned over the years that can really make a difference:
- Don’t be afraid to use bottom heat. A little warmth from a heating mat can significantly speed up root development. Just place your pots on top of it.
- When you’re misting, use distilled or rainwater if your tap water is very hard. This can help prevent mineral buildup on the leaves, which can stress the young cutting. Make sure to mist every couple of days to keep things humid, but avoid waterlogged soil.
Aftercare & Troubleshooting
Once your cuttings are planted, place them in a bright spot with indirect light. Avoid direct sun, which can scorch delicate new growth. Keep the soil consistently moist, but again, never let it become waterlogged.
What are you looking for? Roots! This can take anywhere from 4 to 8 weeks, sometimes longer. You can gently tug on a cutting; if you feel resistance, it’s a good sign roots have formed. Once you see new growth on top, that’s usually another indication that your cuttings have rooted successfully.
The most common problem you’ll face is rot. If you see a cutting turning black and mushy, it’s usually a sign of too much moisture and not enough air circulation. If this happens, remove the affected cutting immediately to prevent it from spreading. Ensure your soil mix is airy and that your pots have good drainage.
A Encouraging Closing
Propagating Misodendrum punctulatum is a rewarding journey. Be patient with your cuttings, provide them with the right conditions, and most importantly, enjoy the process of nurturing new life. Each tiny root that emerges, each new leaf that unfurls, is a testament to your green thumb! Happy propagating!
Resource: