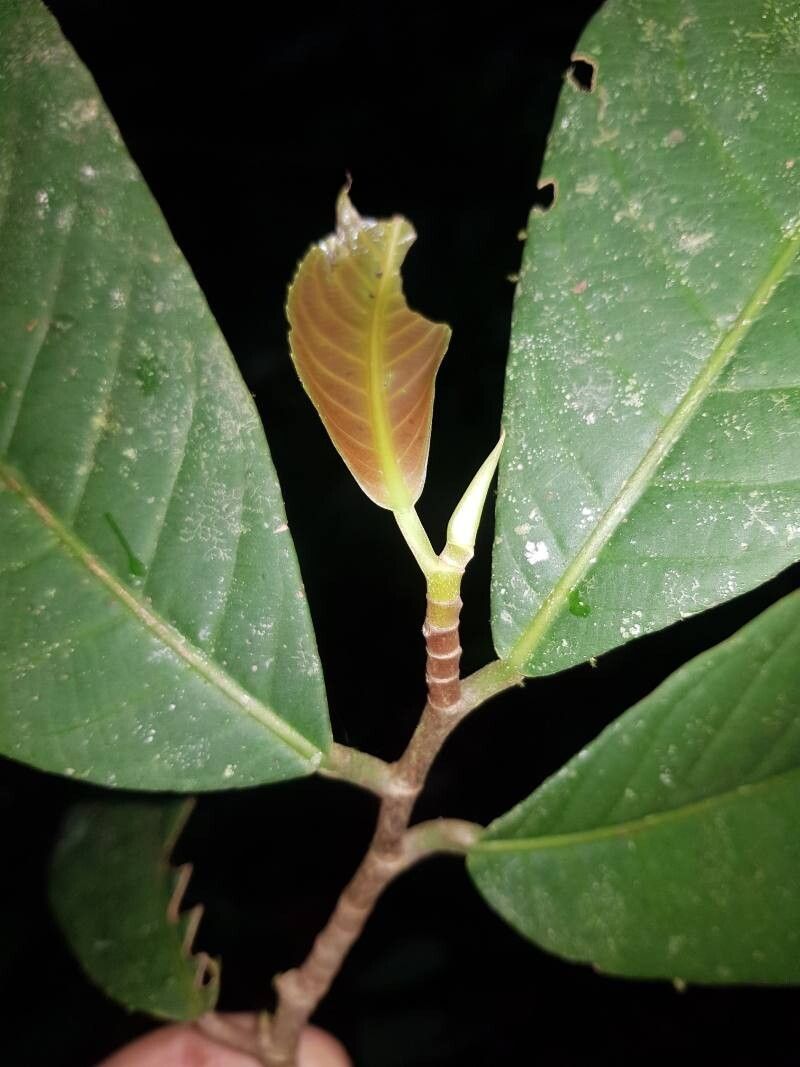
Ah, Fusispermum laxiflorum! You’ve got a real gem there. I remember the first time I saw one of these beauties. Those delicate, cascading blooms and lush foliage – it’s like a little piece of the tropics right in your garden. And the best part? Bringing more of them into existence is incredibly rewarding. Now, as for beginners, I’d say it’s moderately easy. It’s not going to throw a fit if you get a little something wrong, but it does appreciate a bit of thoughtful care.
The Best Time to Start
For Fusispermum laxiflorum, I find the late spring or early summer is your golden window. This is when the plant is actively growing after its spring burst. You’ll be taking cuttings from healthy, vigorous new growth. Think of it as harvesting the best bits when the plant is feeling its strongest and most full of life.
Supplies You’ll Need
You don’t need a whole fancy setup for this. Just a few things will do the trick:
- Sharp pruning shears or a clean knife: For making clean cuts.
- Rooting hormone (optional, but recommended): Not strictly necessary for every Fusispermum, but it can give your cuttings a real boost. I prefer a powder form.
- Well-draining potting mix: A mix of peat moss and perlite or coarse sand is excellent for this. You can also use a sterile seed-starting mix.
- Small pots or seed trays: Anything that can hold your medium and cuttings. Make sure they have drainage holes!
- Plastic bags or a propagation dome: To create a humid environment.
- Watering can with a fine rose: So you don’t blast your delicate cuttings away.
- Labels: To remember what you’ve planted, trust me!
Propagation Methods
The most reliable way I’ve found to get more Fusispermum laxiflorum is through stem cuttings. Here’s how I do it:
- Take Your Cuttings: In late spring or early summer, select a healthy, non-flowering stem. Look for a piece that’s about 4-6 inches long. Make a clean cut just below a leaf node (where a leaf attaches to the stem). This is where the magic of root formation often begins. You can take several cuttings at once, as not all of them will take.
- Prepare the Cuttings: Gently remove the lower leaves, leaving just two or three at the top. This prevents them from rotting in the soil and directs the plant’s energy towards root development. If your leaves are quite large, you can even cut them in half to reduce water loss.
- Apply Rooting Hormone (Optional): Dip the cut end of the stem into your rooting hormone, tapping off any excess. This isn’t always a must, but it makes a noticeable difference in speeding things up and improving success rates for me.
- Plant Your Cuttings: Fill your small pots or tray with your well-draining potting mix. Make a small hole with your finger or a pencil. Insert the cut end of your stem into the hole about an inch deep. Firm the soil gently around the cutting.
- Create a Humid Environment: Water the soil lightly. Then, cover the pot with a clear plastic bag or place it inside a propagation dome. This traps moisture and creates the humid microclimate that cuttings desperately need to form roots. Keep the leaves from touching the plastic if possible.
- Provide the Right Conditions: Place your pots in a location that receives bright, indirect light. Avoid direct sun, as this can scorch the delicate cuttings. The ideal temperature is warm, around 70-75°F (21-24°C).
The “Secret Sauce”
Here are a couple of things I’ve learned over the years that really make a difference:
First, and this is crucial for Fusispermum, don’t let the leaves touch the bottom of the pot or the water if you try water propagation. While I primarily use soil, for plants that can be water-propagated, this is a cardinal rule. In soil, this translates to ensuring good air circulation around your cuttings. If you’re using a plastic bag, open it up for a few minutes each day to allow for some air exchange. Second, when I’m really eager to get things moving, especially in cooler spots, I’ll place my cuttings on a heating mat. This gentle bottom heat mimics natural soil warmth and can significantly speed up root development – it’s like a little spa day for your cuttings!
Aftercare & Troubleshooting
Once you start to see new growth – small leaves unfurling or tiny roots poking out of the drainage holes – you’re on the right track!
- Acclimation: Gradually remove the plastic bag or open the dome for longer periods over a week or two. This helps the new plant adjust to lower humidity.
- Watering: Water sparingly but consistently. Let the top inch of soil dry out slightly between waterings. Overwatering is the quickest way to invite trouble.
- Repotting: Once the cuttings have developed a good root system and are showing strong new growth, you can carefully transplant them into their own small pots.
The most common issue you might encounter is rot. This usually happens because of overwatering and poor air circulation. If you see yellowing leaves or a mushy stem base, it’s probably rot. Unfortunately, there’s not much you can do once rot sets in, so prevention is key!
A Little Patience, A Lot of Joy
Propagating Fusispermum laxiflorum is a journey. It requires a bit of patience, a watchful eye, and a willingness to learn from each little green sprout. Don’t get discouraged if some don’t make it; that’s just part of the gardening dance. Savor the process of nurturing new life, and soon you’ll have more of these lovely plants to enjoy and share! Happy growing!
Resource:
https://identify.plantnet.org/k-world-flora/species/Fusispermum%20laxiflorum%20Hekking/data