Hello my fellow garden enthusiasts!
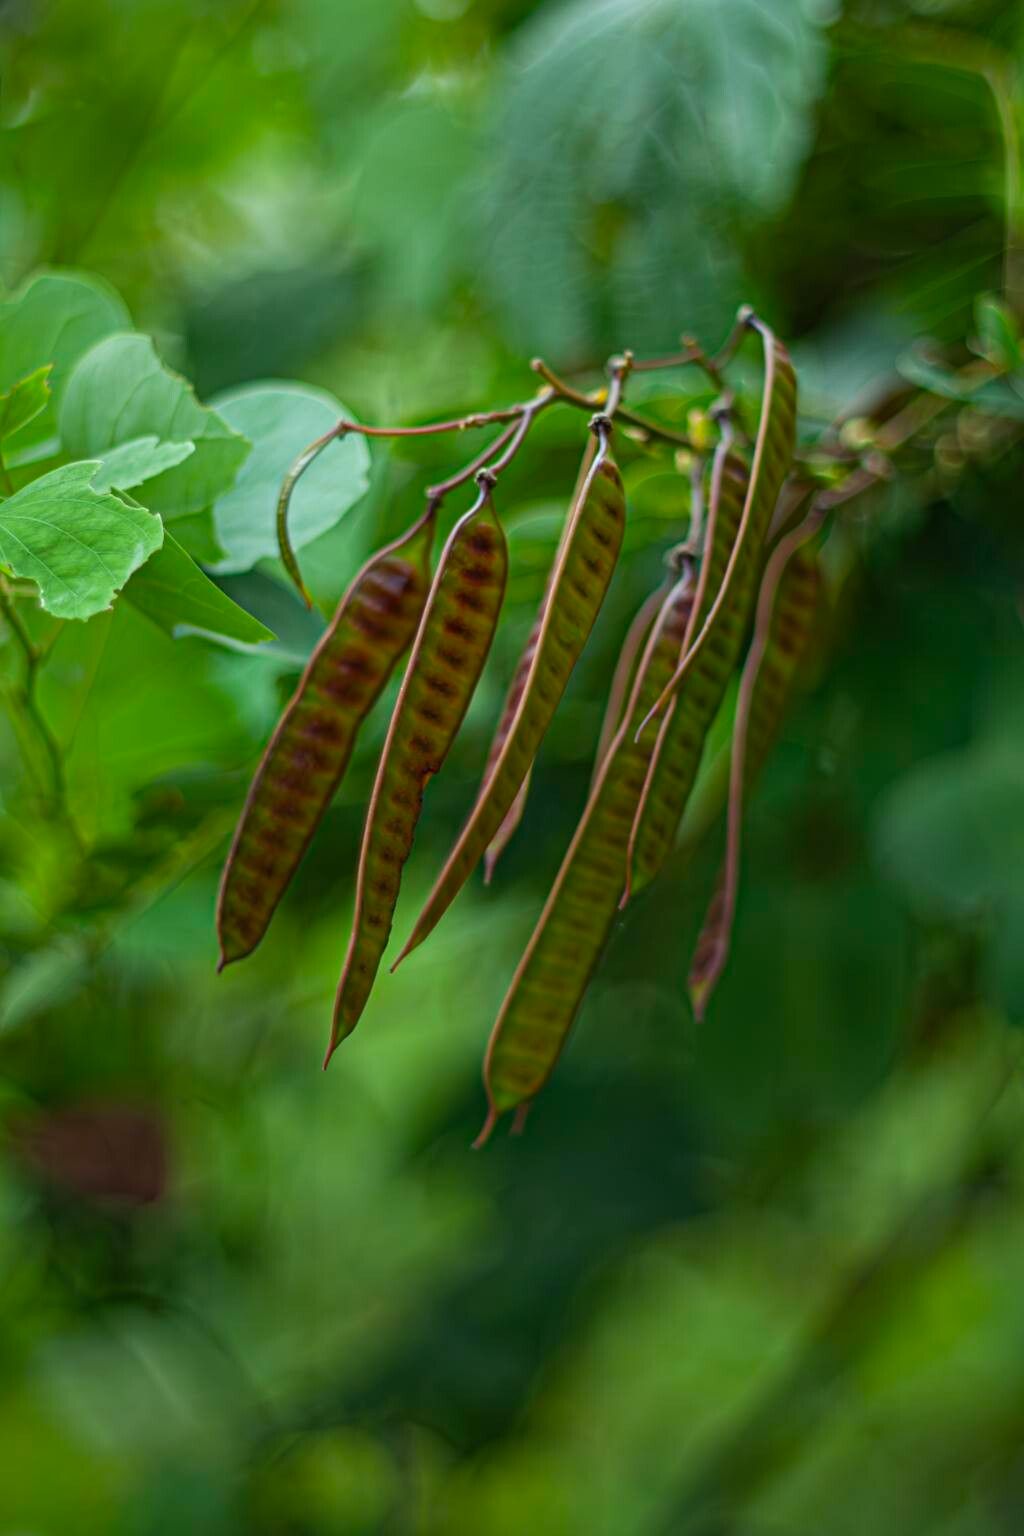
If you’re looking for a plant that brings a touch of the tropics with its delicate, fern-like foliage and charming puffball flowers, you’ve got to meet Leucaena leucocephala. Often called “Jungle Pride” or “White Popinac,” this beauty is a real showstopper. And guess what? It’s surprisingly satisfying to start your own from scratch. For beginners? I’d say it’s moderately easy, with a little attention to detail. Let’s get our hands dirty and bring more of this lovely plant into our lives!
The Best Time to Start
The sweet spot for propagating Leucaena leucocephala is definitely during its active growing season. Think late spring through summer. This is when the plant has the most energy to put into developing new roots. Starting with healthy, vibrant stems from this period gives you the best shot at success.
Supplies You’ll Need
To get our propagation party started, here’s what you should have on hand:
- Sharp pruning shears or a clean, sharp knife: For making clean cuts.
- Rooting hormone powder or gel: This is a great boost for those reluctant roots.
- Potting mix: A well-draining blend is crucial. I like a mix of peat moss, perlite, and a bit of compost. You can also use a seed starting mix.
- Small pots or seedling trays: With drainage holes, of course!
- A clear plastic bag or a propagator lid: To create a humid environment.
- Water: For misting and for water propagation.
- Optional: Bottom heat mat: This can significantly speed up root development.
Propagation Methods
I find the most reliable way to propagate Leucaena leucocephala is through stem cuttings. It’s straightforward and usually yields great results.
Stem Cuttings:
- Select your cutting: Look for healthy, semi-hardwood stems on your established plant. These are stems that are no longer brand new and floppy but haven’t become woody and stiff. Aim for cuttings about 4-6 inches long.
- Make the cut: Using your clean shears or knife, make a clean cut just below a leaf node (where a leaf attaches to the stem). This is where the magic happens, as roots are more likely to form from these areas.
- Prepare the cutting: Remove the lower leaves, leaving just a couple of top leaves. If the top leaves are very large, you can even cut them in half to reduce water loss.
- Apply rooting hormone: Dip the cut end into rooting hormone powder or gel, tapping off any excess. This step is really helpful for Leucaena.
- Plant your cutting: Gently insert the treated end into your prepared potting mix. Make sure it’s firm enough to stand on its own.
- Create humidity: Water the soil gently. Then, cover the pot with a clear plastic bag or place it in a propagator lid. This is key to preventing the cutting from drying out. You want to create a mini-greenhouse effect.
- Provide bright, indirect light: Place the pot in a warm location with bright, but not direct, sunlight. Too much sun can scorch those delicate cuttings.
Water Propagation (A little less common for this one, but can work!):
- Prepare the cutting: Follow steps 1-3 from the stem cuttings method.
- Place in water: Place the cutting in a jar or vase of clean water. Ensure that no leaves are submerged; they’ll just rot. If you have lower leaves that are close to the water line, remove them.
- Change water regularly: Change the water every few days to keep it fresh and prevent bacterial growth.
- Wait for roots: You should start to see tiny white roots emerging from the nodes in a few weeks. Once the roots are about an inch long, you can carefully transplant them into a pot with potting mix.
The “Secret Sauce” (Pro Tips)
Here are a couple of little tricks I’ve learned over the years that really help with tricky propagations:
- Bottom warmth is your friend: If you have a bottom heat mat, use it! Keeping the soil temperature a consistent 70-75°F (21-24°C) will dramatically speed up root formation. It’s like giving your cuttings a cozy, warm bed to grow in.
- Don’t overwater, but don’t let it get bone dry: This is a balance. Your cuttings need moisture to survive, but soggy soil is a fast track to rot. Check the soil moisture regularly by feeling it with your finger. If the top inch feels dry, give it a light watering. The plastic bag helps keep that moisture in.
Aftercare & Troubleshooting
Once you see new leaf growth or notice resistance when gently tugging on the cutting (a sign of roots!), you’re well on your way!
- Acclimate slowly: If you used a plastic bag, gradually introduce your new plant to drier air by opening the bag for longer periods each day. This helps it adjust.
- Potting up: Once your rooted cuttings have a few sets of true leaves and a good root system (you might see roots peeking out the bottom of the pot), it’s time to pot them into slightly larger containers with fresh, good-quality potting mix.
- Watch for rot: The most common issue is rot, which looks like a mushy, black stem base. This is usually caused by overwatering and poor drainage. If you see this, it’s sadly likely gone. Remove it and try again, ensuring better air circulation and a less soggy environment.
- Wilting: If a cutting wilts, it could be drying out (increase humidity) or suffering from rot (check drainage and soil moisture).
A Little Patience Goes a Long Way
Propagating plants is a journey, and Leucaena leucocephala is no exception. Don’t be discouraged if your first few attempts aren’t perfect. Each cutting is a learning opportunity. Enjoy the process of nurturing these little green shoots, and soon you’ll be rewarded with beautiful new plants to share or admire.
Happy gardening!
Resource:
https://identify.plantnet.org/k-world-flora/species/Leucaena%20leucocephala%20(Lam.)%20de%20Wit/data