Hey there, fellow garden enthusiasts!
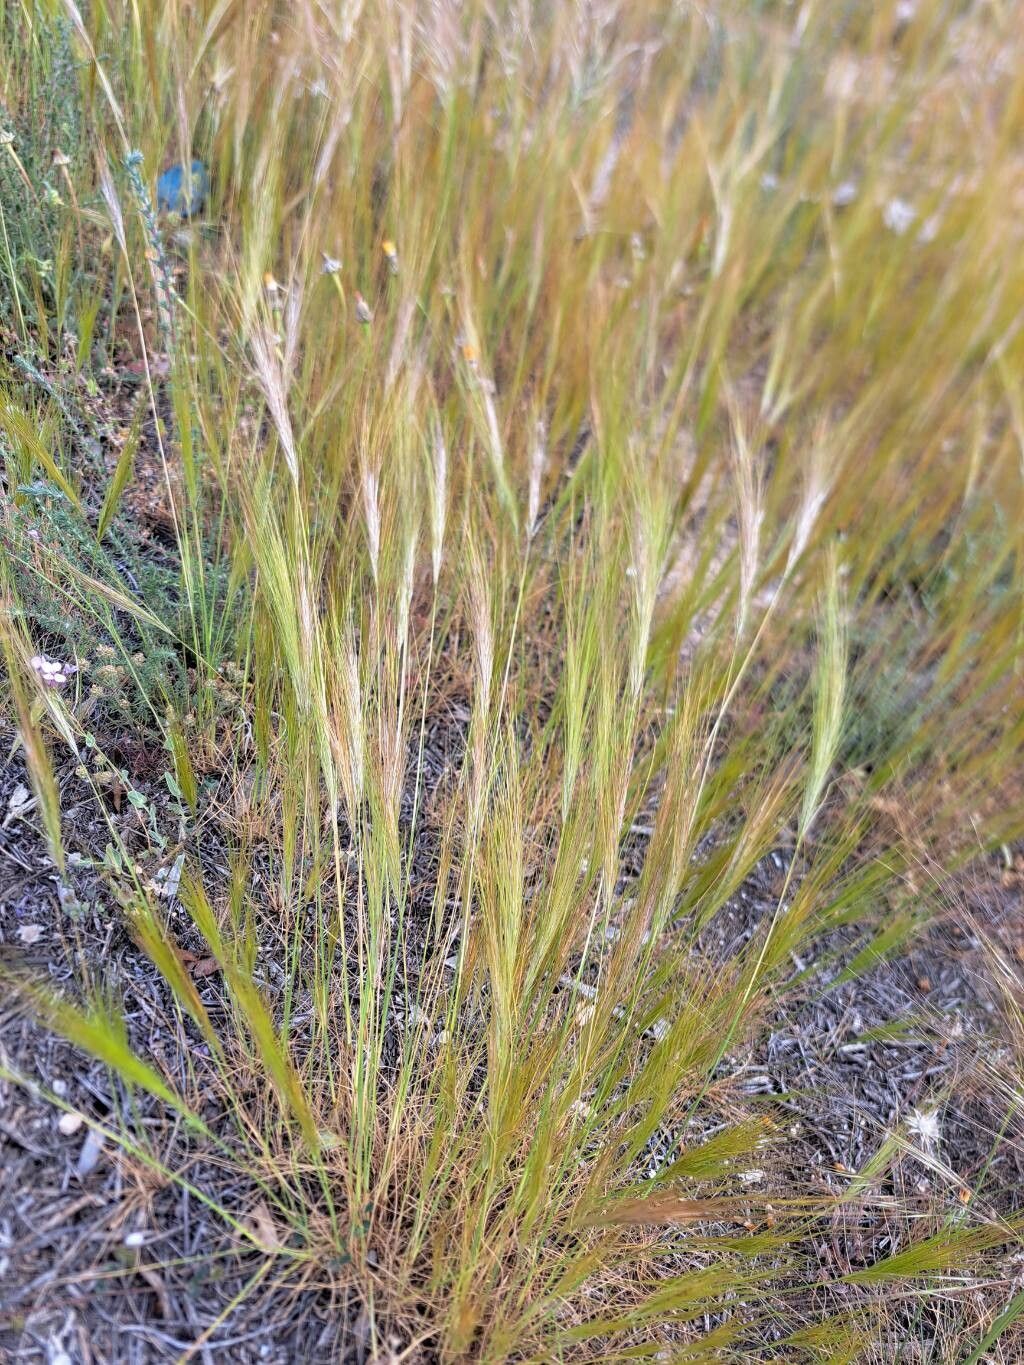
Today, we’re diving into the wonderful world of Stipellula capensis, a plant I’ve come to adore. You know, it’s one of those gems that brings a delightful splash of texture and subtle beauty to any space. Its delicate, feathery foliage and charming little flowers are simply captivating. And the best part? Sharing it! Propagating Stipellula capensis is incredibly rewarding, allowing you to fill your garden, share with friends, or even start a few more for indoor delights. For beginners, I’d say it’s a moderately easy plant to propagate, with a little patience and the right approach.
The Best Time to Start
Honestly, the sweet spot for propagating Stipellula capensis is when the plant is actively growing, typically during the spring and summer months. You want to take cuttings from healthy, non-flowering stems. Think of it like this: the plant is full of energy and ready to branch out!
Supplies You’ll Need
Here’s what you’ll want to have on hand for a smooth propagation session:
- Sharp, clean pruning shears or a sharp knife: This is crucial for making clean cuts to prevent disease.
- A rooting hormone powder or gel (optional but recommended): This encourages faster and stronger root development.
- A well-draining potting mix: I like a blend of standard potting soil with perlite or coarse sand to ensure good aeration.
- Small pots or propagation trays: Clean ones are a must!
- A watering can with a fine rose or a spray bottle: Gentle watering is key.
- Plastic bags or a propagation dome: To create a humid environment.
Propagation Methods
Let’s get our hands dirty! The most successful way I’ve found to propagate Stipellula capensis is through stem cuttings.
- Take Your Cuttings: Look for healthy, vigorous stems on your mature plant. You want cuttings that are about 4-6 inches long. Make a clean cut just below a leaf node (where a leaf attaches to the stem). Remove the lower leaves, leaving just a few at the top.
- Apply Rooting Hormone (Optional): If you’re using rooting hormone, dip the cut end of the stem into the powder or gel. Tap off any excess.
- Plant Your Cuttings: Fill your small pots or trays with your prepared potting mix. Make a small hole in the center of the soil with your finger or a pencil. Gently insert the cut end of the stem into the hole, ensuring the leaf nodes are buried. Firm the soil gently around the stem.
- Water Gently: Water the soil thoroughly but gently. You don’t want to dislodge the cuttings.
- Create Humidity: This is where the magic happens! Cover the pots or trays with a plastic bag or a propagation dome. This traps moisture and creates a humid environment, which is vital for root formation. Make sure the plastic doesn’t touch the leaves too much. You can use small stakes to create a tent if needed.
- Find the Right Spot: Place the pots in a bright location, but out of direct, harsh sunlight. A windowsill that gets bright, indirect light is perfect.
The “Secret Sauce” (Pro Tips)
Over the years, I’ve learned a few tricks that really boost my success rate.
- Bottom Heat is Your Friend: If you can, place your propagation trays on a heat mat designed for plants. This gentle warmth from below mimics spring soil temperatures and can significantly speed up root development. It’s a game-changer, especially if your home is on the cooler side.
- Air It Out Daily: While humidity is important, remember to lift the plastic bag or dome for a few minutes each day to allow for fresh air circulation. This helps prevent fungal diseases and keeps things from getting too stagnant.
- Don’t Rush the Pull: Resist the urge to tug on your cuttings to see if they’ve rooted! You’ll know they’re ready when you see new growth appearing. This is the surest sign that roots have formed and your new plant is established.
Aftercare & Troubleshooting
Once you start seeing signs of new growth – tiny leaves unfurling or little shoots reaching for the light – it’s time for a little adjustment.
Gently decrease the humidity over a week or so by gradually opening up the plastic bag or dome. Continue to keep the soil consistently moist but not waterlogged. As your new plants grow stronger, you can eventually transplant them into slightly larger pots with fresh potting mix.
If you notice your cuttings wilting heavily, turning yellow, or developing black, soft spots, it’s usually a sign of overwatering or lack of sufficient light. Rot is the most common culprit. Ensure your soil is well-draining and that you’re not keeping them too wet. If a cutting does show signs of rot, sadly, it’s best to remove it to prevent it from spreading.
A Little Encouragement
Growing new plants from cuttings is such a satisfying journey. It takes a bit of patience, some keen observation, and of course, that special nurturing touch. Don’t be discouraged if your first few attempts aren’t perfect – every gardener has had their share of trials! Just keep practicing, learn from what you observe, and enjoy the hopeful anticipation as you watch those tiny roots take hold. Happy propagating!
Resource: