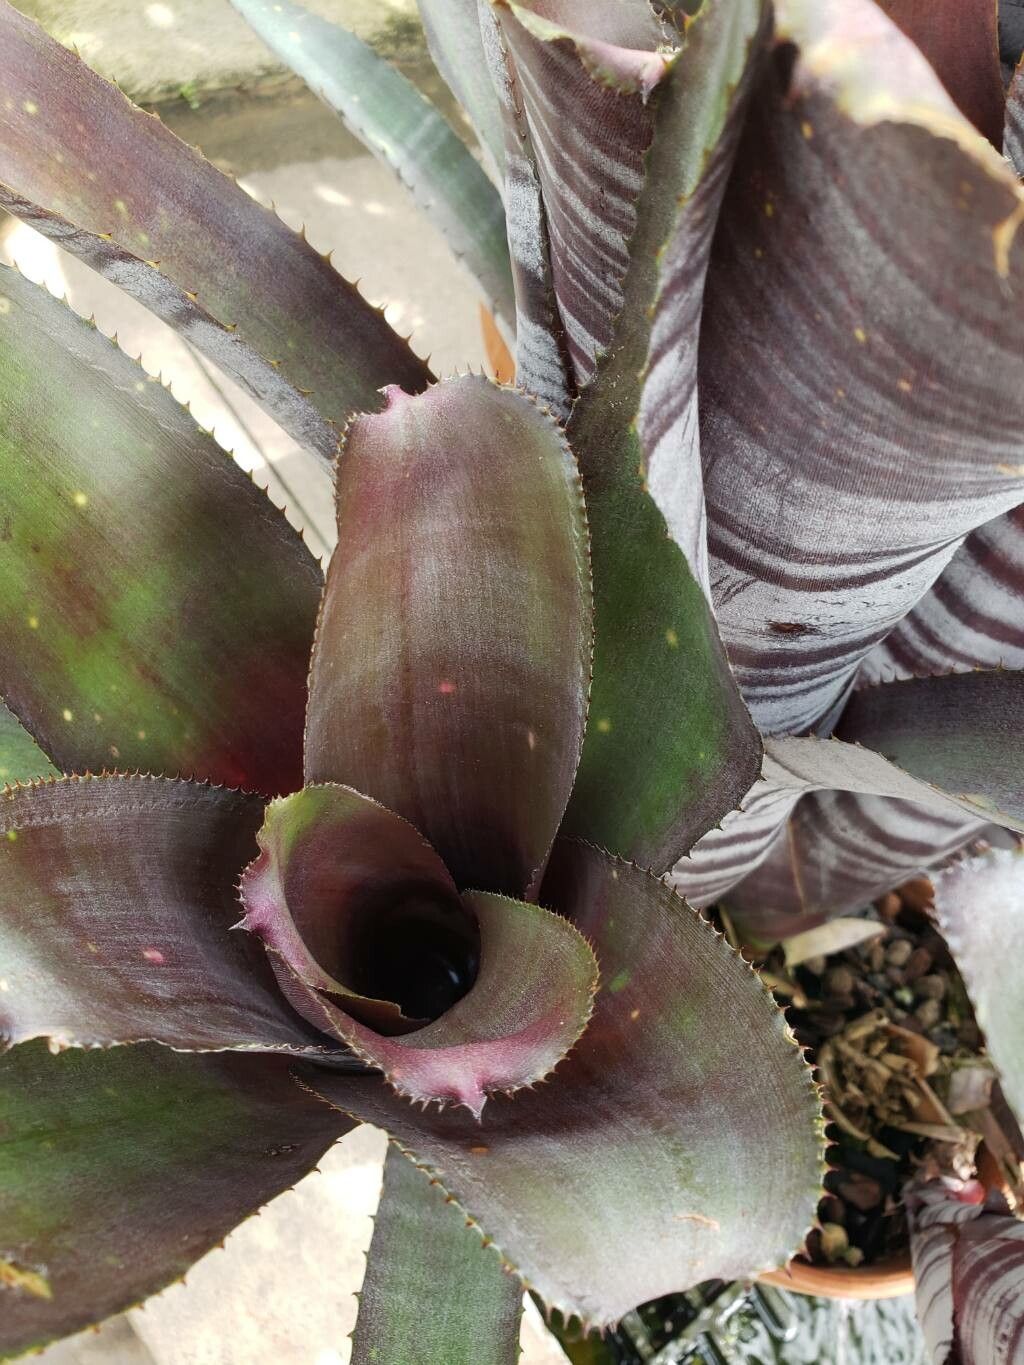
Hello, fellow plant enthusiasts! Today, we’re diving into the wonderful world of Billbergia horrida. If you’re a fan of striking foliage and a bit of architectural flair in your home, this bromeliad is for you. Its spiky, architectural rosettes and often vibrant colors are truly a sight to behold. And the best part? Propagating your own Billbergia horrida is a fantastic way to expand your collection or share these beauties with friends. For beginners, I’d say it’s a moderately easy plant to propagate, requiring just a little patience and attentiveness.
The Best Time to Start
The absolute sweet spot for propagating Billbergia horrida is during its active growing season. This generally means late spring through summer. You’ll have the most success when the parent plant is healthy and showing signs of new growth. This is when it has the most energy reserves to put into producing pups or new shoots.
Supplies You’ll Need
Gathering your tools beforehand makes the whole process smoother. Here’s what I usually have on hand:
- Sharp pruning shears or a clean knife: For making clean cuts.
- Well-draining potting mix: A mix formulated for bromeliads or cacti/succulents works perfectly. I often add some perlite or orchid bark to my base mix for extra aeration.
- Small pots or containers: Terracotta pots are great because they breathe well.
- Rooting hormone (optional but helpful): A product containing IBA can give your cuttings a boost.
- Spray bottle: For misting.
- Gloves: If you’re sensitive to the plant’s prickles, these are a lifesaver!
Propagation Methods
The most common and successful way to propagate Billbergia horrida is through division, or by separating the pups that naturally form at the base of the mother plant.
Propagating Pups (Offsets):
- Inspect your Billbergia: Look for small plantlets, called pups, that are growing from the base of the main plant. They usually emerge between the leaves of the mother plant.
- Wait for them to grow a bit: Ideally, the pups should be at least a few inches tall and have started to develop their own roots. This makes them more resilient.
- Carefully separate: Gently ease the soil away from the base of the pup. You can use your fingers or a small trowel.
- Make the cut: Using your sharp pruning shears or knife, make a clean cut as close to the mother plant as possible. If the pup has its own roots, great! If not, don’t worry, it will develop them.
- Let it callus: This is an important step! Place the separated pup in a dry, airy place for a day or two. This allows the cut surface to dry and form a callus, which helps prevent rot when you plant it.
- Pot it up: Fill your small pot with your well-draining potting mix. Make a small hole in the center and gently insert the callused base of the pup. Firm the soil around it. If it’s a bit wobbly, you can prop it up with a small stick or rocks.
- Water sparingly: Water very lightly after potting. From here on, water only when the soil is almost dry.
The “Secret Sauce” (Pro Tips)
Here are a couple of tricks I’ve learned over the years that really make a difference:
- Let the pups root in situ first: Before you even think about cutting, let those pups grow as much as they can attached to the mother plant. The mother plant provides them with all the nutrients they need. The bigger they are when you separate them, the faster they’ll establish themselves.
- Don’t let the crown hold water: When you water your potted pup, try to avoid getting water trapped in the central cup (the “tank”) that forms in the leaves. For Billbergias, it’s better to water the soil directly. If water gets in the crown, gently tip the pot to drain it out. This significantly reduces the risk of rot.
Aftercare & Troubleshooting
Once your pup is potted, place it in a bright spot but out of direct, harsh sunlight. Think bright, indirect light. Water sparingly, allowing the soil to dry out between waterings. You’re looking for signs of new leaf growth, which indicates that roots are forming and the plant is happy.
The most common issue you’ll encounter is rot. If you see your pup turning mushy or black at the base, it’s likely due to too much moisture. Unfortunately, if rot sets in deeply, it can be hard to save. This is why proper drainage and letting the soil dry out between waterings are so crucial. Sometimes, a pup might just seem to do nothing for a while. This is usually just a sign of patience needed, not a failure. Give it time!
A Encouraging Closing
Propagating your own Billbergia horrida is such a rewarding journey. It’s a little bit of magic, watching a tiny pup transform into a magnificent plant. Be patient with your new arrivals, trust the process, and don’t be afraid to try. Happy gardening!
Resource:
https://identify.plantnet.org/k-world-flora/species/Billbergia%20horrida%20Regel/data