Hello fellow garden enthusiasts! Let’s chat about a plant that truly deserves more attention: Randia thurberi, often called the Desert Mock Orange. Its fragrant, star-shaped white flowers perfume the air with a sweet, citrusy scent, and those glossy green leaves? Just gorgeous. If you’ve ever admired one and thought, “I wish I had more of those!”, then propagating Randia thurberi is a wonderful way to get them. Honestly, it’s not a plant that typically throws beginners a curveball, but a little know-how goes a long way to ensure success.
The Best Time to Start
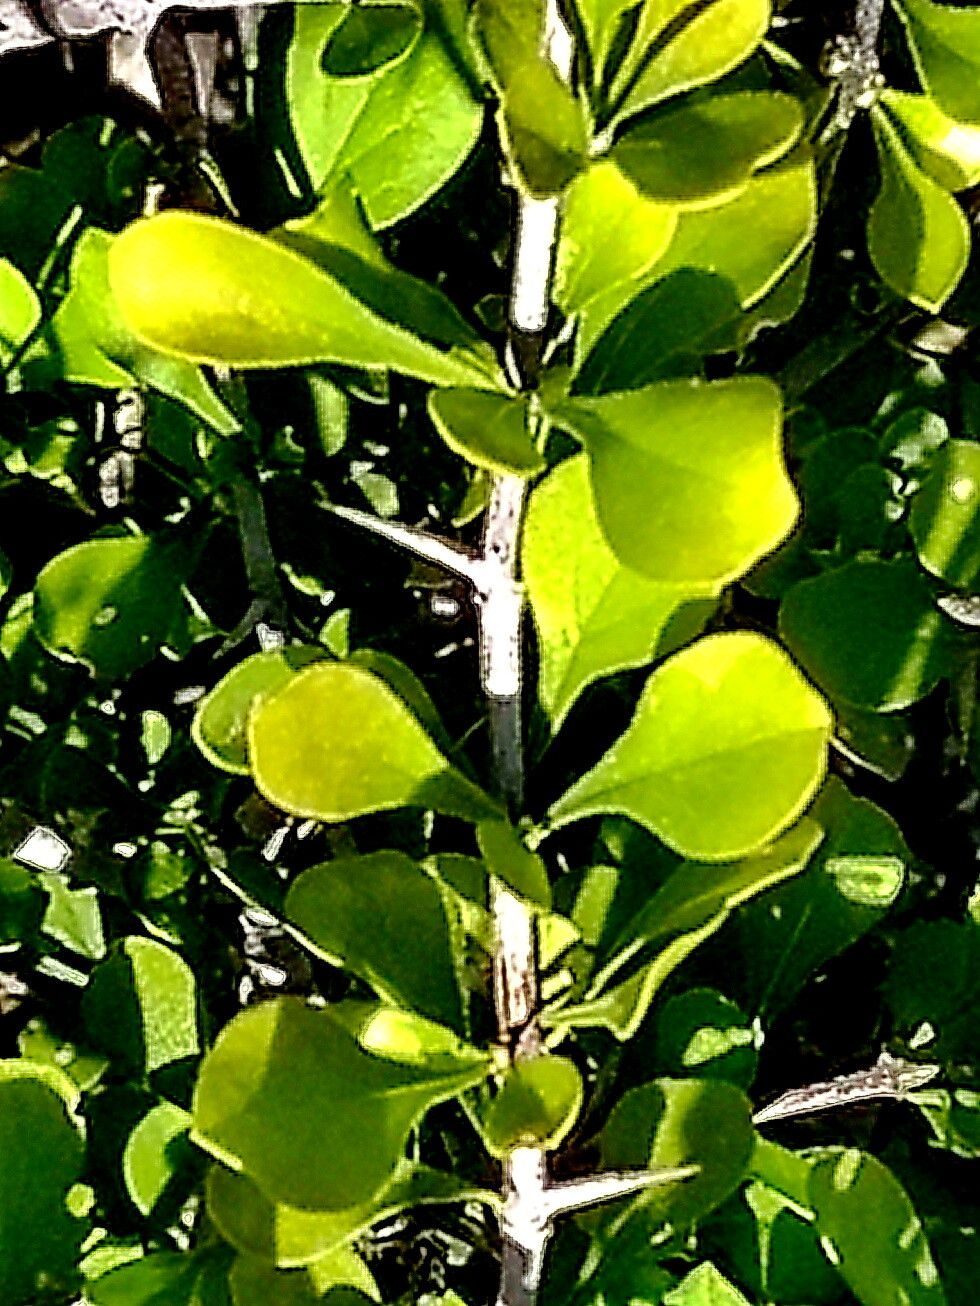
For the best shot at happy new plants, aim for late spring to early summer. This is when your Randia thurberi is actively growing and has plenty of energy to put into developing roots. You want to be taking cuttings from healthy, actively growing stems, not woody, old growth. Think bright green, bendy stems.
Supplies You’ll Need
- Sharp pruning shears or a clean, sharp knife: Essential for making clean cuts, which helps prevent disease.
- Rooting hormone (optional but recommended): This powder or gel can give your cuttings a real boost.
- Well-draining potting mix: A good blend is crucial. I like to use a mix of potting soil and perlite or coarse sand, about a 50/50 ratio. You can also find specific cactus and succulent mixes that work well.
- Small pots or seedling trays: Make sure they have drainage holes!
- Clear plastic bags or a propagator lid: These create a humid microclimate, which is super important for cuttings.
- Watering can or spray bottle: For gentle watering.
Propagation Methods
I find stem cuttings to be the most reliable method for Randia thurberi.
- Take Your Cuttings: Select a healthy, actively growing stem. Using your clean shears, take a cutting about 4-6 inches long. Make the cut just below a leaf node (where a leaf attaches to the stem).
- Prepare the Cuttings: Gently remove the lower leaves from the cutting, leaving just a few at the top. This prevents them from rotting in the soil. If your leaves are large, you can even cut them in half to reduce water loss.
- Apply Rooting Hormone (if using): Dip the cut end of the stem into the rooting hormone, tapping off any excess.
- Pot Them Up: Fill your small pots with your well-draining potting mix. Make a small hole in the center with your finger or a pencil. Insert the cut end of your Randia thurberi cutting into the hole, and gently firm the soil around it.
- Water Gently: Water the soil thoroughly but be careful not to overwater. You want the soil to be moist, not soggy.
The “Secret Sauce” (Pro Tips)
- Bottom Heat is Your Friend: Where possible, I love to place my pots on a heat mat. This gentle warmth encourages root development from the bottom of the cutting. You don’t need it super hot, just a consistent, mild temperature.
- Humidity is Key: After potting, I’ll pop each pot into a clear plastic bag, like a mini greenhouse. Keep the leaves from touching the sides of the bag as much as possible. Alternatively, a propagator lid works wonders. This high humidity prevents the cuttings from drying out before they can grow roots.
- Be Patient with the Patience: Randia thurberi isn’t the fastest rooter. Don’t be tempted to pull them up to check for roots too soon!
Aftercare & Troubleshooting
Once your cuttings are potted, keep them in bright, indirect light. Direct sun can scorch tender new growth. Mist the leaves occasionally if you’re not using a bag or lid, but the main goal is to keep the soil consistently moist but not waterlogged.
You’ll know your cutting has rooted when you see new leaf growth. This can take anywhere from 4-8 weeks, sometimes longer. If you tug gently on the cutting and feel resistance, that’s another good sign.
The most common problem you might encounter is rot. This usually happens from too much moisture. If you see a cutting turning black and mushy, it’s best to discard it to prevent it from affecting others. This is why that well-draining soil is so vital!
Happy Growing!
See? Not so daunting, is it? Propagating Randia thurberi is a satisfying process that rewards your patience. Enjoy watching those tiny miracles unfold. Before you know it, you’ll have beautiful new fragrant plants to admire, or even share with friends. Happy gardening!
Resource:
https://identify.plantnet.org/k-world-flora/species/Randia%20thurberi%20S.Watson/data