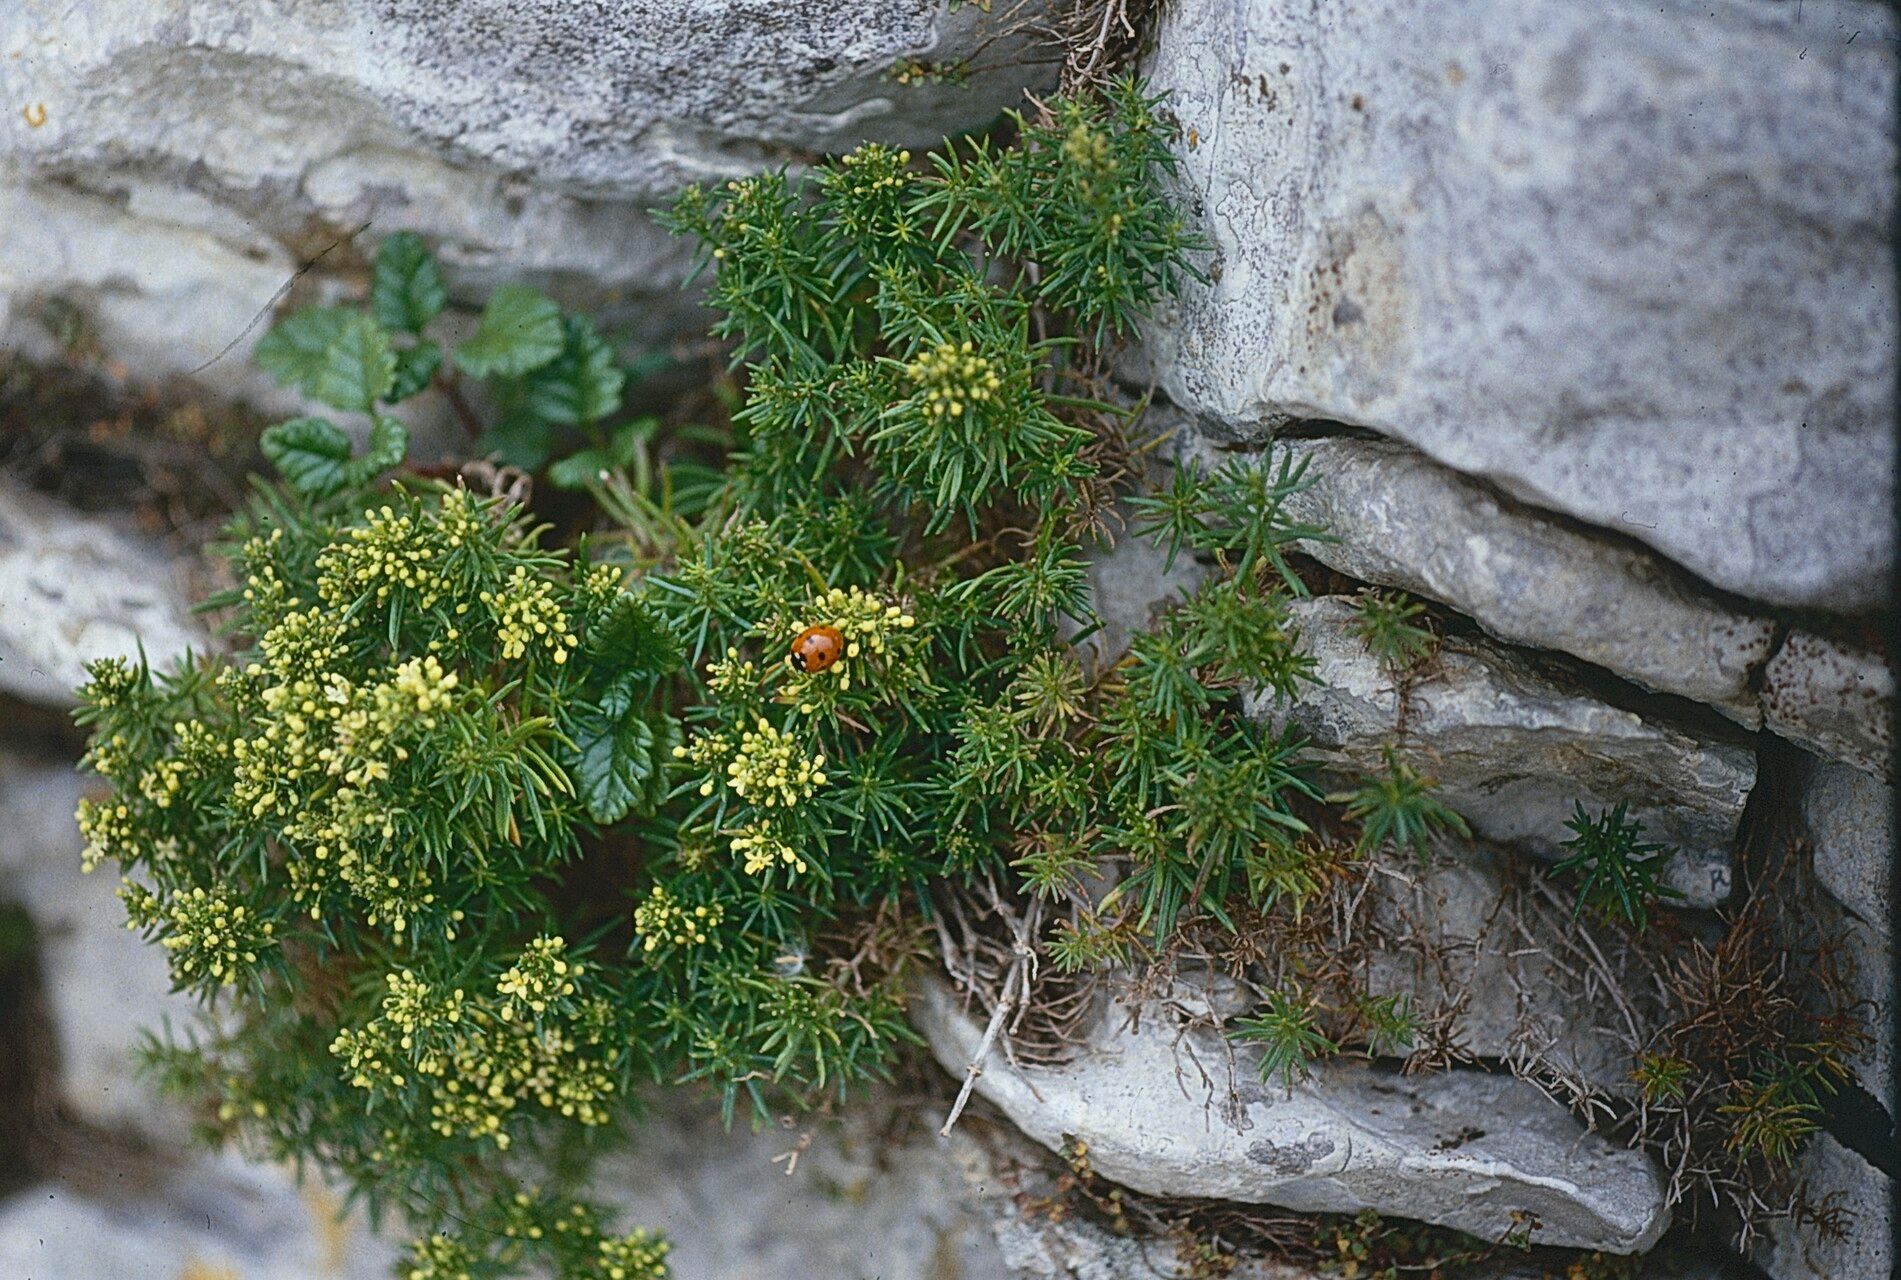
Oh, hello there! Come on in, grab a mug of your favorite brew. I’m so glad you’re interested in Galium crespianum. Isn’t it just a divine little plant? With its delicate, starry blooms and lovely fragrance, it really adds a touch of magic to any garden or growing space. And the best part? Sharing that magic by propagating it yourself is incredibly rewarding. Honestly, I find Galium crespianum to be a pretty forgiving plant to multiply, even for those just starting out on their propagation journey. Don’t let it intimidate you!
When to Get Your Hands Dirty
For the highest success rate with Galium crespianum, late spring or early summer is your golden ticket. This is when the plant is actively growing and has plenty of energy to put into developing new roots. You want to take cuttings from healthy, non-flowering stems. Think of it as harvesting tender new shoots before they get too woody.
What You’ll Need for Success
Gathering your supplies beforehand makes the whole process much smoother. Here’s what I always have on hand:
- Sharp, clean pruning shears or a craft knife: A clean cut is crucial to prevent disease.
- Rooting hormone (optional but recommended): For an extra boost.
- Small pots or seed trays: Clean ones, of course!
- Well-draining potting mix: I like a blend of seed-starting mix and perlite, about a 50/50 ratio. This ensures good aeration and prevents those precious roots from getting waterlogged.
- Plastic bags or a propagation dome: To create a humid environment.
- Watering can or spray bottle: For gentle watering.
Methods to Multiply Your Galium Crespianum
I’ve found two main methods work wonderfully for this plant: stem cuttings and division, though stem cuttings are my go-to for Galium crespianum.
Stem Cuttings:
- Take Your Cuttings: Using your clean shears, take 3-4 inch cuttings from the tip of healthy, non-flowering stems. Make the cut just below a leaf node (where the leaves attach to the stem).
- Prepare the Cuttings: Gently strip off the lower leaves. You want to leave just a couple of sets of leaves at the top. If the leaves are large, you can even cut them in half horizontally to reduce water loss.
- Apply Rooting Hormone (Optional): Dip the cut end of each cutting into your rooting hormone, tapping off any excess.
- Plant Your Cuttings: Fill your pots with your prepared potting mix. Make a small hole with your finger or a pencil and insert the cuttings about an inch deep. Gently firm the soil around them.
- Create Humidity: Water the soil lightly, and then cover the pots with a plastic bag or place them under a propagation dome. This traps moisture and keeps the cuttings from drying out.
- Provide Light & Warmth: Place the pots in a spot with bright, indirect light. Avoid direct sun, which can scorch those tender cuttings. A little bottom heat from a propagation mat can speed things up, but it’s not strictly necessary.
Division (Best in Spring):
If you have an established clump, division is a breeze.
- Gently Excavate: Carefully dig up the entire plant.
- Separate the Roots: Gently tease apart the root ball, trying to keep as much soil around the roots as possible. You’re looking to separate it into smaller sections, each with healthy roots and some leafy growth.
- Replant Immediately: Pot up the divisions into well-draining soil, water them in, and treat them as you would a newly planted specimen.
The “Secret Sauce” from My Garden
Over the years, I’ve learned a few little tricks that make a big difference.
- Don’t Let Leaves Touch the Water: If you opt for water propagation (though I find it trickier with Galium crespianum), make sure the leaves are well above the waterline. Any submerged foliage will inevitably rot and invite disease.
- Air Circulation is Key: While you want that humidity, don’t seal things up completely. Briefly lifting the plastic bag or opening the dome for a few minutes each day helps prevent fungal issues. Think of it as a little breath of fresh air for your babies.
- Patience with Potting: Resist the urge to transplant too soon! Wait until you see new growth emerging or can gently tug on a cutting and feel resistance from developing roots.
Aftercare & If Things Go Awry
Once your Galium crespianum cuttings have rooted (you’ll see new growth!), it’s time to transition them. Gradually remove the plastic covering over a few days to acclimate them to normal humidity. Continue to keep the soil consistently moist but not soggy.
If you notice mushy, blackened stems or wilting that doesn’t recover after watering, it’s often a sign of rot. This usually happens due to overwatering and poor drainage. Sadly, once rot sets in, it’s very difficult to save a cutting. Don’t be discouraged – it’s just part of the learning curve! Try again with new cuttings, making sure your soil drains well and you’re not overdoing the watering.
And there you have it! Propagating Galium crespianum is a wonderful way to expand your collection or share these beauties with friends. Be patient, trust the process, and enjoy watching those tiny new plants take hold. Happy growing!
Resource:
https://identify.plantnet.org/k-world-flora/species/Galium%20crespianum%20Rodr./data