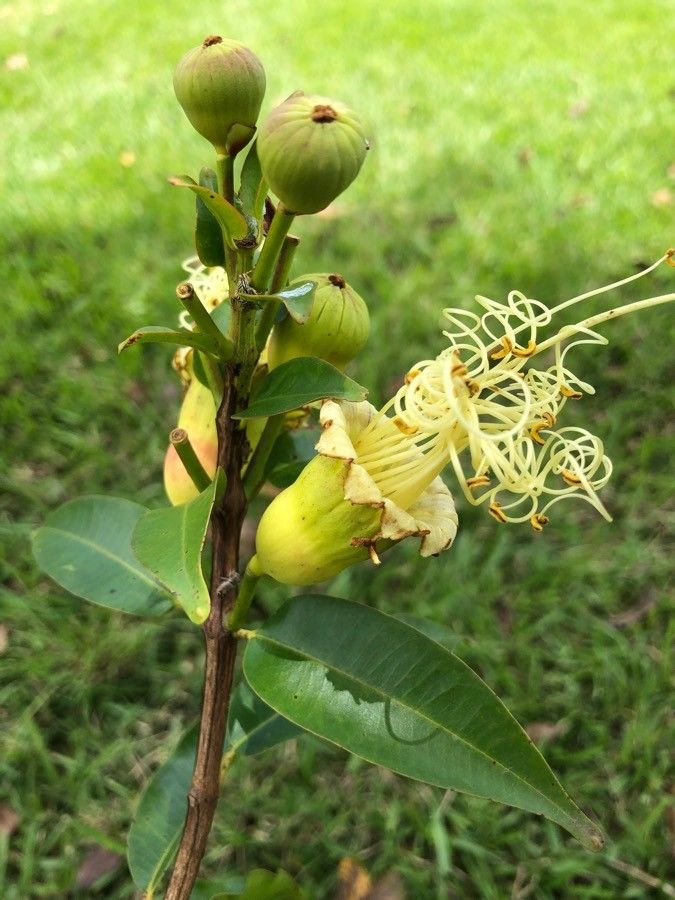
Oh, hello there! Come on in, grab a mug. Let’s talk about Lafoensia punicifolia. This plant, with its gorgeous, often vibrant flowers and lovely foliage, is a real treasure. And the joy that comes from coaxing a brand-new plant into existence from a tiny piece of its parent? Well, that’s just pure gardening magic, isn’t it? Propagating Lafoensia punicifolia can be a bit of a journey, but it’s definitely one worth taking. While it might not be the absolute easiest plant for a complete beginner, with a little patience and the right approach, you’ll be multiplying your collection in no time.
The Best Time to Start
For the highest success rate with Lafoensia punicifolia, you’ll want to focus on propagating when the plant is actively growing. This generally means late spring or early summer. The stems are typically softer and more pliable at this time, and the plant has plenty of energy to dedicate to root development. You’re looking for new growth that isn’t too woody but not so soft that it wilts instantly. Think of it as the plant’s prime time!
Supplies You’ll Need
Gathering your supplies before you begin always makes the process smoother. Here’s what I usually have on hand:
- Sharp Pruning Shears or a Clean Knife: For making clean cuts.
- Rooting Hormone: A powdery or liquid formula can give young cuttings a great head start.
- A Well-Draining Potting Mix: I like a blend of peat moss or coir, perlite, and a bit of compost. You want something airy that won’t hold too much moisture.
- Small Pots or Seedling Trays: Clean ones are key!
- Plastic Bags or a Propagator Lid: To create a humid environment.
- A Spray Bottle: For misting.
- Optional: Bottom Heat Mat: This can significantly speed up root formation.
Propagation Methods: Stem Cuttings
Stem cuttings are usually the most successful way to propagate Lafoensia punicifolia. Here’s how I do it:
- Select Your Cuttings: Look for healthy, vigorous stems. Take cuttings that are about 4-6 inches long. Gently snip them from the parent plant. Try to make your cut just below a leaf node (where a leaf attaches to the stem).
- Prepare the Cuttings: Remove any lower leaves, leaving just a few at the very top. This prevents them from rotting in the soil.
- Apply Rooting Hormone: Dip the cut end of each stem into your chosen rooting hormone. Tap off any excess. This step is crucial for encouraging strong root development.
- Plant Your Cuttings: Fill your small pots with your prepared potting mix. Make a small hole in the center of the soil with a pencil or your finger. Insert the cutting into the hole, ensuring the leaf nodes you stripped are below the soil surface. Gently firm the soil around the stem.
- Water Gently: Water the soil thoroughly but gently. You don’t want to dislodge the cuttings.
- Create Humidity: Place a plastic bag over the pot or cover it with a propagator lid. You want to trap moisture. If using a bag, you can use skewers to prop it up so it doesn’t touch the leaves.
The “Secret Sauce” (Pro Tips)
Over the years, I’ve learned a few tricks that seem to make a real difference, especially with slightly fussier plants.
- First, don’t let the leaves touch the water if you’re experimenting with water propagation (which can be trickier for Lafoensia, by the way). Submerged leaves are a quick invitation to rot. Keep the foliage above the water line.
- Second, and this one is critical for stem cuttings, use bottom heat if at all possible. A propagator with a heat mat that keeps the soil temperature around 70-75°F (21-24°C) is a game-changer. It signals to the cutting that it’s time to start rooting, even if the air temperature is a bit cooler.
- My third tip? Be patient with your watering. While you want the soil moist, you absolutely do not want it waterlogged. Overwatering is the quickest way to lose your precious cuttings to rot. Let the surface of the soil just begin to dry out before watering again.
Aftercare & Troubleshooting
Once those little roots start to form (you might see them peeking out the drainage holes or feel a gentle tug when you lightly pull on the cutting), it’s time for a change in care.
Start by gradually increasing ventilation. If you’re using a plastic bag, gradually open it a little each day for a week or so. Remove the bag entirely once the cutting looks robust. You can also move the new plants to a brighter location, but still avoid direct, harsh sunlight. Continue to water when the top inch of soil feels dry.
Now, about troubleshooting. The biggest enemy here is rot. If your cutting turns black and mushy at the base, or the leaves quickly turn yellow and drop off without any signs of root development, rot is likely the culprit. This usually means the soil was too wet or the humidity was too high for too long without enough airflow. Preventing overwatering and ensuring good air circulation are your best defenses. If you see signs of wilting that don’t resolve after watering, it also suggests the cutting hasn’t rooted and is struggling for moisture.
A Little More Patience and Joy
So there you have it! Propagating Lafoensia punicifolia is absolutely achievable, and the rewards are immense. It’s a process that teaches you a lot about observation, patience, and the incredible resilience of plants. Don’t get discouraged if your first few attempts don’t bear immediate fruit. Every cutting is a learning experience. Just keep at it, enjoy the greenery, and soon you’ll have a whole garden of these beauties! Happy propagating!
Resource:
https://identify.plantnet.org/k-world-flora/species/Lafoensia%20punicifolia%20DC./data