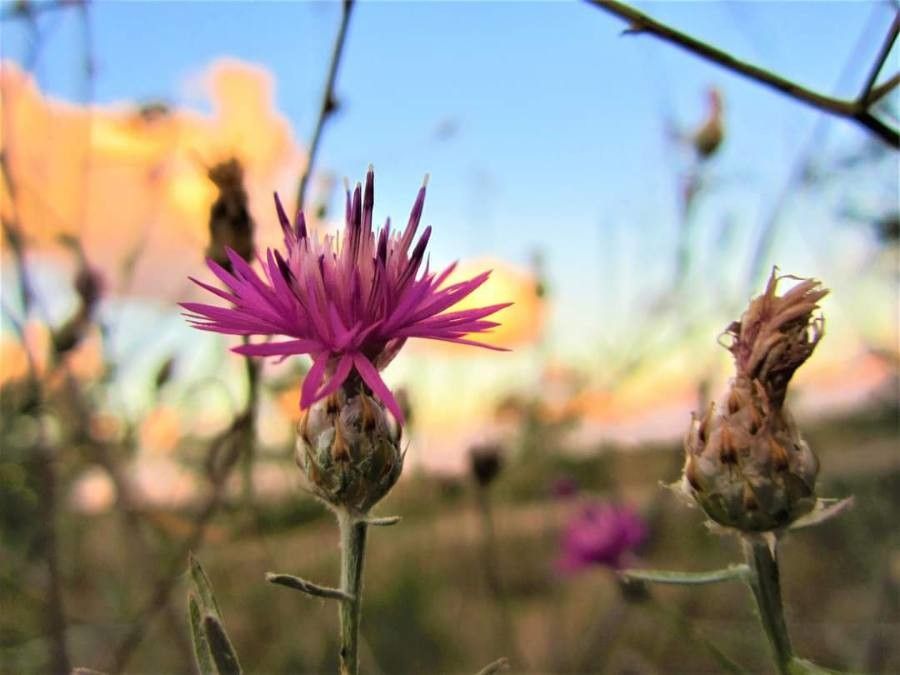
Oh, hello there! Pull up a chair and let’s chat about one of my favorite summer bloomers, Centaurea arenaria. You know, those darling, airy plants with the fringed, sky-blue flowers? They bring such a whimsical touch to the garden, peeking out amongst other blooms and swaying gently in the breeze. And the best part? They’re surprisingly rewarding to propagate, letting you fill your own borders or share a little blue magic with friends. For beginners, I’d say Centaurea arenaria is a pretty straightforward plant to multiply, especially with a little guidance.
The Best Time to Start
When it comes to getting your Centaurea arenaria cuttings off to a good start, I find the late spring to early summer is absolutely prime time. Think of it as the plant’s peak energy season. You’re looking for new, non-flowering shoots – they’re younger, more vigorous, and have a much better chance of rooting successfully. Don’t try to take cuttings from woody or flowering stems; they’re just not as enthusiastic about putting out roots.
Supplies You’ll Need
Here’s what I like to have on hand when I’m ready to get my hands dirty:
- Sharp, clean pruning shears or a craft knife: Crucial for making clean cuts to avoid damaging the stem.
- Small pots or seedling trays: Drainage is key here, so make sure they have holes!
- A good quality seed-starting or propagation mix: I often blend equal parts peat moss or coir, perlite, and a bit of compost. This provides excellent drainage and aeration.
- Rooting hormone (optional but recommended): A little sprinkle can really give your cuttings a boost.
- Clear plastic bags or domes: To create a humid microclimate.
- A watering can with a fine rose: For gentle watering.
- A permanent marker: To label your pots!
Propagation Methods
Centaurea arenaria is most commonly propagated by stem cuttings, and it’s a method that works beautifully. Here’s how I do it:
- Select Your Cuttings: As I mentioned, aim for those tender, new shoots in late spring or early summer. Look for stems that are about 3-4 inches long and aren’t flowering.
- Make the Cut: Using your sharp pruners or knife, make a clean cut just below a leaf node. A leaf node is where a leaf grows from the stem; this is where the magic happens for root development.
- Prepare the Cuttings: Gently remove the lower leaves from your cuttings, leaving just a couple at the very top. This prevents them from rotting in the soil and encourages the plant to focus its energy on rooting.
- Apply Rooting Hormone (if using): Dip the cut end of each stem into your rooting hormone powder. Just tap off any excess.
- Plant Your Cuttings: Fill your pots with your moistened propagation mix. Make a small hole in the center with your finger or a pencil.
- Insert and Firm: Gently insert the cutting into the hole, ensuring the nodes where you removed leaves are below the soil surface. Lightly firm the soil around the stem.
- Water Gently: Water your newly potted cuttings carefully from above, using your fine-rose watering can. You want the soil to be moist, but not waterlogged.
- Create Humidity: Place a clear plastic bag over the pot, securing it with a rubber band, or use a clear propagation dome. This traps moisture and creates a mini greenhouse effect.
The “Secret Sauce” (Pro Tips)
Now, for a couple of little tricks I’ve learned over the years that can really up your success rate:
- Avoid letting leaves touch the water or soil surface once the bag is on. If you have leaves dangling down that might dip into any condensation sitting at the bottom of the bag, trim them off. Rot is the enemy, and any contact with excess moisture can encourage it.
- Bottom heat is your friend! If you have a propagation mat, popping your pots on it can make a world of difference. The gentle warmth encourages root formation from below, speeding up the process significantly. It’s like giving those baby roots a comforting warm hug.
Aftercare & Troubleshooting
Once your cuttings are happily nestled in their pots and covered, keep them in a bright spot out of direct, scorching sunlight. Check on them every couple of days. If the soil looks dry, give them a gentle watering. Within 3-6 weeks, you should start to see signs of new growth at the top of the cutting – a tell-tale sign that roots are developing underneath.
The most common problem you might encounter is rot. If your cuttings start to look mushy, discolored, or slimy, it’s usually a sign of too much moisture or poor air circulation. Don’t despair! Sometimes you can still salvage a cutting if you catch it early. Remove the affected part, maybe repot into fresh, drier mix, and ensure you’re giving it better airflow. If you see wilting before you see roots, it’s often because the cutting is drying out, so check the humidity levels.
A Little Encouragement
Creating new plants is such a rewarding journey, and Centaurea arenaria offers a lovely opportunity to practice. Don’t get discouraged if every single cutting doesn’t make it initially. Gardening is all about learning, observing, and a good dose of patience. Just enjoy the process of nurturing these little green shoots, and soon you’ll have a whole bunch of your own beautiful blue stars to admire. Happy propagating!
Resource: