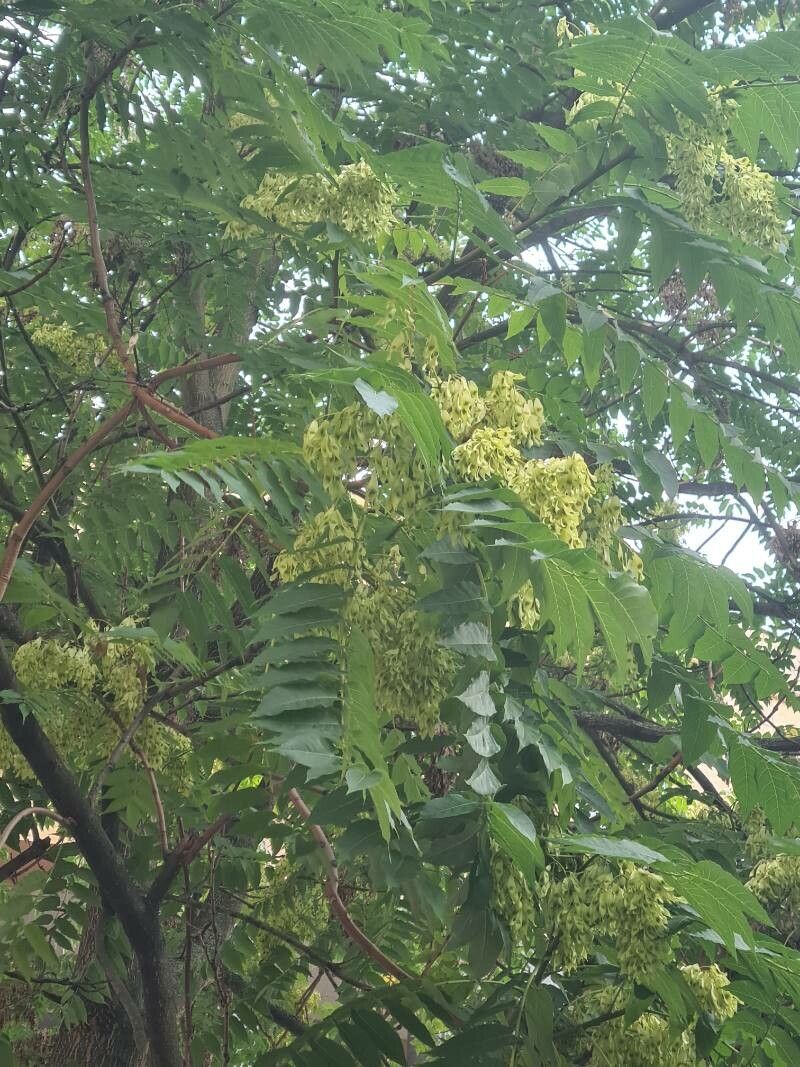
Oh, hello there, fellow plant lover! It’s so good to have you here. Today, we’re going to dive into the wonderful world of propagation with a plant that sometimes gets a bit of a bad rap, but actually has a certain charm and can be incredibly rewarding to grow from scratch: the Ailanthus altissima, or what many affectionately call Tree of Heaven.
Now, I know what some of you might be thinking. “Tree of Heaven? Isn’t that a bit of a vigorous grower?” And yes, it absolutely can be! But therein lies its appeal for propagation – it’s a plant that truly wants to grow. Propagating it is a fantastic way to get a head start on creating a striking specimen, or even to share its unique beauty with friends. For beginners, I’d say it falls into the moderately easy category. It’s not as fiddly as some of the more delicate tropicals, and it’s quite forgiving, which is always a plus when you’re just starting out.
The Best Time to Start
My favorite time to get Ailanthus started is during the late spring or early summer. This is when the plant is in its active growing phase, meaning it has plenty of energy to put into developing new roots. You’ll want to use actively growing, but not overly woody, stems. Think of it as a healthy young shoot rather than a thick, old branch.
Supplies You’ll Need
Gathering your tools beforehand makes the whole process much smoother. Here’s what I usually have on hand:
- Sharp pruning shears or a clean knife: For taking clean cuts.
- Rooting hormone powder or gel: This really gives your cuttings a boost.
- A well-draining potting mix: I like a blend of peat moss, perlite, and a bit of coarse sand. You can also use a seed-starting mix.
- Small pots or propagation trays: About 3-4 inches in size is perfect.
- A clear plastic bag or propagator lid: To create a humid environment.
- A spray bottle: For misting.
- Labels and a marker: To keep track of your projects!
Propagation Methods
The most reliable way I’ve found to propagate Ailanthus altissima is through stem cuttings. It’s straightforward and usually yields great results.
Stem Cuttings:
- Select Your Cuttings: Head out to your Ailanthus and look for healthy, green stems that are about pencil-thick. Snip off lengths of about 6-8 inches. Try to make your cut just below a leaf node (where a leaf attaches to the stem).
- Prepare the Cuttings: Gently strip off the lower leaves from your cuttings, leaving just a couple of leaves at the very top. This prevents them from rotting in the soil and reduces water loss.
- Apply Rooting Hormone: Dip the cut end of each stem into your rooting hormone. Make sure it’s well-coated.
- Plant Your Cuttings: Fill your small pots or trays with your well-draining potting mix. Make a small hole in the center of each with your finger or a pencil.
- Insert the Cuttings: Place a prepared cutting into each hole, pushing it down gently until about half of the stem is buried. Firm the soil around it to ensure good contact.
- Water Gently: Water your newly planted cuttings thoroughly but gently. You want the soil to be moist, but not waterlogged.
- Create a Humid Environment: This is key! Cover your pots with a clear plastic bag or a propagator lid. This traps moisture and keeps the humidity high, which is essential for root formation. Make sure the plastic doesn’t touch the leaves. If it does, you can prop it up with a few sticks.
The “Secret Sauce” (Pro Tips)
Here are a couple of little tricks I’ve picked up over the years that can really help your Ailanthus cuttings along:
- Bottom Heat is Your Friend: If you can, try placing your pots on a heat mat designed for plant propagation. This gently warms the soil from below, encouraging root development much faster. I’ve found it makes a significant difference, especially for woodier cuttings.
- Cleanliness is Crucial: Always use sterilized tools and pots. This might sound basic, but it’s the easiest way to prevent fungal infections and rot, which are the arch-nemeses of cuttings. A quick scrub with soapy water and a rinse with diluted bleach or rubbing alcohol does the trick.
Aftercare & Troubleshooting
Once your cuttings are planted, give them a bright spot but avoid direct, harsh sunlight for the first few weeks. You’ll want to mist the leaves occasionally with your spray bottle to keep them turgid, and check the soil moisture regularly. It should remain consistently moist, but never soggy.
Keep an eye out for signs of life! Roots typically form within 4-6 weeks, though it can sometimes take a bit longer. You’ll know they’re rooting when you see new leaf growth or gentle resistance when you lightly tug on the cutting.
If you notice yellowing leaves, wilting that doesn’t improve with watering, or mold developing on the soil surface, these are signs that something isn’t quite right. Root rot is a common culprit, usually caused by too much moisture. If you suspect rot, you might need to carefully remove the cutting, trim away any mushy, dark parts of the stem, and replant it in fresh, drier, well-draining mix. Sometimes, it’s a matter of improving air circulation or reducing watering. Don’t be discouraged if not every cutting makes it – that’s part of the learning process!
A Closing Thought
Propagating plants is such a satisfying journey, and with Ailanthus altissima, you’re working with a plant that’s full of life. Be patient with your little cuttings. They have their own timeline, and with a little care and attention, you’ll soon be rewarded with new, beautiful specimens to nurture. Enjoy the process, fellow gardener!
Resource:
https://identify.plantnet.org/k-world-flora/species/Ailanthus%20altissima%20(Mill.)%20Swingle/data