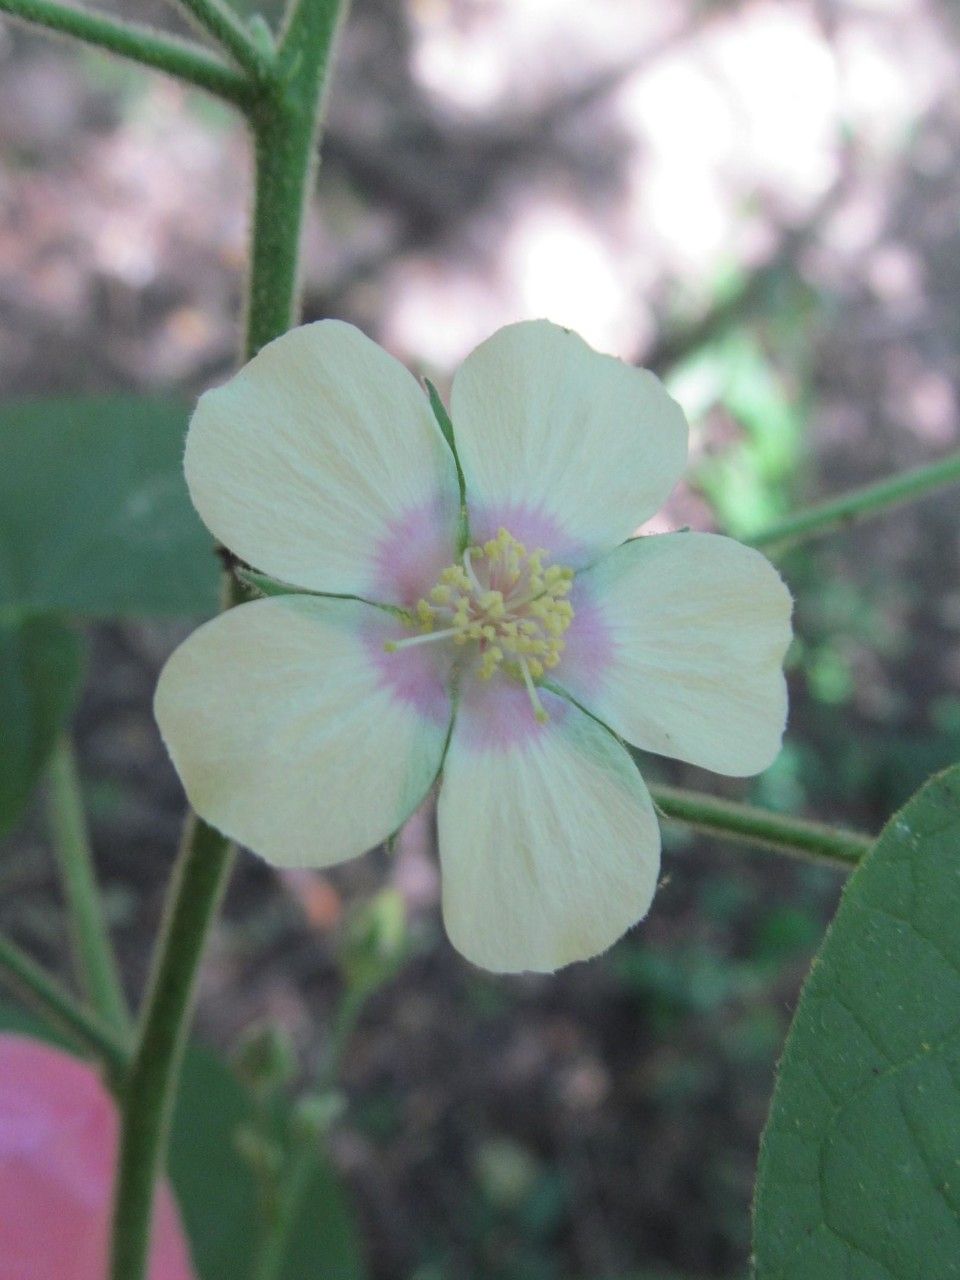
Hello fellow plant lovers! Today, I want to talk about a true gem in the garden: Abutilon percaudatum, often known as flowering maple or, more poetically, the crimson bell. Its delicate, bell-shaped flowers, usually a vibrant shade of pink or red, have a way of just lifting your spirits. And the joy of creating more of these beauties from your existing plants? Well, that’s a special kind of gardening magic.
Now, are these tricky to propagate? Generally speaking, I’d say Abutilon percaudatum is moderately easy. You might have a few hiccups along the way, but with a little patience and the right approach, you’ll be well on your way to a mini-jungle of your own.
The Best Time to Start
For the most success, I always reach for my snips in the late spring or early summer. This is when the plant is actively growing and has plenty of energy to put into developing new roots. You’re looking for healthy, non-flowering stems that are a bit firm but not woody. Think of it as “greenwood” – not too soft and floppy, not too hard and stiff.
Supplies You’ll Need
Gearing up is half the fun, right? Here’s what I usually have on hand:
- Sharp pruning shears or a clean knife: For making those crucial, clean cuts.
- Rooting hormone (optional, but recommended): This really gives your cuttings a boost. I prefer a powder or gel.
- Well-draining potting mix: A light mix of peat moss, perlite, and a bit of compost works wonders. You can also buy specific propagation mixes.
- Small pots or seed trays: Clean, of course! About 3-4 inch pots are ideal.
- Plastic bags or a clear propagation dome: To create that humid environment new cuttings crave.
- Spray bottle: For misting.
- Labels: Trust me, you’ll thank yourself later!
Propagation Methods
My go-to method for Abutilon percaudatum is stem cuttings. It’s reliable and generally yields great results.
- Take the Cuttings: Select healthy stems that are at least 4-6 inches long. Using your clean shears, make a cut just below a leaf node (where a leaf attaches to the stem). Remove any lower leaves, leaving just the top few. If the cutting is very long, you can pinch back the tips to encourage bushier growth later.
- Apply Rooting Hormone: Dip the cut end of the stem into your rooting hormone, tapping off any excess. If you’re not using hormone, that’s okay, but it does speed things up.
- Pot Them Up: Fill your small pots with your prepared potting mix. Make a small hole in the center with your finger or a pencil. Gently insert the cutting into the hole, ensuring the leaf nodes are buried where you want roots to form. Firm the soil around the base of the cutting.
- Water Gently: Water thoroughly but gently, making sure the soil is moist but not waterlogged. You don’t want to wash away that precious rooting hormone!
- Create Humidity: Cover the pot loosely with a clear plastic bag or place it under a propagation dome. This traps moisture and keeps the leaves from drying out. Make sure the leaves aren’t touching the plastic too much – you can use small stakes to prop it up.
- Provide Light and Warmth: Place the pots in a bright spot out of direct sunlight. A windowsill with indirect light is perfect. If you have a heat mat, placing the pots on it can significantly speed up root development.
The “Secret Sauce” (Pro Tips)
Here are a few things I’ve learned over the years that make a difference:
- Don’t let the leaves touch the water! If you’re doing water propagation (another option, though I find cuttings more reliable for Abutilon), make sure only the cut stem is submerged. Any leaves in the water will quickly rot and can infect the cutting.
- Bottom heat is your friend. As I mentioned, a gentle heat mat beneath the pots is a game-changer for encouraging root formation. It mimics the warmth of spring soil and really wakes up those dormant rooting cells.
- Be ruthless with your pruning. Don’t be afraid to take multiple cuttings from a healthy plant. The more you prune, the bushier the mother plant will become, and you’ll have more opportunities to propagate in the future!
Aftercare & Troubleshooting
Once your cuttings have been potted, check them regularly. You’ll want to maintain consistent moisture in your potting mix – not soggy, but not bone dry. Lift the plastic bag daily for a few minutes to allow for some air circulation and prevent fungal issues.
You’ll know your cuttings are rooting when you see new leaf growth or gently tug on a cutting and feel resistance. This usually takes 3-6 weeks, sometimes longer depending on conditions. Once you see good root development, you can gradually acclimate your new plants to normal household humidity by slowly removing the plastic bag over a week or so. Then, you can transplant them into slightly larger pots.
The most common problem you might encounter is rot. This is usually due to overwatering or poor drainage. If you see stems turning mushy and black, it’s likely too late for that particular cutting. Don’t despair! Just adjust your watering and ensure your mix is airy. Ensure good airflow around your cuttings.
A Little Encouragement
Propagating plants is a journey, not a race. There will be times when things don’t work out as planned, and that’s perfectly okay. Each attempt is a learning experience. So, grab your tools, get your hands in the soil, and enjoy the rewarding process of bringing new life into your garden. Happy propagating!
Resource:
https://identify.plantnet.org/k-world-flora/species/Abutilon%20percaudatum%20Hochr./data