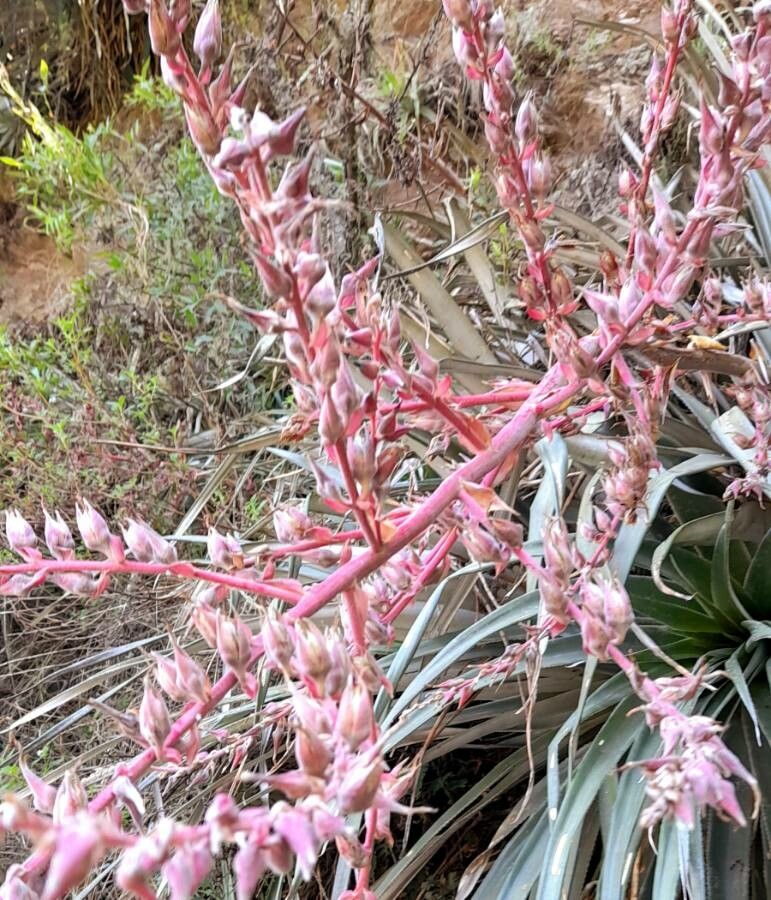
Hello, fellow garden enthusiasts! Grab your favorite mug, and let’s chat about something truly special: Puya spathacea. If you’re looking for a plant that practically screams “wow,” the Puya is your answer. Its dramatic, spiky foliage and stunning flower spikes are simply breathtaking. And the joy of coaxing new life from an existing plant? Pure gardening magic. Now, about Puya spathacea – it’s not quite a “stick it in the dirt and forget it” kind of plant, but with a little care and attention, you’ll find propagating it is incredibly rewarding. It’s a fun little challenge and a fantastic way to expand your collection or share these beauties with friends.
The Best Time to Start
Honestly, the best time to get your hands dirty with Puya spathacea propagation is during its active growing season. For most of us, that means spring and early summer. You’ll see new growth emerging from the base of the plant, or offsets starting to form. This vibrant period means the plant has plenty of energy to dedicate to developing new roots. Trying it when the plant is slowing down or dormant is like asking someone to run a marathon after a big meal – not ideal!
Supplies You’ll Need
To give your new Puya babies the best start, gather these essentials:
- Sharp, sterile pruning shears or a knife: For clean cuts that prevent disease.
- Rooting hormone (optional but recommended): A rooting hormone powder or gel can significantly boost success rates.
- Well-draining potting mix: A cactus and succulent mix is usually perfect. You can also create your own by mixing equal parts potting soil, perlite, and coarse sand.
- Small pots or propagation trays: Something about 3-4 inches wide will do. Make sure they have drainage holes!
- A watering can or spray bottle: For gentle watering.
- Labels and a permanent marker: To keep track of your babies and when you started them.
Propagation Methods
Puya spathacea typically propagates through offsets (also called pups). These are miniature versions of the parent plant that grow from the base. This is by far the easiest and most successful method.
Propagating Offsets
- Wait for size: Look for offsets that are at least a quarter to a third the size of the parent plant. Smaller ones are much harder to establish. You’ll often see them peeking out from under the leaves of the mother plant.
- Gather your tools: Make sure your pruning shears or knife are clean and sharp.
- Gently expose the offset: Carefully reach under the leaves of the mature plant to get a clear view of where the offset attaches to the parent. Sometimes, you might need to gently move some of the parent plant’s lower leaves aside.
- Make the cut: Using your sharp tool, carefully sever the offset where it connects to the parent plant. Try to keep as much of the parent’s tissue attached to the offset as possible, but don’t stress if it’s not a perfectly clean break. The key is to get a clean cut from the parent.
- Allow to callus: This is a crucial step! Place the newly separated offset in a dry, airy spot for a few days (2-7 days, depending on humidity). You want the cut end to form a dry scab, or callus. This prevents rot when you plant it.
- Pot it up: Once callused, you can pot your offset. Use your well-draining potting mix in a small pot. Plant the offset so the callused end is just nestled into the soil. You don’t need to bury it deeply.
- Water sparingly: After planting, wait a day or two before watering. Then, water lightly. The goal is to keep the soil barely moist, not soggy. Overwatering is the quickest way to lose a new offset.
The “Secret Sauce” (Pro Tips)
Here are a couple of things I’ve learned over the years that really make a difference:
- Don’t rush the callus: I cannot stress this enough. If you skip the callusing step, you’re basically inviting rot to the party. Patience here pays off in a big way.
- Bottom heat is your friend (sometimes): If your propagation area is on the cooler side, especially in spring, using a seedling heat mat can work wonders. It encourages root development from underneath and can speed things up. Just keep an eye on the moisture levels – warm soil can dry out faster.
- Provide airflow: Once potted, make sure the area where your new pups are growing has good air circulation. This helps keep things dry and discourages fungal issues. A gentle fan on a low setting can be amazing.
Aftercare & Troubleshooting
Once you’ve potted your offset, the real fun begins! Keep it in a bright spot, but avoid direct, harsh sunlight initially. Until it’s established, it can still get scorched.
Signs of success: You’ll know it’s rooting when you gently tug on the plant and feel resistance. Eventually, you might even see new leaf growth emerge.
Common problems:
- Rot: This is the big one. If your offset looks mushy, has a black or brown watery base, or just collapses, it’s likely rotted. Usually, this is due to too much moisture, not enough air circulation, or not letting it callus properly. If you catch it early, you might be able to cut away the rotted parts, let it re-callus, and try again.
- Wilting: Sometimes, a new offset will wilt. This can happen if it’s too dry, or sometimes it’s just adjusting. Check the soil moisture. If it’s bone dry, give it a light watering. If it persists, it might be a sign it’s struggling to root.
A Encouraging Closing
Starting new plants is always an adventure, and Puya spathacea is no exception. Don’t be discouraged if your first attempt isn’t a runaway success. Gardening is a journey of learning and experimenting. Enjoy the process, and celebrate every little bit of progress. Soon enough, you’ll have a whole new generation of these magnificent plants gracing your garden! Happy propagating!
Resource:
https://identify.plantnet.org/k-world-flora/species/Puya%20spathacea%20(Griseb.)%20Mez/data