Oh hello there, fellow plant lover! It’s so lovely to have you pop by my little corner of the internet today. We’re going to dive into something truly special: propagating Leucanthemum graminifolium.
Why Propagate Leucanthemum graminifolium?
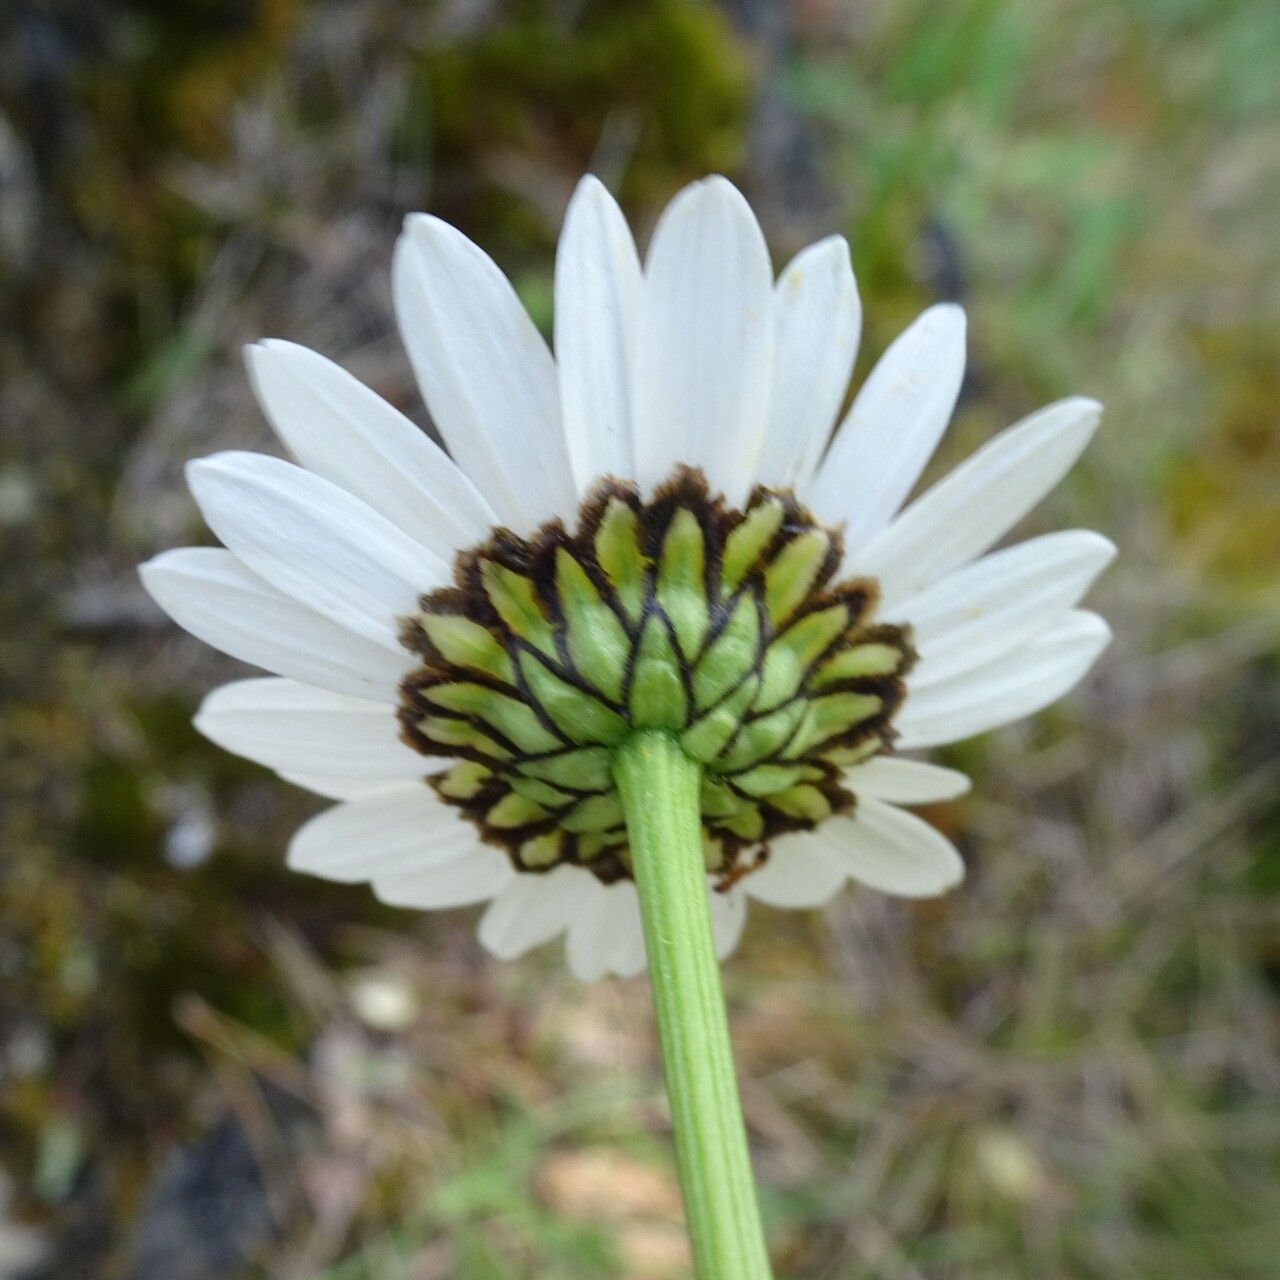
I just adore these plants. They’re like little bursts of sunshine in the garden with their delicate, daisy-like flowers and lovely, grass-like foliage. They have a certain charm that just makes you smile every time you see them. And the beauty of propagating them? Well, it’s incredibly rewarding! You get to multiply those smiles for free, sharing a piece of your garden with friends, or simply filling your own beds with more of these cheerful beauties. Don’t worry, if you’re new to this plant parenting thing, Leucanthemum graminifolium is a pretty forgiving subject. You’ll do wonderfully.
The Best Time to Start
For the highest success rate, I like to tackle propagation in late spring to early summer. This is when the plant is actively growing and has plenty of energy to put into developing new roots. You’re looking for healthy, non-flowering shoots. If you wait until after it’s finished its main bloom, the plant will be settling down for a rest, and you might find it a bit more sluggish.
Supplies You’ll Need
Gathering your tools beforehand makes the whole process so much smoother. Here’s what I usually have on hand:
- Sharp pruning shears or a clean knife: For making clean cuts.
- Potting mix: A well-draining mix is key. I often use a blend of equal parts peat moss, perlite, and sterile potting soil. Some gardeners love a specific seed-starting mix, which works beautifully too.
- Small pots or trays: Clean, small pots (around 3-4 inches) or propagation trays will do the trick. Make sure they have drainage holes!
- Rooting hormone (optional but recommended): A powdered or gel rooting hormone can really give your cuttings a boost.
- Plastic bags or a clear propagation lid: To create a humid environment.
- Watering can with a fine rose: For gentle watering.
- Labels: To remind yourself what you’ve planted and when!
Propagation Methods
There are a couple of ways to go about this, and both are quite effective for Leucanthemum graminifolium.
1. Stem Cuttings: The Classic Approach
This is my go-to method, and it’s surprisingly straightforward.
- Select Your Cuttings: In late spring or early summer, look for new, non-woody shoots that are about 3-4 inches long. They should be flexible and healthy. Gently snap or snip them off at the base, just below a leaf node (where a leaf meets the stem).
- Prepare the Cuttings: Remove the lower leaves from the stem, leaving only a few at the very top. This prevents them from rotting in the soil. If your cuttings are quite large, you can even trim back the remaining leaves by half to reduce water loss.
- Apply Rooting Hormone: Dip the cut end of each stem into a small amount of rooting hormone. Tap off any excess powder. This step is optional, but I find it really speeds things up.
- Plant Them Up: Fill your small pots with your prepared potting mix. Make a small hole in the center of the soil with your finger or a pencil. Carefully insert the cut end of the stem into the hole, ensuring the node where you removed the leaves is below the soil surface. Gently firm the soil around the stem.
- Water Gently: Water the soil thoroughly but gently. You want it to be moist, not waterlogged.
- Create Humidity: Now, carefully place a clear plastic bag over the pot, securing it around the rim with a rubber band or twist tie. Alternatively, use a clear propagation lid if you have one. This creates a mini-greenhouse effect, keeping the humidity high, which is crucial for cuttings to root. Place the potted cuttings in a bright spot with indirect light. No direct sun, please – it will cook them!
2. Division: For Established Clumps
If you have a mature plant that’s looking a bit crowded, division is a fantastic way to rejuvenate it and get new plants.
- Dig Up the Plant: In early spring before new growth gets too vigorous, dig up the entire clump of your Leucanthemum graminifolium. It’s best to do this on a cool, overcast day if possible.
- Clean Them Off: Gently shake off as much of the soil as you can, so you can see where the divisions naturally want to separate.
- Separate the Divisions: Using your hands, a trowel, or even two forks pressed back-to-back, gently pull the clump apart into smaller sections. Each section should have a good amount of roots and at least a few healthy shoots or buds.
- Replant Immediately: Dig a hole in its new location (or a prepared pot) that’s large enough to accommodate the roots. Plant each division at the same depth it was growing before. Water them in well. If you have a lot of divisions, you can pot them up into separate pots, just like the cuttings.
The “Secret Sauce” (Pro Tips)
Now, for a few little tricks I’ve learned over the years that make a difference:
- Bottom Heat is Your Friend: While not strictly necessary, placing your pots on a heat mat designed for seedlings can make a world of difference. It encourages root development from below, giving those cuttings a real head start. Just make sure the heat isn’t excessive.
- Avoid Leafy Contact: With stem cuttings, a common mistake is letting the leaves touch the soil or, if you were doing water propagation (which I don’t typically recommend for these unless you’re doing a very short-term experiment), letting the leaves touch the water. This is a fast track to rot. Keep those leaves up and away from moisture where they can photosynthesize happily.
- The “Bend Test”: After a few weeks, you can very gently tug on a cutting. If you feel resistance, you’ve got roots! If it pulls out easily, it hasn’t quite made it yet. Resist the urge to dig it up and “check” too often. Patience is a gardener’s virtue!
Aftercare & Troubleshooting
Once you see signs of new growth – tiny leaves unfurling or a gentle tug showing resistance – your cuttings or divisions are on their way!
- Harden Off: Gradually get them used to the drier air and more direct light. For cuttings in bags, start by opening the bag for a few hours each day. Then, remove the bag entirely. Slowly introduce them to more sunlight over a week or two.
- Watering: Continue to water when the top inch of soil feels dry. Overwatering is the most common culprit for failure.
- Troubleshooting: The most common issue is rot. If a cutting turns black and mushy, it’s usually a sign of too much moisture and not enough air circulation. If this happens, unfortunately, it’s best to discard it to prevent it from spreading. Another sign of trouble is wilting that doesn’t perk up after watering. This could indicate a lack of roots, too much root disturbance, or severe dehydration. Don’t be discouraged; sometimes it just takes a few tries.
Happy Growing!
Watching a tiny cutting or a divided clump transform into a thriving new plant is one of the most satisfying parts of gardening. Be patient with your new arrivals, give them a little love, and you’ll be rewarded with beautiful Leucanthemum graminifolium to fill your garden with joy. Happy propagating!
Resource:
https://identify.plantnet.org/k-world-flora/species/Leucanthemum%20graminifolium%20(L.)%20Lam./data