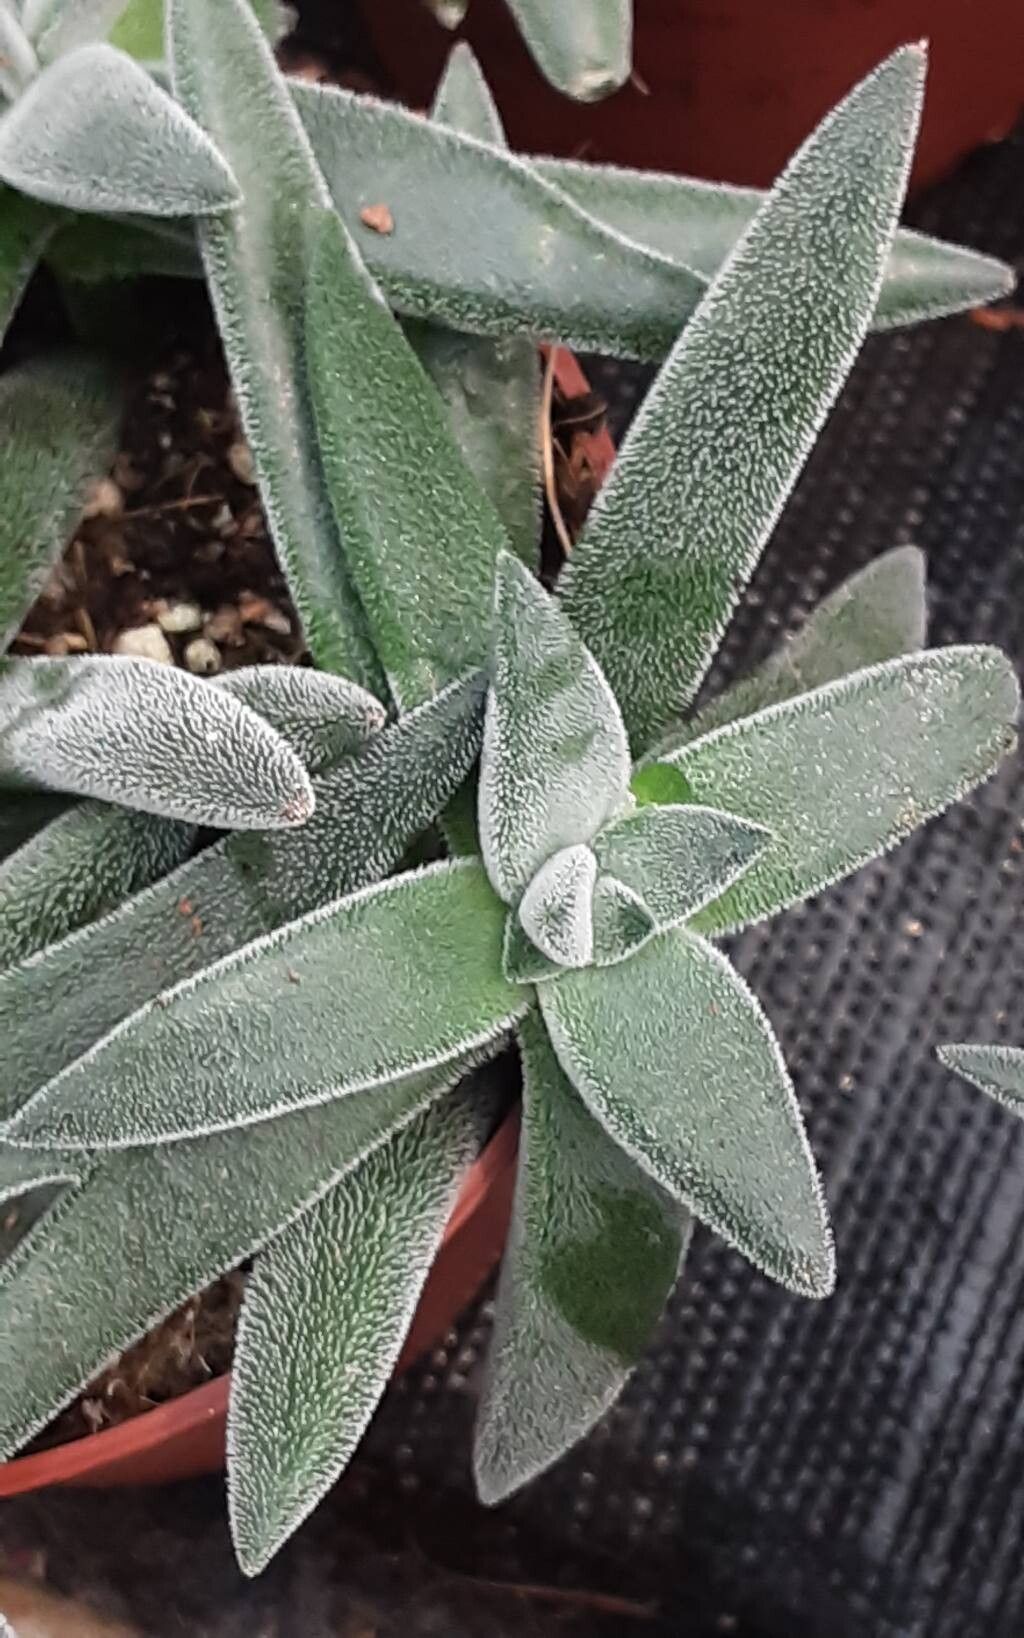
Oh, hello there! I’m so glad you’re interested in Crassula mesembryanthoides, often called the ‘Rosy Fingers’ or ‘Fingers Jade’. It’s such a charming succulent, isn’t it? With its little chubby leaves that often blush a lovely pink or red, it really adds a touch of quirky elegance to any collection. And the best part? Propagating it is incredibly rewarding, and honestly, quite accessible for beginners. You’ll be amazed at how easily you can create new little plants to share or expand your own succulent family.
The Best Time to Start
For Crassula mesembryanthoides, I find the absolute best time to propagate is during its active growing season. That usually means late spring through summer. The plant is full of vigor then, and cuttings are much more likely to root quickly and successfully. While you can propagate at other times, you’ll often see slower results.
Supplies You’ll Need
Gathering your supplies is half the fun, don’t you think? Here’s what you’ll want to have on hand:
- Well-draining potting mix: A cactus or succulent mix is perfect. You can also make your own by mixing equal parts potting soil, perlite, and coarse sand.
- Clean pruning shears or a sharp knife: For taking clean cuts.
- Rooting hormone (optional but helpful): Especially for cuttings, this can give them a little boost.
- Small pots or seed trays: For your new babies.
- Spray bottle: For misting.
- A tray or saucer: To catch excess water.
- A sunny spot: Where your cuttings can receive bright, indirect light.
Propagation Methods
Crassula mesembryanthoides is quite generous with its propagation options. Here are my two favorite, and most successful, methods:
1. Stem Cuttings: This is my go-to for Crassula mesembryanthoides.
- Take the cutting: Look for a healthy stem. Using your clean shears or knife, make a cut about 2-4 inches long, ideally with a few leaf nodes on it. It’s best to cut just above a leaf node.
- Let it callus: This is a crucial step! Lay the cutting on a dry surface, away from direct sunlight, for 2-5 days. You want the cut end to dry out and form a protective callus. This prevents rot.
- Plant the cutting: Once callused, you can plant it. You have two options here:
- Dry planting: Simply insert the callused end into your prepared potting mix, about an inch deep.
- Water propagation: You can also dip the callused end in water. Make sure no leaves are touching the water.
- Watering: If you planted in dry soil, wait about a week before giving it a light watering. If you chose water propagation, you’ll replenish the water as needed.
- Patience is key here! Rooting can take anywhere from a few weeks to a couple of months.
2. Leaf Propagation (Less Common, but Possible): While stem cuttings are easier, you can sometimes get a new plant from a healthy leaf.
- Gently remove a leaf: Twist the leaf off the stem. Try to get a clean break that includes the very base of the leaf.
- Callus the leaf: Just like with stem cuttings, let the leaf dry and callus over for a few days.
- Place on soil: Lay the callused leaf on top of your well-draining potting mix. You can gently press the callused end down into the soil if you like.
- Mist lightly: Keep the soil lightly moist by misting only when the surface feels dry to the touch. Avoid overwatering!
- Rooting takes time: This method is significantly slower. You might see tiny roots or a new plantlet emerge from the base of the leaf in a month or two, or even longer.
The “Secret Sauce” (Pro Tips)
It’s the little things that make a big difference, isn’t it? Here are a couple of tricks I’ve learned over the years:
- Don’t rush the callusing: Seriously, I cannot stress this enough! I’ve seen so many people impatient and skip this step, only to end up with soggy, rotted cuttings. A good callus is your lifeline.
- Bottom heat can be a game-changer: If you’re propagating in a cooler environment, placing your pots on a seedling heat mat can significantly speed up root development. It mimics the warmth of spring and summer.
Aftercare & Troubleshooting
Once you see those little roots appearing, or a new plantlet forming, it means you’re doing great!
- Gradual introduction to sun: Your new babies will be delicate. Begin by giving them bright, indirect light. As they grow stronger, you can gradually introduce them to more direct sunlight, but always watch for signs of scorching.
- Watering post-rooting: Once established, water as you would a mature
Crassula mesembryanthoides. Let the soil dry out completely between waterings. Mist the leaves occasionally, especially if you’re in a dry climate. - Common problems:
- Rot: This is the most common issue, usually caused by overwatering or not allowing cuttings to callus. If a cutting feels mushy and turns brown or black, it’s likely rotted. Discard it and try again, being more mindful of watering and callusing.
- No roots: Sometimes, cuttings just refuse to root. This can happen due to the health of the parent plant, the season, or temperature. Don’t get discouraged; just try again with fresh cuttings!
A Little Encouragement
Propagating succulents is a journey of patience and observation. Don’t worry if your first few attempts aren’t perfect. Every plant you grow from a cutting is a little victory, a testament to your green thumb and a wonderful way to connect with your plants. So grab those shears, get your hands a little dirty, and enjoy the magic of bringing new life into your garden. Happy propagating!
Resource: