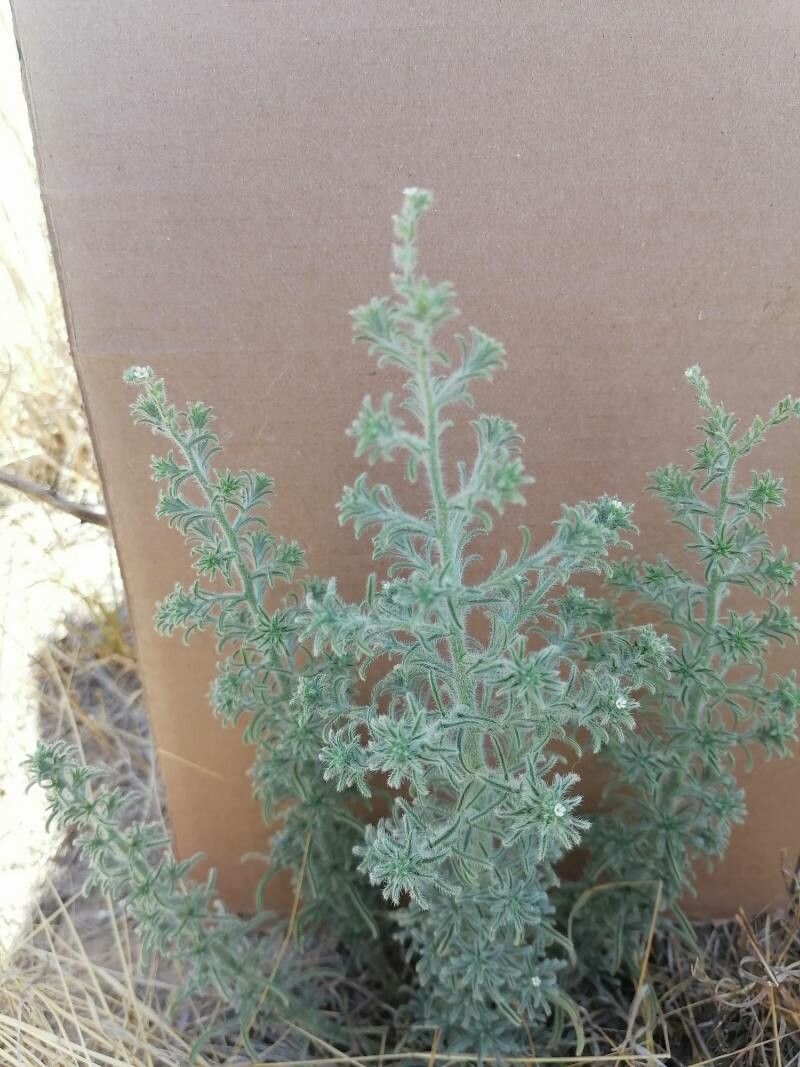
From One Seed to Many: Your Guide to Propagating Lappula Squarrosa
There’s something incredibly satisfying about coaxing new life from a single plant. Lappula squarrosa, with its charming burr-like fruits that cling to everything, is a delight to have in the garden. It’s a fascinating plant, and propagating it is a wonderful way to share its unique charm or simply expand your own collection. Now, for the good news: for the most part, Lappula squarrosa is wonderfully cooperative when it comes to propagation, making it a great choice even if you’re just starting your green-thumb journey. It certainly isn’t a plant that will leave you tearing your hair out!
When is the “Magic Moment” to Start?
Generally, the late spring or early summer is your sweet spot for tackling Lappula squarrosa propagation. This is when the plant is actively growing, full of energy, and most receptive to new beginnings. You want to take cuttings from healthy, vigorous stems that haven’t yet flowered. If you’re thinking about seed, collecting them in late summer or early autumn after they’ve fully matured is the way to go.
Gather Your Tools: What You’ll Need
Before we dive in, let’s make sure you have everything ready. A little preparation goes a long way!
- Sharp Pruning Shears or a Craft Knife: Cleanliness is key to prevent introducing diseases.
- Potting Mix: A well-draining mix is crucial. I like to use a blend of peat moss, perlite, and a small amount of compost. You can also find specific cuttings mixes.
- Small Pots or Seed Trays: Choose containers with drainage holes.
- Rooting Hormone (Optional but Recommended): This can give your cuttings a significant boost. Look for a product with IBA (indole-3-butyric acid).
- Plastic Bag or Propagator Lid: To maintain humidity around your cuttings.
- Watering Can with a Fine Rose or Spray Bottle: For gentle watering.
- Labels and a Pen: To keep track of what you’ve planted and when.
Nurturing New Life: Propagation Methods
Lappula squarrosa is quite adaptable, and you can have success with a couple of different approaches.
Stem Cuttings: The Most Common Approach
This is my go-to method for many plants, and it works beautifully for Lappula squarrosa.
- Select Your Cuttings: Choose healthy, non-flowering stems that are about 4-6 inches long. Look for stems that are firm but still flexible.
- Make the Cut: Using your sharp shears or knife, make a clean cut just below a leaf node (where a leaf attaches to the stem). This is where the plant is most likely to form roots.
- Prepare the Cutting: Gently remove the lower leaves from your cutting, leaving just a few at the very top. This prevents them from rotting once planted.
- Dip in Rooting Hormone (Optional): If you’re using rooting hormone, lightly dip the cut end into the powder, tapping off any excess.
- Plant Your Cuttings: Fill your pots or trays with your well-draining potting mix. Make a small hole with your finger or a pencil and insert the cutting, firming the soil gently around it.
- Water Gently: Water thoroughly to settle the soil around the cutting.
Water Propagation: A Visual Treat
This method is fun because you can see the roots forming!
- Select and Prepare Cuttings: Follow steps 1-3 from the stem cuttings method.
- Place in Water: Find a clean jar or glass and fill it with fresh, cool water. Place your prepared cuttings in the water, making sure the leaves are not submerged. This is crucial to prevent rot.
- Change Water Regularly: Change the water every few days to keep it fresh and prevent bacterial growth.
- Wait for Roots: You should start to see little white nubs appearing at the leaf nodes within a couple of weeks. Once the roots are about an inch long, you can transplant them into potting mix.
The “Secret Sauce”: Insider Tips from My Garden
Here are a few things I’ve learned over the years that can really boost your propagation success.
- Bottom Heat is Your Friend: For stem cuttings, applying gentle bottom heat can significantly speed up root development. A seed starting mat set to a low temperature can make a world of difference. You don’t want it too hot, just a nice, cozy warmth.
- Humidity is Key, But Watch for Mold: Once your cuttings are planted, cover them with a plastic bag or propagator lid to create a humid environment. This prevents them from drying out. However, check regularly for any signs of mold. If you see any, increase ventilation briefly to let things dry out a bit.
- Be Patient with Seed Germination: If you’re starting from seed, Lappula squarrosa can sometimes be a bit slow to germinate. Don’t give up too soon! Consistent moisture and warmth are what they need.
Aftercare and What to Watch For
Once you see healthy roots forming (either peeking out the bottom of the pot or already established in water), it’s time to transition your new plants.
- Gradual Acclimation: If you used the plastic bag method, gradually increase ventilation over a few days before removing the bag entirely. This helps them adjust to normal room humidity.
- Gentle Watering: Continue to water them gently, allowing the soil to dry slightly between waterings. Overwatering is the quickest way to lose a new cutting.
- Signs of Trouble: The most common issue you’ll encounter is rot, often indicated by a mushy, discolored stem base. This usually points to overwatering or poor drainage. If a cutting starts to rot, unfortunately, it’s usually best to discard it to prevent the problem from spreading. Another sign is a stem that wilts and turns yellow very quickly; this might indicate it didn’t take and is too far gone.
Keep Growing!
Propagating Lappula squarrosa is a rewarding adventure. Don’t be discouraged if your first few attempts aren’t perfect. Every gardener has had their share of plant casualties! Savor the process, celebrate each tiny root, and enjoy the satisfaction of creating new life in your own little corner of the world. Happy propagating!
Resource:
https://identify.plantnet.org/k-world-flora/species/Lappula%20squarrosa%20(Retz.)%20Dumort./data