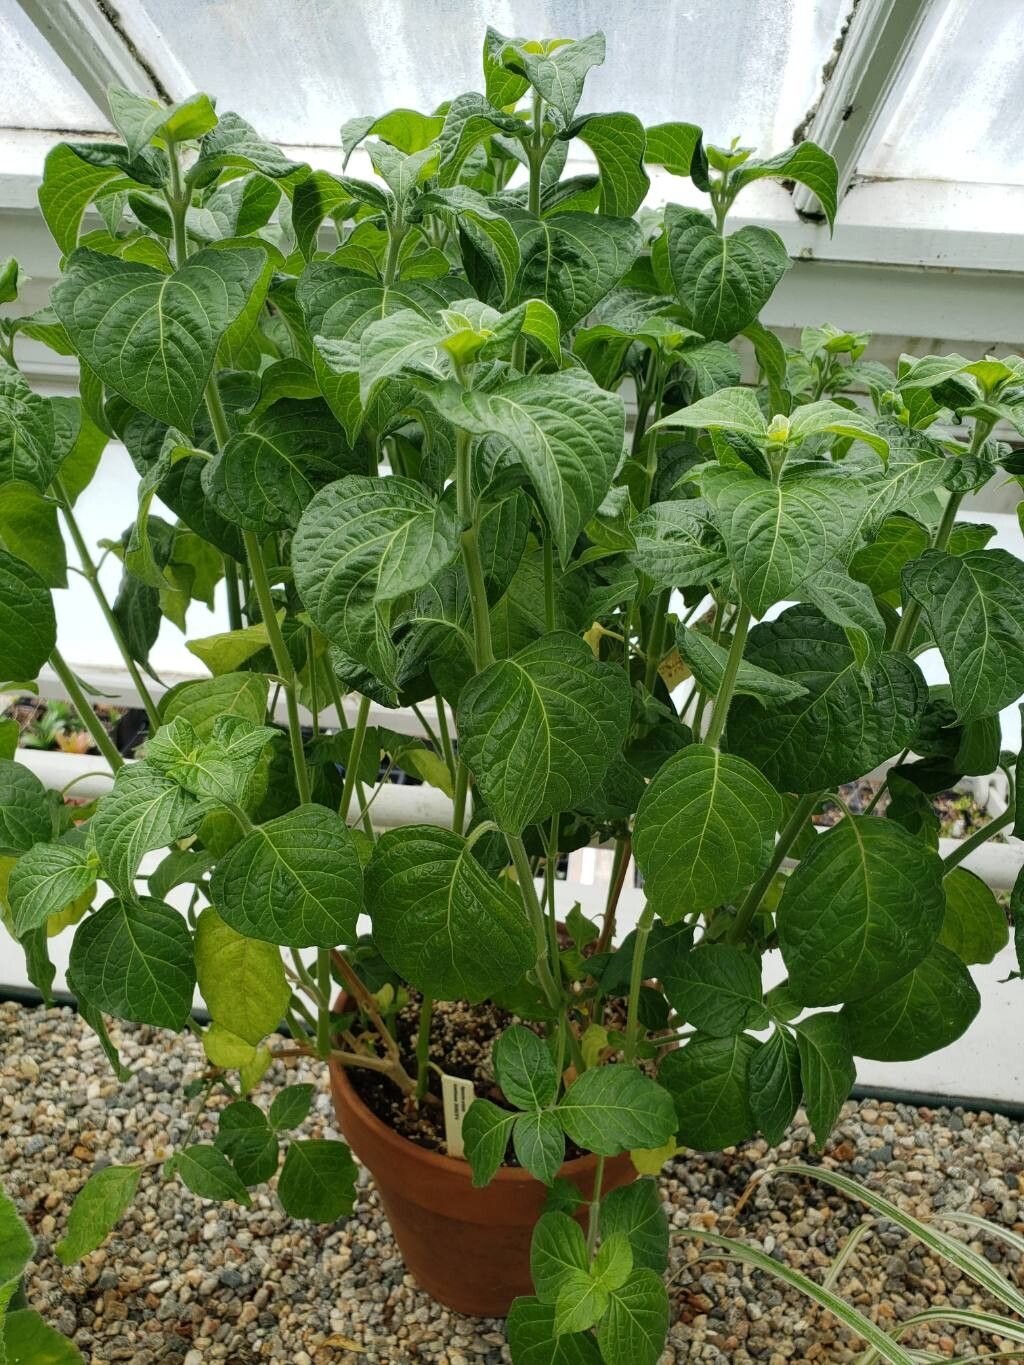
Oh, hello there! Come on in, pull up a chair. I’ve got a warm mug waiting for you. I wanted to chat today about a truly delightful plant: Hypoestes aristata, or as some of us affectionately call it, the Ribbon Plant or Polka Dot Plant (though that name is more commonly used for its smaller, more variegated cousin, Hypoestes phyllostachya!).
The Hypoestes aristata is just a joy. Its delicate, speckled leaves in shades of green, pink, and white bring such a splash of color, especially when the light hits them just right. And propagating this beauty? It’s incredibly rewarding. You get to watch those tiny little bits of life transform into full plants. I’d say it’s a pretty beginner-friendly plant to propagate. You’ll likely have success with a few simple steps.
The Best Time to Start
For the highest success rate, I always recommend starting your Hypoestes aristata propagation in late spring or early summer. This is when the plant is actively growing and has plenty of energy to produce roots. You can also sneak in some propagation in the fall, but spring gives you the best shot at robust new plants before winter. Look for stems that are firm and healthy, not woody or spindly.
Supplies You’ll Need
Gathering your supplies is half the fun, isn’t it? Here’s what I usually have on hand:
- Sharp pruning shears or a clean knife: For making clean cuts.
- Rooting hormone (optional, but helpful): Powder or gel.
- Small pots or seed trays: With drainage holes, of course!
- A good quality potting mix: I like a blend of peat moss, perlite, and a bit of compost. A mix designed for seedlings or cuttings works wonderfully.
- A plastic bag or clear plastic dome: To create a mini-greenhouse effect.
- Watering can or spray bottle: For gentle watering.
Propagation Methods
There are a couple of lovely ways to get more Hypoestes aristata from your existing plant.
1. Stem Cuttings (My Favorite!)
This is my go-to method for this plant.
- Take your cuttings: Using your clean shears or knife, snip off stems that are about 4-6 inches long. Make your cut just below a leaf node (where a leaf grows from the stem). These nodes are packed with growth potential!
- Prepare the cuttings: Gently remove the lower leaves from the bottom half of the stem. You want to expose the nodes so they can root. Leave a few sets of leaves at the top.
- Apply rooting hormone (optional): If you’re using rooting hormone, dip the cut end into the powder or gel. Tap off any excess.
- Pot them up: Fill your small pots with your potting mix. Make a small hole in the center of the soil with your finger or a pencil. Firmly insert the cutting into the hole, ensuring at least one or two leaf nodes are buried beneath the surface. Gently firm the soil around the stem.
- Water them in: Water gently to settle the soil around the cuttings.
2. Water Propagation
This method is so satisfying to watch!
- Take and prepare cuttings: Follow the same steps as above for taking and preparing your stem cuttings.
- Place in water: Fill a small vase or jar with clean, room-temperature water. Place your cuttings in the water, making sure the leaf nodes are submerged but the leaves are not.
- Change the water regularly: This is key! Change the water every 2-3 days to keep it fresh and prevent rot. You’ll start to see tiny white roots emerging from the nodes in a few weeks.
- Pot up once rooted: Once the roots are about an inch long, you can carefully transplant them into pots filled with potting mix, just as you would with cuttings taken from soil.
The “Secret Sauce” (Pro Tips)
Here are a few little tricks I’ve learned over the years that really give you an edge:
- Don’t let the leaves touch the water! If you’re doing water propagation, this is crucial. Even the top leaves shouldn’t be submerged. They’ll rot, and that’s no good for rooting.
- Mist your cuttings if you’re not using a dome. Those delicate leaves get thirsty, and a light misting helps keep them turgid. If you are using a plastic bag or dome, you might not need to mist as often, as it creates humidity inside.
- Bottom heat is your friend. If you have a heat mat designed for seedlings, placing your pots on it can significantly speed up root formation. It mimics the warmth of spring soil.
Aftercare & Troubleshooting
Once your cuttings have rooted (you’ll feel a gentle resistance when you tug lightly on the stem, or you’ll see new leaf growth), it’s time for a little extra TLC.
- Gradual acclimatization: If you’ve been using a plastic bag or dome, slowly start to introduce your new plants to drier air by gradually opening it up over a few days. This prevents shock.
- Watering: Water when the top inch of soil feels dry. Hypoestes aristata doesn’t like to be waterlogged, so good drainage is vital.
- Light: Place your new plants in bright, indirect light. Direct sunlight can scorch those young leaves.
Now, sometimes things don’t go as planned, and that’s okay! The most common issue is rot. If the stem turns mushy and black, or the leaves start to yellow and drop off rapidly, it’s a sign of too much moisture or not enough air circulation. Don’t despair; just try again with fresh cuttings and adjust your watering.
A Encouraging Closing
So there you have it! Propagating Hypoestes aristata is a wonderful way to multiply your plant collection and share the joy with friends. Be patient with the process. Gardening is a journey, and each new plant you grow is a little victory. Enjoy watching those roots form and new leaves unfurl. Happy propagating!
Resource: