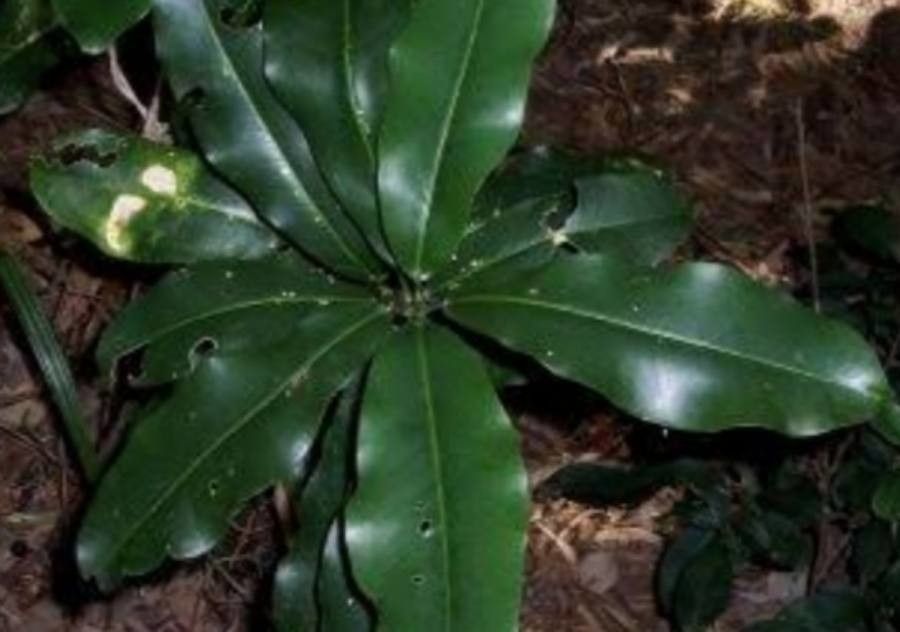
Ah, Acronychia wilcoxiana! It’s one of those treasures that, once you get to know it, you’ll wonder how you ever lived without it. Its glossy leaves and delicate, fragrant flowers are simply delightful. And the joy of multiplying this beauty yourself? Truly unbeatable. Now, is it a cinch for absolute beginners? I’d say it leans towards moderately easy, especially if you follow a few key steps. But don’t let that deter you – with a little attention, you’ll be celebrating success in no time.
The Best Time to Start
For Acronychia wilcoxiana, the sweet spot for propagation is during its active growing season. Think late spring through summer. This is when the plant has plenty of energy to put into forming new roots. Waiting until the new growth has started to firm up a bit, but isn’t yet woody, is ideal. Softwood cuttings taken at this time root most readily.
Supplies You’ll Need
Here’s what you’ll want to have at the ready:
- Sharp pruning shears or a clean knife: For taking precise cuttings.
- Rooting hormone: A powder or gel formulation designed for stem cuttings.
- Well-draining potting mix: I’m a fan of a blend of perlite, coarse sand, and a good quality seed-starting mix. This prevents waterlogging.
- Small pots or trays: With drainage holes, of course!
- Plastic bags or a propagation dome: To create a humid environment.
- Mist bottle: For keeping leaves hydrated.
- Labeled stakes: Essential for remembering what you planted and when!
Propagation Methods
The most reliable way I’ve found to multiply Acronychia wilcoxiana is through stem cuttings.
- Take Your Cuttings: Look for healthy, non-flowering stems. Using your clean shears or knife, take cuttings that are about 4-6 inches long. Make the cut just below a leaf node (where a leaf attaches to the stem).
- Prepare the Cuttings: Gently remove all but the top two or three leaves from the bottom half of the cutting. This reduces water loss. If you’re using rooting hormone, dip the cut end into it, tapping off any excess.
- Plant Your Cuttings: Fill your pots with your prepared, damp potting mix. Make a hole in the center with your finger or a pencil. Gently insert the cut end of the
cuttings, ensuring they are firm in the soil. You can fit a few cuttings per pot, as long as they don’t touch each other initially. - Create a Humid Environment: Water the soil gently. Then, cover the pot with a plastic bag or place it under a propagation dome. Make sure the plastic doesn’t touch the leaves too much.
- Provide Light and Warmth: Place the pots in a bright location but out of direct, harsh sunlight. A spot on a windowsill out of the hottest afternoon sun is perfect. A bit of gentle bottom heat can also be very beneficial!
I’ve also had success with water propagation for Acronychia, though it requires slightly different care.
- Take Cuttings: Same as above, about 4-6 inches long, with most lower leaves removed.
- Place in Water: Fill a clean jar or vase with room-temperature water. Place the cuttings in the water, ensuring none of the leaves are submerged. Only the cut stems should be in the water.
- Change Water Regularly: This is key! Change the water every 2-3 days to keep it fresh and prevent bacterial growth.
- Wait for Roots: You should start to see tiny roots forming within a few weeks. Once the roots are about an inch long, you can carefully transplant them into pots with your well-draining potting mix.
The “Secret Sauce” (Pro Tips)
Here are a couple of things I’ve learned over the years that can really make a difference:
First, don’t let ANY leaves touch the water in water propagation. It’s a common mistake and will lead to rot faster than you can say “oops!” Keep them dry above the waterline.
Second, if you’re using stem cuttings, a little bottom heat is a game-changer. A heat mat designed for seedlings can significantly speed up root development. It mimics the warmth of the soil surface in nature.
Aftercare & Troubleshooting
Once you see new leaf growth, it’s a fantastic sign that roots are forming! Resist the urge to pull on the cutting to check; you’ll disturb those precious new roots. Gradually acclimate the young plants to less humid conditions by opening the bag or dome for increasingly longer periods over a week or two. Keep the soil consistently moist but not soggy.
The biggest culprit for failure with Acronychia cuttings is rot. If your cuttings turn mushy or black, it’s usually a sign of too much moisture and not enough air circulation. In water propagation, this is cured by more frequent water changes and keeping leaves dry. In soil, it’s about improving drainage and ensuring you’re not overwatering. Sometimes, disappointment happens, but it’s a learning curve! Don’t be discouraged if not every cutting takes.
A Encouraging Closing
Propagating Acronychia wilcoxiana is a wonderfully rewarding endeavor. It’s a chance to connect with nature, exercise your green thumb, and fill your garden (or your friends’ gardens!) with more of this lovely plant. Be patient with the process; sometimes it takes a little longer than you expect. Enjoy the journey, and cherish those tiny new beginnings!
Resource: