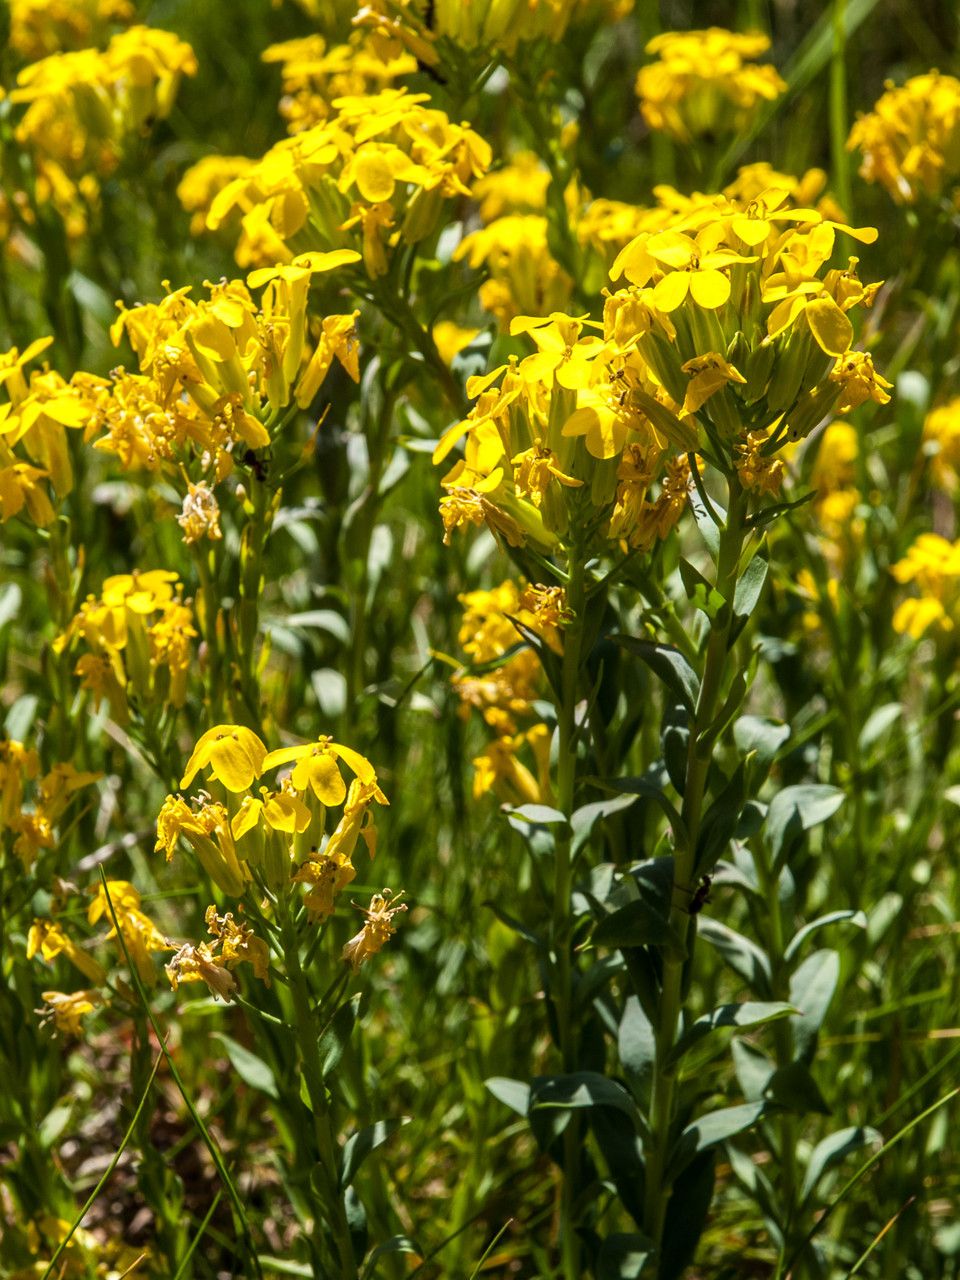
Hello fellow garden enthusiasts! If you’ve ever admired the delicate, often fragrant blooms of Erysimum drenowskii (sometimes called Balkan Wallflower), you know it’s a real charmer. Its dainty spires of purple or pink flowers bring a touch of ethereal beauty to the garden, and getting more of these beauties for yourself is a wonderfully rewarding endeavor. Now, I know some propagation can feel a bit daunting, but don’t worry! Erysimum drenowskii is actually quite forgiving, and with a little guidance, you’ll be well on your way to a mini-nursery of your own.
The Best Time to Start
For me, the sweet spot for propagating Erysimum drenowskii is late spring to early summer. This is when the plant is actively growing, and you’ll find plenty of healthy, semi-hardened new shoots. Starting at this time gives your cuttings a good, long growing season to establish themselves before the cooler weather sets in.
Supplies You’ll Need
Here’s what you’ll want to gather before you get started:
- Sharp, clean pruning shears or a craft knife: Essential for clean cuts that heal well.
- Rooting hormone (optional, but recommended): A little boost can significantly improve success rates. Look for a powder or gel specifically for cuttings.
- Well-draining potting mix: I prefer a mix of equal parts perlite, vermiculite, and seed-starting mix. This ensures good aeration and prevents waterlogged roots.
- Small pots or seed trays: Ensure they have drainage holes!
- Clear plastic bags or a propagation dome: To create a humid environment for your cuttings.
- Gravel or pebbles (for water propagation): To support the stems.
- Water (for water propagation): Filtered or rainwater is best if you have it.
Propagation Methods
Let’s dive into how we’ll create these new plants!
Stem Cuttings
This is my go-to method for Erysimum drenowskii.
- Take the Cuttings: From a healthy parent plant, look for non-flowering shoots. You want stems that are somewhere between soft and woody – they should be flexible but not floppy. Aim for cuttings that are about 4-6 inches long.
- Prepare the Cuttings: Carefully remove any lower leaves that would sit below the soil line. If your cutting has any flower buds, pinch them off; we want all that energy going into root development, not flowering.
- Apply Rooting Hormone (Optional): Dip the cut end of the stem into your rooting hormone, tapping off any excess. This step isn’t strictly necessary for Erysimum drenowskii, but it definitely gives your cuttings an advantage.
- Plant the Cuttings: Make a small hole in your prepared potting mix using a pencil or dowel. Gently insert the cutting into the hole, ensuring the nodes (where the leaves were) are buried. Firm the soil gently around the base of the cutting.
- Water and Cover: Water thoroughly but gently, allowing excess water to drain away. Then, cover the pots with a clear plastic bag or propagation dome to maintain humidity. You can use stakes to keep the plastic from touching the leaves.
Water Propagation
If you prefer a less hands-on approach, water propagation can also work.
- Select and Prepare: Similar to stem cuttings, choose healthy, semi-hardened shoots about 4-6 inches long. Remove all leaves and any flower buds.
- Place in Water: Fill a clean jar or glass with water. Place the cuttings in the water, ensuring that no leaves are submerged. Leaves left in the water will rot and can kill your cutting. You can use a few pebbles or gravel at the bottom of the container to help support the stems and keep them upright.
- Find a Good Spot: Place the container in a bright location but out of direct, harsh sunlight. Change the water every few days to keep it fresh.
The “Secret Sauce” (Pro Tips)
Over the years, I’ve learned a few tricks that can make all the difference.
- Don’t Drench, Just Dampen: When you water your cuttings after planting them in soil, you want the mix to be consistently moist, not waterlogged. Soggy soil is the quickest way to invite rot. Aim for that feeling of a wrung-out sponge.
- Watch Their Breath: Those clear plastic bags or domes are crucial for creating a humid microclimate. Open them up for about 15-30 minutes each day to allow for air exchange. This helps prevent fungal diseases from taking hold.
- A Gentle Warmth: If you live in a cooler climate or your propagation area tends to be chilly, consider placing your pots on a heat mat designed for seedlings. Erysimum drenowskii cuttings seem to root much faster when they have a little gentle bottom warmth.
Aftercare & Troubleshooting
Once you start to see signs of life – tiny white roots emerging from the drainage holes or new leaf growth – it’s time for a little adjustment.
- Acclimatize: Before removing the plastic bag or dome permanently, gradually introduce your new plants to the ambient air over a few days. This helps them adjust to lower humidity.
- Pot Up: Once they have a good root system, you can pot them into slightly larger individual pots with a good quality potting mix.
- Watch for Rot: The most common issue you’ll encounter is rot. If a cutting turns black and mushy, it’s a sign of too much moisture and poor air circulation. Unfortunately, there’s usually no coming back from this, so discard the affected cutting and take a look at your watering and ventilation habits.
- Wilting Woes: If your cuttings wilt, it could be a sign they’re too dry, or sometimes it’s just transplant shock. Ensure they have adequate moisture, and keep them out of direct sun for a few days until they recover.
Let Your Garden Grow!
Propagating Erysimum drenowskii is a wonderfully accessible way to expand your garden’s beauty. Be patient; sometimes it takes a few weeks to see those first roots. Enjoy the process, trust your instincts, and before you know it, you’ll be surrounded by these delightful, fragrant flowers. Happy propagating!
Resource:
https://identify.plantnet.org/k-world-flora/species/Erysimum%20drenowskii%20Degen/data