Hello fellow plant lovers!
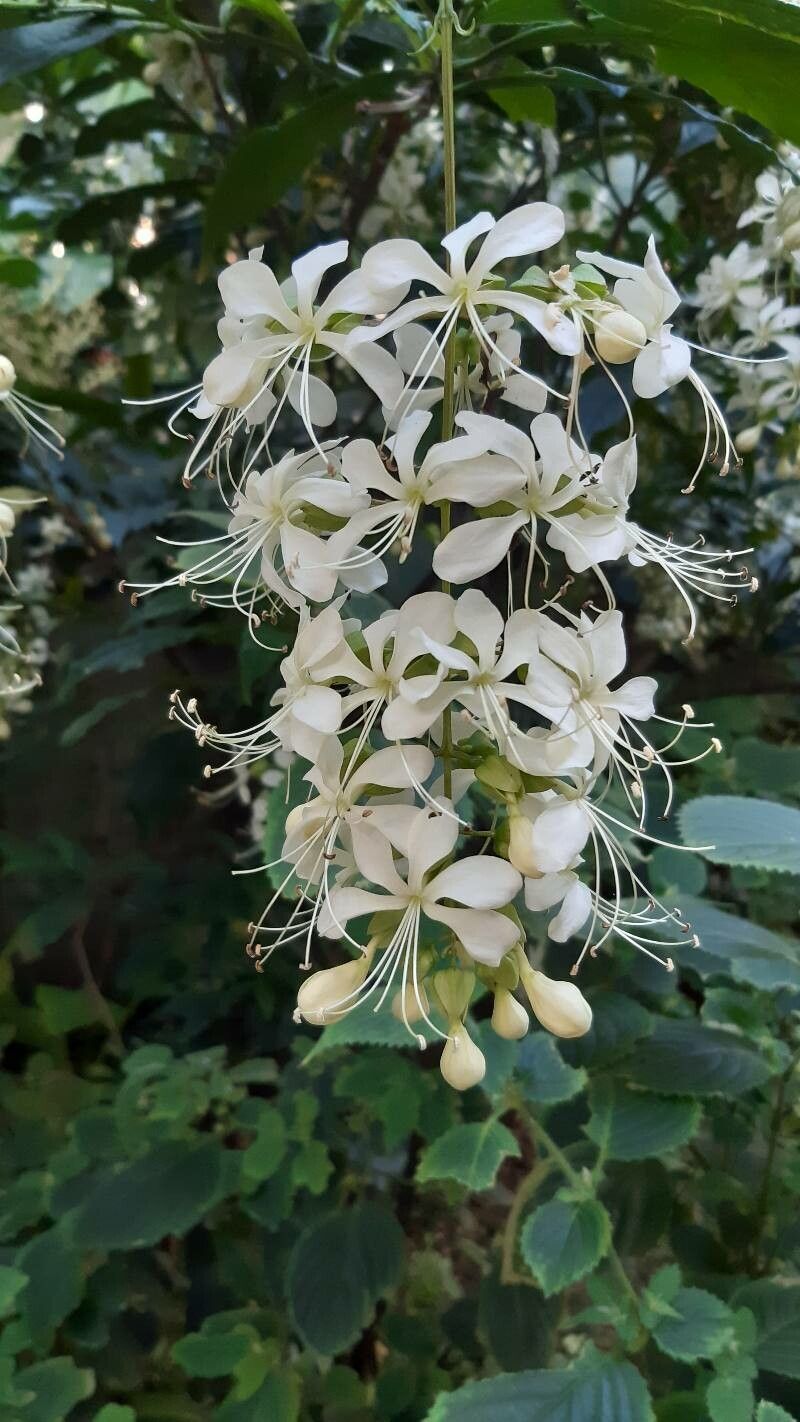
Today, we’re diving into the wonderful world of Clerodendrum wallii, often called the Butterfly Bush for its delightful, fluttery blooms that attract pollinators in droves. It’s a generous plant, erupting with clusters of fragrant flowers and lush foliage, and if you’ve ever admired one in a garden or a friend’s collection, you’ve probably thought about having one for yourself. Well, guess what? You can! Propagating these beauties is a fantastic way to expand your collection or share them with others. And I’m happy to report, Clerodendrum wallii is quite accommodating when it comes to starting new plants from existing ones. It’s a great choice for beginners looking to dip their toes into propagation.
The Best Time to Start
My experience tells me the late spring or early summer is your golden window for propagating Clerodendrum wallii. This is when the plant is in its active growing phase, meaning it has plenty of energy to put towards developing new roots. Look for stems that are a bit firm but not woody – often called “semi-hardwood” cuttings. They’ll snap cleanly rather than bend.
Supplies You’ll Need
Before we get our hands dirty, let’s gather our tools. Having everything ready makes the process so much smoother.
- Sharp Pruning Shears or a Clean Knife: For making clean cuts.
- Small Pots or Propagation Trays: With drainage holes, of course!
- Well-Draining Potting Mix: A good blend of peat moss, perlite, and a bit of compost works wonders. You can also buy a specific seedling or cutting mix.
- Rooting Hormone (Optional but Recommended): This really gives your cuttings a boost.
- Clear Plastic Bag or Propagator Lid: To create a humid environment.
- Watering Can with a Fine Rose: For gentle watering.
- Small Labels: So you don’t forget what you’ve planted!
Propagation Methods
Let’s get propagating! I find stem cuttings to be the most reliable method for Clerodendrum wallii.
Stem Cuttings
- Take Your Cuttings: Using your clean shears, select a healthy, non-flowering stem and cut a piece about 4-6 inches long. Make the cut just below a leaf node (where a leaf attaches to the stem).
- Prepare the Cuttings: Gently remove the lower leaves, leaving just the top two or three. This prevents them from rotting in the soil and allows the plant to focus energy on rooting. If the leaves are very large, you can even cut them in half horizontally.
- Apply Rooting Hormone (if using): Dip the cut end of the stem into your rooting hormone powder or gel. Tap off any excess.
- Plant Your Cuttings: Fill your pots or trays with your potting mix. Make a small hole in the center with your finger or a pencil. Insert the cut end of the stem into the hole, ensuring the leaf nodes are below the soil surface. Gently firm the soil around the stem.
- Water Gently: Water thoroughly but carefully, so you don’t dislodge the cuttings.
- Create Humidity: Cover the pots with a clear plastic bag or a propagator lid. This traps moisture around the cuttings, mimicking the humid environment they need to root. Poke a few small holes in the bag for ventilation if it looks like too much condensation is building up.
Water Propagation (A Simpler Approach)
While stem cuttings in soil are my go-to, you can also try water propagation for Clerodendrum wallii, which is very satisfying to watch.
- Prepare Cuttings: Follow steps 1 and 2 from the stem cutting method.
- Place in Water: Put the cuttings into a jar or vase filled with clean water.
- Location: Place the container in a bright spot, but out of direct sunlight.
- Change Water Regularly: Change the water every few days to keep it fresh and prevent rot.
The “Secret Sauce” (Pro Tips)
Here are a few little tricks I’ve picked up over the years that can make a big difference:
- Bottom Heat is Your Friend: If you have a seedling heat mat, place your pots on it. A gentle warmth from below encourages root development much faster than room temperature alone. It’s like a cozy blanket for your cuttings!
- Don’t Let Leaves Touch the Water: If you’re water propagating, make sure the leaves of your cuttings don’t sit in the water. Only the stem should be submerged. Leaves in water are a fast track to rot.
- Cleanliness is Key: Always use clean pots, clean tools, and clean water. This drastically reduces the risk of fungal diseases and rot, which are the biggest culprits in propagation failures.
Aftercare & Troubleshooting
Once you see new leaf growth or feel resistance when gently tugging on a cutting, it’s a good sign that roots have formed!
- Acclimating: If you’ve used a plastic bag, gradually start to open it up over a few days to let the cuttings adjust to the ambient humidity.
- Transplanting: Once the cuttings have a good root system (you might even see them through the drainage holes), you can carefully transplant them into slightly larger individual pots using your well-draining potting mix.
- Watering: Keep the soil consistently moist but not waterlogged. Water when the top inch of soil feels dry.
- Troubleshooting: The most common problem is rot. If your cutting turns mushy or black, it’s likely rotted. This is often due to too much moisture or poor air circulation. If you see a bit of mold, try to gently wipe it away and increase ventilation. If the cutting looks shriveled and dry, it might not have rooted, or it’s not getting enough moisture.
A Little Patience Goes a Long Way
Propagating plants is a truly rewarding experience. It’s a chance to connect with nature’s cycle and create new life from a single stem. Don’t be discouraged if a few don’t make it – that’s all part of the learning process! Be patient, observe your cuttings, and enjoy the journey of watching them grow. Happy propagating!
Resource:
https://identify.plantnet.org/k-world-flora/species/Clerodendrum%20wallii%20Moldenke/data