Oh, hello there! Grab a cup of your favorite brew, because today we’re diving into the wonderful world of propagating Strobilanthes thomsonii. I’ve been coaxing these beauties into new life for years, and believe me, it’s an incredibly satisfying journey.
Why You’ll Love Propagating Strobilanthes thomsonii
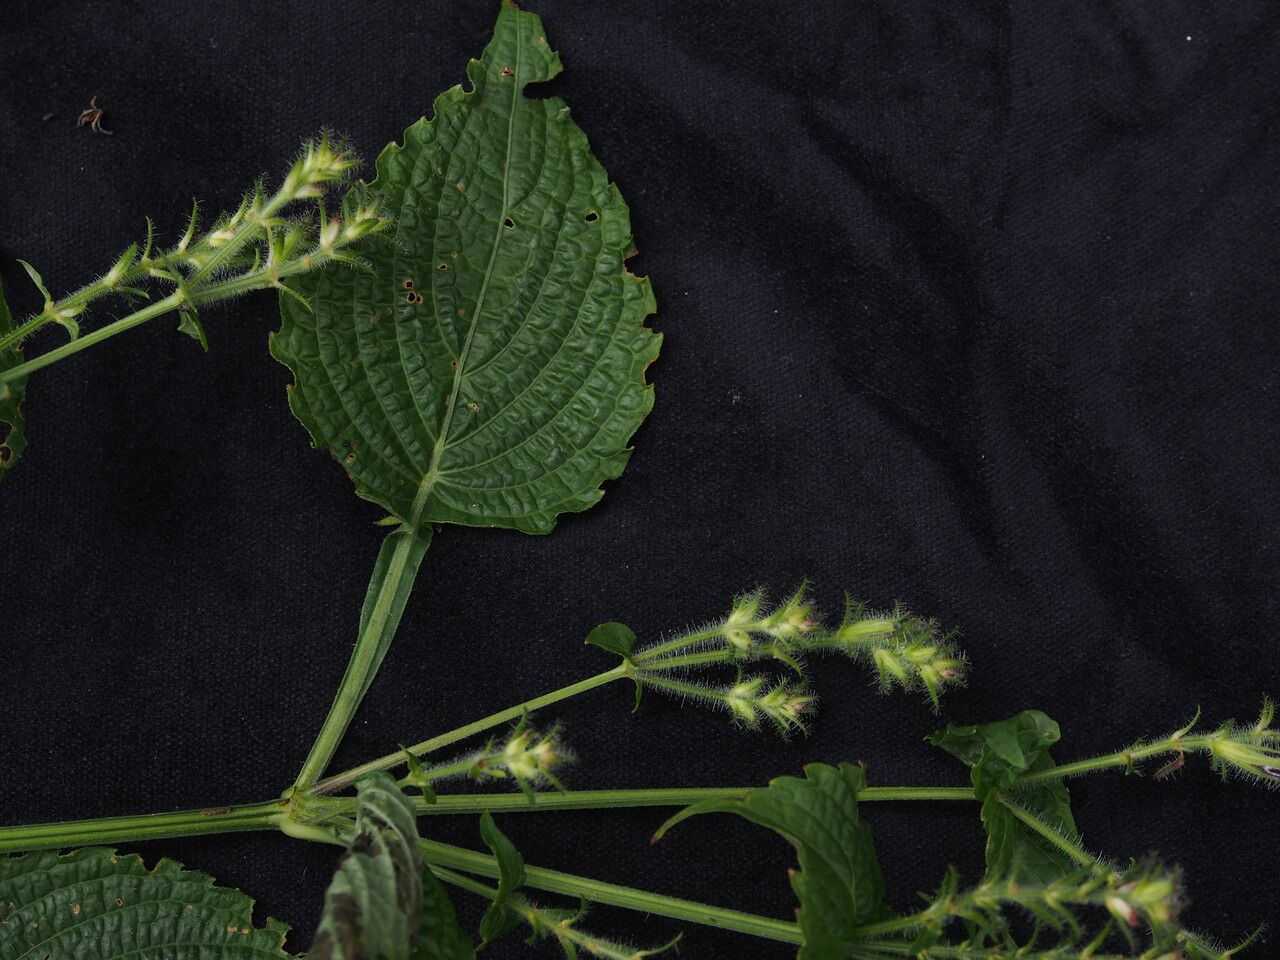
If you’re drawn to plants with lush, velvety foliage in stunning shades of purple and green, you’re going to adore Strobilanthes thomsonii. Its intricate leaf patterns are a real showstopper, and the joy of creating more of these treasures from your existing plant is simply unmatched. Is it easy? For most gardeners, yes! It’s quite forgiving, making it a fantastic plant to start your propagation adventures with.
The Best Time to Start: Think Warmth and Growth
My absolute favorite time to get busy with cuttings is from late spring through summer. This is when the plant is in its most vigorous growth phase. The stems are actively producing new leaves and energy, which means they have the best chance of rooting successfully. You’re essentially working with the plant at its peak, and it’s more than happy to share its vitality.
Supplies You’ll Need: Your Propagation Toolkit
Gathering your tools beforehand makes the whole process smooth. Here’s what I usually have on hand:
- Sharp Pruning Shears or a Clean Knife: For making clean cuts that heal well.
- Rooting Hormone (Optional but Recommended): A little powder or gel helps cuttings establish roots faster. Look for one with an anti-fungal agent.
- Potting Mix: A well-draining mix is key. I like to use a blend of peat moss, perlite, and a bit of compost. Some gardeners swear by perlite and coco coir alone, and that works too!
- Small Pots or Propagation Trays: Clean, small containers are perfect for individual cuttings.
- Clear Plastic Bags or a Propagator: To create a humid environment for the cuttings.
- Watering Can with a Fine Rose: To water gently.
- Labeling Stakes and a Pen: Because, trust me, you’ll forget what you planted where!
Propagation Methods: Let’s Get Our Hands Dirty!
Strobilanthes thomsonii is a trooper and responds well to a few different methods. My go-to is almost always stem cuttings.
Stem Cuttings: The Classic Approach
- Select Your Source: Look for healthy, non-flowering stems on your mature Strobilanthes. Aim for stems that are a bit woody at the base but still have plenty of green, active growth at the tip.
- Make the Cut: Using your clean shears, take cuttings that are about 4-6 inches long. Make the cut just below a leaf node, which is that little bump where a leaf emerges from the stem. This is where the magic of rooting often happens.
- Prepare the Cutting: Gently remove the lower leaves, leaving just a couple of leaves at the very top. This reduces water loss and prevents leaves from rotting in the soil or water.
- Dip in Rooting Hormone (Optional): If you’re using rooting hormone, lightly dip the cut end into the powder or gel. Tap off any excess.
- Planting Time: Fill your small pots or trays with your prepared potting mix. Moisten the mix so it’s damp but not soggy. Make a small hole in the center of the soil with your finger or a pencil.
- Insert the Cutting: Gently push the cut end of the stem into the hole. Firm the soil around it so the cutting stands upright.
- Create a Humid Environment: Water the soil gently. Then, place the pot inside a clear plastic bag, securing it loosely around the pot with a rubber band. You can also use a propagator with a lid. This creates a mini-greenhouse.
- Placement: Place your cuttings in a bright spot that gets indirect light. Avoid direct sun, as it can scorch the delicate cuttings.
Water Propagation: A Peek at the Progress
This method is fantastic because you can actually see the roots forming!
- Prepare the Cutting: Follow steps 1-3 above for selecting and preparing your stem cuttings.
- Place in Water: Find a clean jar or glass. Fill it with room-temperature water.
- Submerge: Place the cuttings in the water, ensuring that the leaf nodes are submerged, but that the leaves themselves are above the water line. This is important!
- Change the Water: Change the water every 2-3 days to keep it fresh and oxygenated, which helps prevent rot.
- Placement: Just like with soil propagation, keep them in a spot with bright, indirect light.
- Planting Out: Once you see sturdy roots, about an inch or so long, it’s time to transplant them into soil using the same method as described for stem cuttings (steps 5-8 above).
The “Secret Sauce”: My Insider Tips
Over the years, I’ve learned a few tricks that really boost my success rate.
- Bottom Heat is Your Friend: If you have a propagation mat or can place your pots on top of a router or refrigerator (somewhere with gentle, consistent warmth), it makes a huge difference. Roots are often more receptive to warmth than light.
- Mist, Don’t Drown: Even though you want humidity, be careful not to overwater the soil from above. Misting the leaves occasionally and ensuring the soil is just consistently damp is usually all they need. If the soil looks dry, water lightly.
- Be Patient with Timing: Sometimes, you might have a cutting that seems to be doing nothing for weeks. Don’t give up too soon! I’ve had cuttings surprise me and start rooting after what felt like an eternity. Check for new leaf growth as a sign of success, not just roots.
Aftercare & Troubleshooting: Nurturing Your New Sprouts
Once you see that lovely glint of new roots or your cuttings have established themselves with new leaf growth, it’s time for a little more focused care.
- Gradual Acclimation: If you used a plastic bag, gradually open it up a bit more each day over a few days. This helps the new plant adjust to the lower humidity of your home.
- Watering New Plants: Once potted, water them thoroughly, then allow the top inch of soil to dry out before watering again. They’re still babies, so they don’t like to sit in soggy soil.
- Light: Continue to provide bright, indirect light. As they grow stronger, you can slowly introduce them to slightly more light, but always watch for signs of stress.
Common Signs of Failure:
- Wilting and Yellowing Leaves: This can be a sign of too much direct sun, too little water, or the cutting simply didn’t have enough stored energy.
- Rotting at the Soil Line: This is usually a sign of overwatering and poor drainage. The stems turn mushy and dark. Ensure your soil is airy and that you’re not watering too frequently.
- No Sign of Growth After Weeks: While some plants are slow, if there’s no visible root growth (if in water) or new leaf bud activity after a month or two, the cutting may not have taken.
Happy Propagating!
Watching a tiny cutting transform into a healthy new plant is one of the most rewarding aspects of gardening. Don’t be discouraged if your first few attempts aren’t perfect; each one is a learning opportunity. Be patient, enjoy the process, and soon you’ll have a whole collection of beautiful Strobilanthes thomsonii to admire (and share!). Happy gardening!
Resource:
https://identify.plantnet.org/k-world-flora/species/Strobilanthes%20thomsonii%20T.Anderson/data