Hello there, fellow plant enthusiasts! It’s so lovely to share a bit of my garden wisdom with you today. We’re going to dive into the wonderful world of propagating Schlumbergera opuntioides, often called the Opuntia-leaf cactus or, more simply, a type of Christmas cactus.
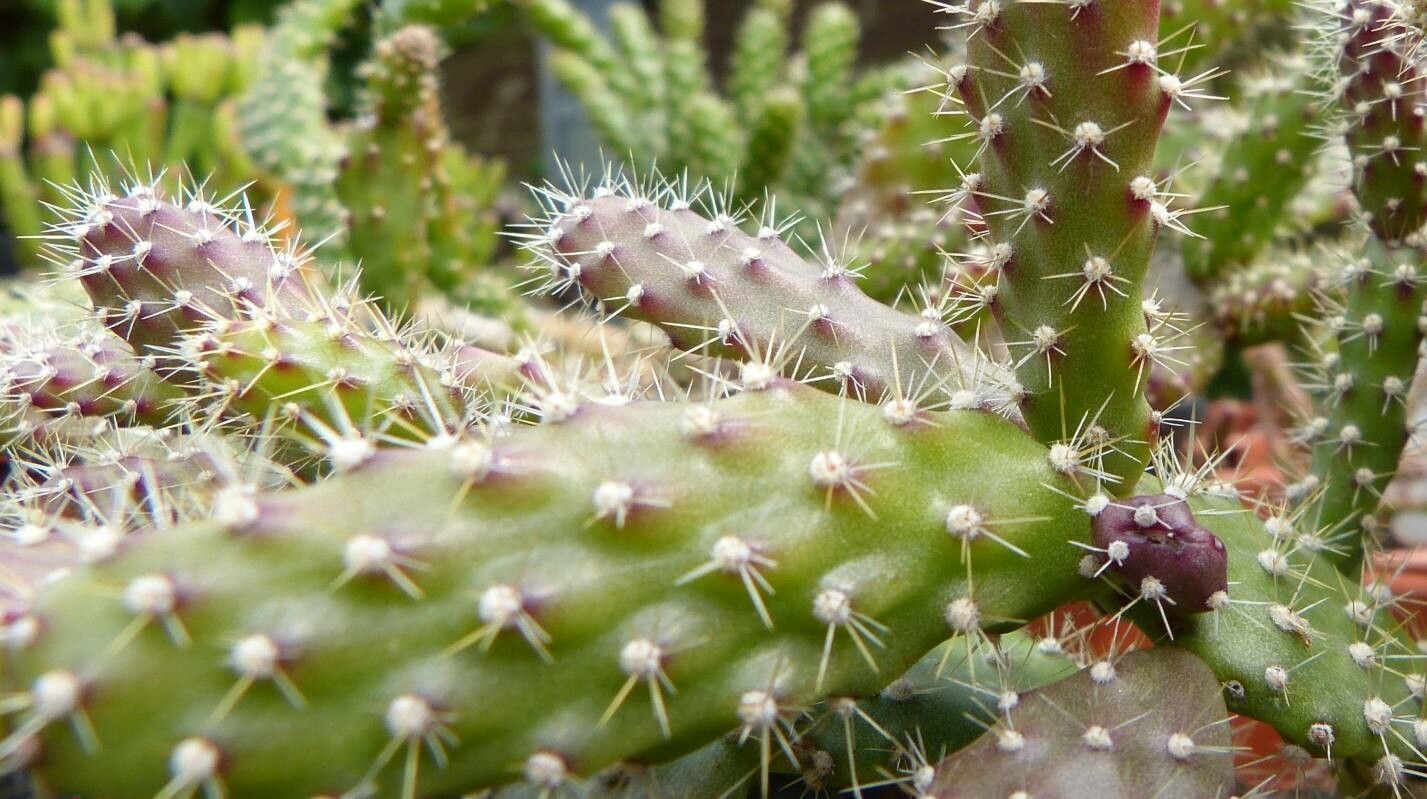
There’s something incredibly satisfying about turning one precious plant into many. With its charming, flat, pad-like segments that truly do resemble tiny opuntia pads, Schlumbergera opuntioides is a delightful addition to any indoor jungle. Propagating it allows you to expand your collection, share the joy with friends, or even start a whole new generation of these quirky beauties. If you’re a beginner, you’ll be happy to know this one is quite forgiving, making it a fantastic plant to start your propagation journey with.
The Best Time to Start
Honestly, I find the spring and early summer to be the sweet spot for propagating Schlumbergera opuntioides. This is when the plant is actively growing and has the energy to dedicate to forming new roots. It’s not an urgent matter, though; you can successfully take cuttings from healthy growth at almost any time, but you’ll likely see the speediest results during its active growth period. Avoid propagating when the plant is stressed, perhaps during extreme heat or cold, or right after repotting.
Supplies You’ll Need
Gathering your supplies before you begin is always a good idea. It prevents interruptions and keeps things flowing smoothly. Here’s what you’ll want on hand:
- Sharp, sterilized pruning shears or a clean knife: For making clean cuts.
- Rooting hormone (optional, but recommended): A powder or gel that encourages root development.
- Well-draining potting mix: A cactus/succulent mix is perfect, or you can create your own by mixing equal parts potting soil, perlite, and coarse sand.
- Small pots or propagation trays: Clean and with drainage holes.
- Watering can or spray bottle: For gentle watering.
- Labels and a marker: To keep track of your new babies!
Propagation Methods
There are a couple of straightforward ways to multiply your Schlumbergera opuntioides. I usually go for stem cuttings, as it’s the most direct and usually the most successful method for this plant.
1. Stem Cuttings (Most Common & Easiest)
This is my go-to method. It’s simple, effective, and yields great results.
- Select Your Cuttings: Look for healthy, mature segments (pads) on your plant. You’re aiming for sections that have at least two or three segments attached.
- Make the Cut: Using your sterilized shears or knife, make a clean cut where a segment attaches to another. Try to get a clean separation at the joint.
- Let Them Callus: This is a crucial step! Lay your cuttings on a dry paper towel or a clean surface in a bright, indirectly lit spot for 2-7 days. This allows the cut end to dry and callus over, preventing rot when you plant them. You’ll see the cut end turn white and dry.
- Apply Rooting Hormone (Optional): Once the cuttings are callused, you can dip the cut end into rooting hormone. Tap off any excess.
- Plant Your Cuttings: Fill your small pots or trays with your well-draining potting mix. Make a small hole in the center of the soil using your finger or a pencil.
- Insert the Cuttings: Gently insert the callused end of the cutting into the hole, burying about half an inch to an inch of the segment.
- Water Gently: Lightly water the soil around the cutting. You want it to be moist, not soggy. A spray bottle works well for this initial watering.
- Provide Bright, Indirect Light: Place your pots in a spot with bright, indirect light. Avoid direct sun, which can scorch them.
2. Water Propagation (A Cheerful Alternative)
While I prefer soil for this particular plant, you can try water propagation, though keep an eye out for rot.
- Prepare Your Cuttings: Follow the same steps as above for selecting and cutting your stem segments.
- Let Them Callus: Again, allow the cut end to callus for a few days to reduce the risk of rot.
- Place in Water: Find a clean jar or glass. Fill it with fresh water.
- Suspend the Cuttings: You want the callused end of the cutting to be just touching the water, or slightly submerged. Ensure no leaves are submerged. You might need to prop them up if they’re heavy.
- Change Water Regularly: Change the water every few days to keep it fresh and prevent bacterial growth.
- Provide Bright, Indirect Light: Place your water propagation setup in a bright, indirect light location.
- Plant When Roots Appear: Once you see small roots developing, typically after a few weeks, it’s time to transplant them into your well-draining potting mix. Handle these new roots very gently.
The “Secret Sauce” (Pro Tips)
Here are a few little things I’ve picked up over the years that can make a big difference:
- Don’t Drown Your Cuttings: Especially when water propagating, it’s tempting to let the whole segment sit in water. Resist! Only the cut end should touch the water. Rot often sets in when too much of the plant is submerged.
- Bottom Heat is Your Friend: If you’re doing multiple cuttings and want to speed things up, especially in cooler conditions, I highly recommend a seedling heat mat. Placing your pots on a gentle heat source (around 70-75°F or 21-24°C) can significantly encourage root development. It’s like a little spa day for your cuttings!
- Be Patient with the Callusing: I know it’s hard to wait, but that callusing period is paramount. Skipping it is the most common reason for rot and failure with succulents and cacti. That dry crust is your best defense.
Aftercare & Troubleshooting
Once your cuttings have started to develop roots (you’ll know when you can gently tug on them and feel resistance), it’s time for continued care.
- Watering: Water your new plants sparingly. Let the soil dry out almost completely between waterings. Overwatering is the number one enemy of newly rooted succulents.
- Light: Continue to provide bright, indirect light. As they establish, you can gradually introduce them to slightly more light, but always watch for signs of scorching.
- Patience: It can take anywhere from a few weeks to a couple of months for substantial root systems to develop. Don’t get discouraged if you don’t see dramatic growth immediately.
Common Signs of Failure:
- Rot: This is usually identifiable by a mushy, black, or brown base on your cutting, often accompanied by a foul smell. If you see this, unfortunately, that cutting is likely lost. It’s usually a sign of too much moisture and not enough callusing.
- Wilting or Shriveling: If your cutting looks droopy and shriveled, it might be too dry, or it hasn’t rooted yet and is using up its stored water. Check soil moisture. If it’s dry, water gently. If it’s still soggy and wilting, it might be a sign of rot starting.
A Gentle Encouragement
Propagating plants is a beautiful dance with nature. There will be times when things don’t go exactly as planned, and that’s okay! It’s all part of the learning process. Celebrate your successes, learn from your failures, and most importantly, enjoy the journey. Watching those tiny roots emerge and seeing your new plants grow is incredibly rewarding. Happy propagating!
Resource: