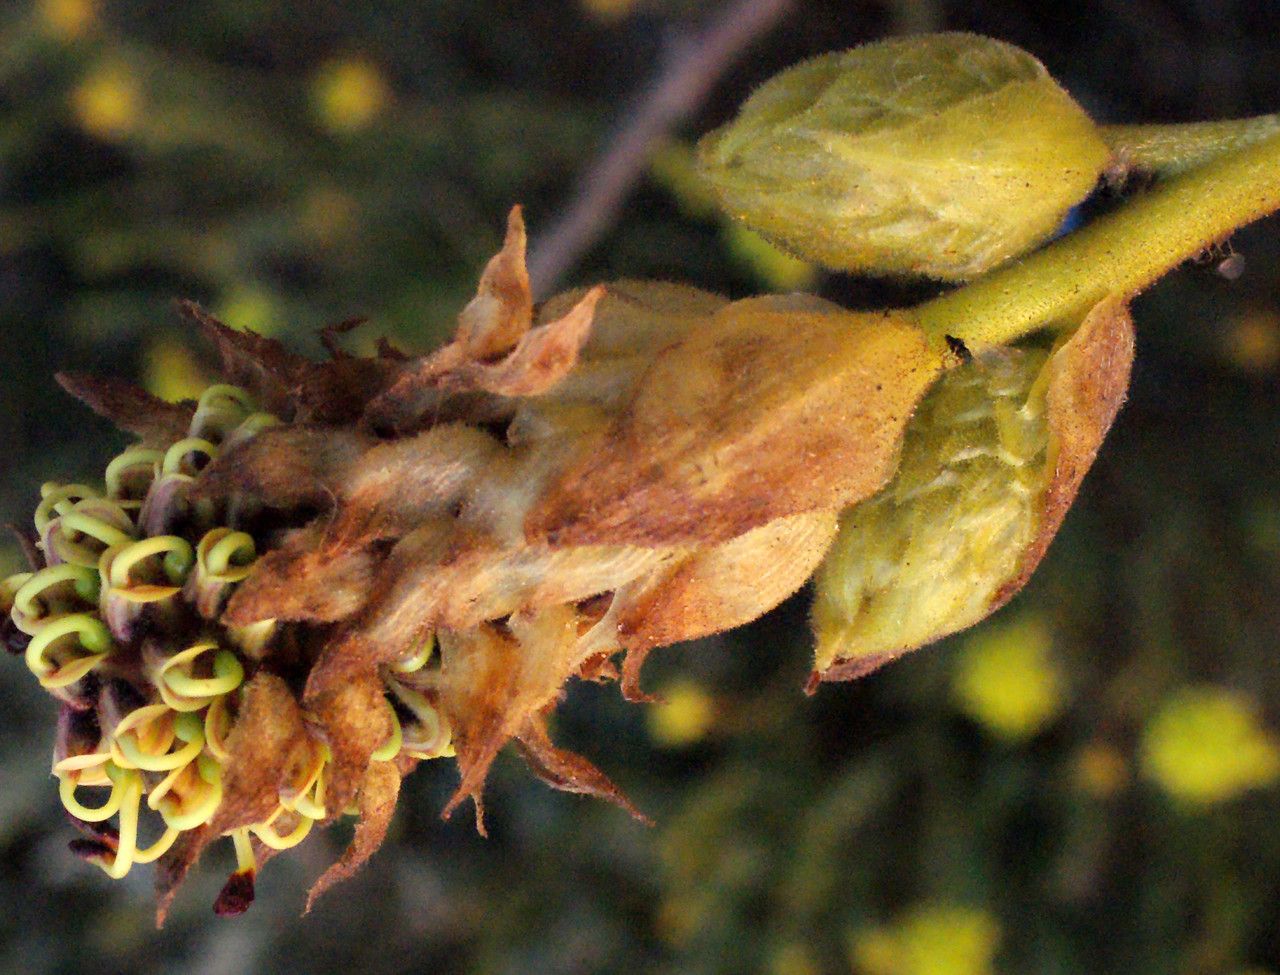
Oh, hello there! I’m so glad you’re interested in Grevillea eryngioides. This Australian native is just a stunner, isn’t it? With its unique, thistle-like blooms that attract all sorts of fascinating pollinators, it really adds a touch of the wild to any garden. And the best part? Watching a tiny cutting transform into a thriving plant is one of the most satisfying joys a gardener can experience. If you’re new to the plant world, propagating Grevillea eryngioides is a good place to start – it’s not overly fussy, which is always a plus!
When to Get Your Hands Dirty
The sweet spot for propagating Grevillea eryngioides is usually in late spring to early summer. This is when the plant is actively growing, meaning it’s full of vigor and more likely to sprout roots. You’re looking for stems that are semi-hardwood – not brand new and floppy, but not old and woody either. They should snap cleanly when you bend them gently.
Your Propagation Toolkit
Here’s what you’ll want to have on hand before you begin:
- Sharp, clean pruning shears or a craft knife: For taking your cuttings. Sterilize them with rubbing alcohol!
- Rooting hormone (optional but recommended): A powder or gel can give your cuttings a helpful boost.
- A good quality potting mix: I like a mix that’s light and drains well. A blend of peat moss or coco coir, perlite, and a bit of fine bark works wonders. You can also buy specific seed starting or cutting mixes.
- Small pots or trays with drainage holes: Terracotta pots are great for cuttings because they breathe.
- A small watering can or spray bottle: For gentle watering.
- A plastic bag or propagation dome: To create a humid environment around your cuttings.
- Labels and a pen: So you don’t forget what you planted where!
Let’s Get Propagating! Stem Cuttings Are Your Friend
The most reliable way to multiply your Grevillea eryngioides is by taking stem cuttings. It’s straightforward and usually yields great results.
- Take Your Cuttings: In late spring or early summer, select a healthy stem. Using your sterilized shears, take cuttings that are about 4-6 inches long. Make the cut just below a leaf node (where a leaf attaches to the stem).
- Prepare the Cuttings: Gently remove the leaves from the bottom half of each cutting. If the remaining leaves are very large, you can cut them in half to reduce water loss.
- Dip in Rooting Hormone (Optional): If you’re using rooting hormone, dip the cut end of each cutting into the powder or gel, tapping off any excess.
- Plant Your Cuttings: Fill your small pots with your well-draining potting mix. Make a little hole in the center with your finger or a pencil. Gently insert the cutting into the hole, firming the mix around it. Ensure that no leaves are touching the soil surface.
- Water Gently: Water the soil lightly to settle it around the cuttings. You can also mist the cuttings and the soil with your spray bottle.
- Create Humidity: Cover the pot with a clear plastic bag or a propagation dome. Make sure the bag doesn’t touch the leaves too much. This traps moisture and creates a greenhouse effect.
- Find a Bright Spot: Place the pots in a location that receives bright, indirect light. Avoid direct, harsh sunlight, which can scorch the delicate young cuttings.
My “Secret Sauce” for Grevillea Success
Here are a couple of things I’ve learned over the years that really make a difference:
- Bottom Heat is Your Best Friend: For really stubborn cuttings, a bit of gentle warmth from below can work wonders. A heat mat designed for seedlings, placed under your pots, can significantly speed up root development. Just keep it on a low setting.
- Don’t Overwater: This is crucial. While cuttings need moisture, soggy soil is the fastest way to invite rot. It’s better to err on the side of slightly too dry than too wet. I often check the soil by feel – if it’s dry to the touch about an inch down, it’s time for a light watering. And remember, the plastic bag helps maintain moisture, so you won’t need to water as often.
Nurturing Your New Arrivals and What to Watch For
Patience is key here! It can take anywhere from 4 to 8 weeks, or sometimes even longer, for your cuttings to develop a good root system.
- Check for Roots: The easiest way to check without disturbing them too much is to gently tug on the cutting. If you feel resistance, roots have likely formed. You can also look for new leaf growth.
- Remove the Humidity Dome: Once you see signs of new growth, you can start gradually acclimatizing your cuttings to normal humidity by removing the plastic bag or dome for a few hours each day, slowly increasing the time until it’s completely off.
- Potting Up: When the roots have filled the pot, or you’re confident they are well-established, it’s time to pot them up into slightly larger containers with a good general potting mix.
Troubleshooting: The most common issue you’ll face is rot. If you see your cuttings turning black and mushy, it’s a sign of overwatering and poor air circulation. Unfortunately, once rot sets in, it’s usually irreversible. If this happens, discard the affected cuttings and learn from it – perhaps reducing your watering or improving drainage next time.
So there you have it! Propagating Grevillea eryngioides is a rewarding journey. Don’t be discouraged if your first few attempts aren’t perfect. Every gardener learns as they go. Enjoy the process of nurturing these little plants, and soon you’ll have a whole garden of these beauties! Happy growing!
Resource:
https://identify.plantnet.org/k-world-flora/species/Grevillea%20eryngioides%20Benth./data