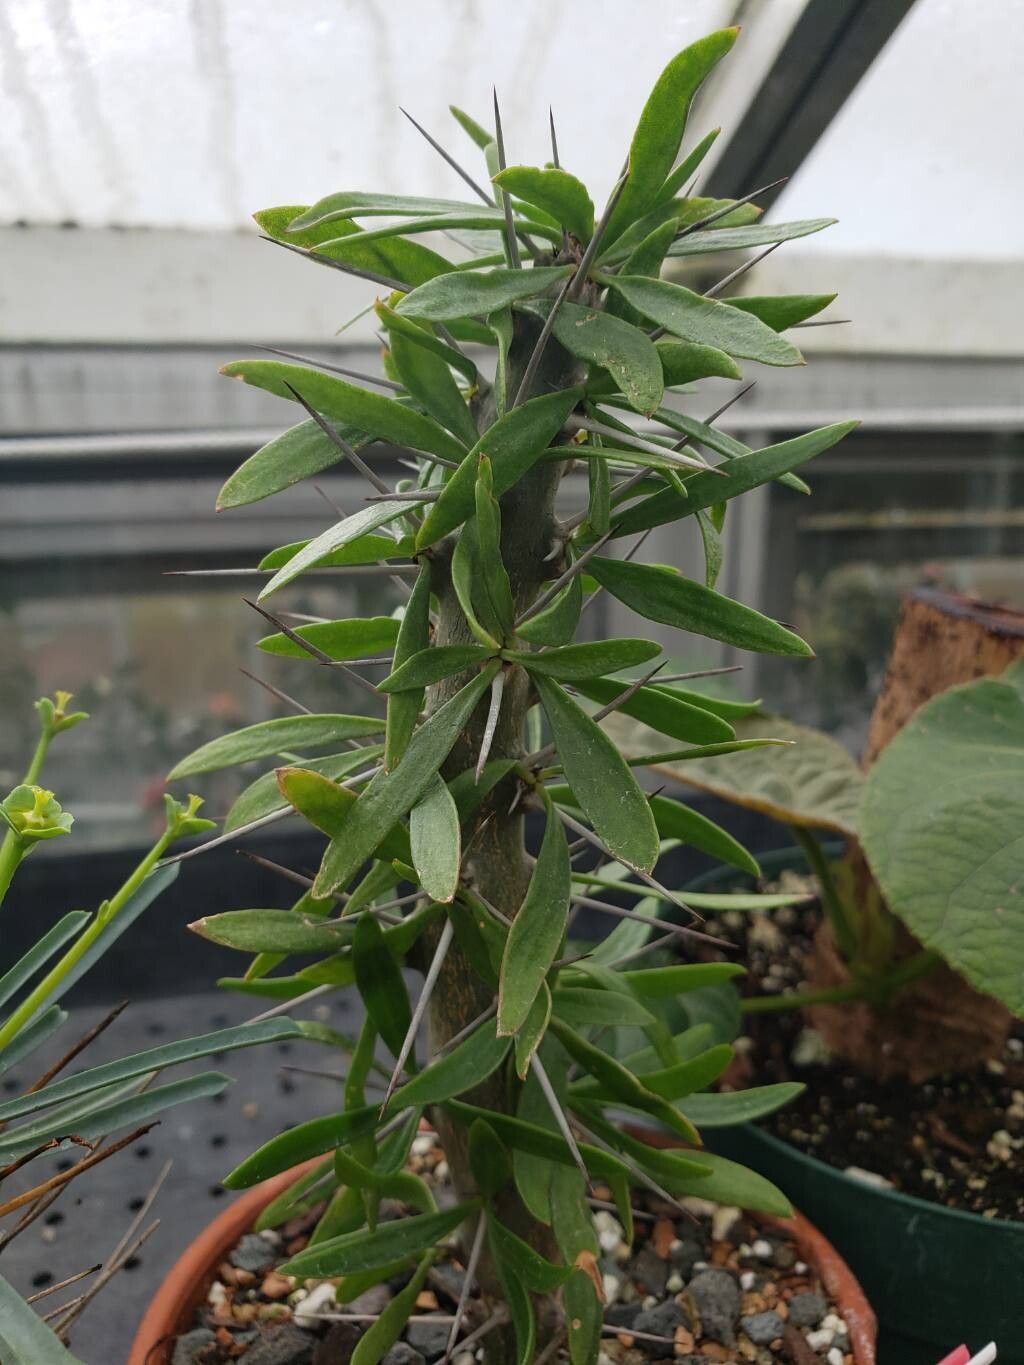
Oh, Didierea trollii! What a fascinating plant to bring into your garden. Those architectural, spiky silhouettes are just breathtaking, aren’t they? And the flowers, when they grace us with their presence, are truly something special. Propagating them feels like unlocking a little bit of that magic for yourself, and it’s incredibly rewarding to watch a tiny piece of this unique succulent flourish into a new specimen. Now, I won’t lie to you, Didierea trollii can be a tad particular about how it likes to be propagated. It might not be the absolute easiest for a complete beginner, but with a little patience and attention, I think you’ll do wonderfully.
The Best Time to Start
For Didierea trollii, the sweet spot for propagation is generally during its active growing season. Think late spring through mid-summer. This is when the plant has the most energy to put into healing and root development. Trying to propagate when it’s dormant can lead to disappointment. You want to catch it when it’s feeling vigorous and ready to grow!
Supplies You’ll Need
Here’s what I always have on hand when I’m working with my Didierea trollii:
- Sharp, clean pruning shears or a sharp knife: Essential for making clean cuts.
- Rooting hormone (optional but recommended): A good quality powdered or liquid rooting hormone can give your cuttings a significant boost.
- Well-draining potting mix: This is crucial! I usually use a blend of coarse sand, perlite, and a good quality potting soil, or a pre-made cactus and succulent mix. You want it to dry out quickly.
- Small pots or trays: Terracotta pots are great because they breathe and help prevent waterlogging.
- Labels: So you don’t forget what you’ve propagated and when.
- Watering can or spray bottle: For gentle watering.
- A bright, indirect light spot: Where your cuttings can get good light without being scorched.
Propagation Methods
The most reliable way to get more Didierea trollii is through stem cuttings. Here’s how I do it:
- Select a healthy stem: Look for a mature, but not woody, stem that looks vibrant and pest-free. A stem that’s about 4-6 inches long is usually a good size.
- Make a clean cut: Using your sharp tools, make a clean cut just above a leaf node. This is where roots are most likely to form.
- Allow the cutting to callous: This is a very important step for succulents like this. Let the cut end air dry for 3-7 days, or until a dry, papery scab forms over the wound. This prevents rot. I usually just leave mine on a paper towel in a dry spot on my counter.
- Apply rooting hormone (optional): Once calloused, dip the cut end into your rooting hormone powder, tapping off any excess. If you’re using a liquid, follow the product’s instructions.
- Plant the cutting: Gently push the calloused end of the cutting into your prepared well-draining potting mix. You want it deep enough to stand upright, usually about an inch or so.
- Water very sparingly: After planting, I wait a day or two before giving it a very light watering. The soil should be barely moist.
The “Secret Sauce”
Here are a couple of things I’ve learned that really seem to make a difference:
- Bottom heat is a game-changer. If you can, place your pots on a gentle heat mat designed for seedlings. This encourages root development from below, mimicking the warmth of the soil.
- Don’t overwater, ever. This is probably the biggest pitfall with succulents. It’s far better to underwater than overwater your cuttings. They have plenty of stored water in their stems and leaves; they just need to be encouraged to find more through roots. I usually wait until the soil is completely dry before watering again.
- A misting can be beneficial, but be cautious. While you don’t want to soak them, a light misting of the leaves occasionally (if they look a bit thirsty and it’s not too humid) can sometimes help. But again, the primary focus is dry soil and root stimulation.
Aftercare & Troubleshooting
Once you see signs of new growth, which might be tiny leaves emerging or the stem looking plumper and more rooted, you know you’re on your way! Continue to water sparingly, allowing the soil to dry out between waterings. Gradually introduce your new plant to more direct sunlight, but avoid harsh, direct sun for the first few weeks.
The most common sign of failure is rot. If your cutting turns black and mushy, or if it simply shrivels up and refuses to root, it’s likely due to too much moisture or a lack of callousing. Don’t be discouraged if you lose a cutting or two. It happens to all of us!
A Encouraging Closing
Propagating Didierea trollii is a bit of a journey, and sometimes nature has its own plans. Be patient with yourself and the process. Celebrate the small victories, like seeing a little root emerge, and learn from any setbacks. You’ve got this, and soon you’ll have your own starry cluster of these incredible plants. Happy propagating!
Resource:
https://identify.plantnet.org/k-world-flora/species/Didierea%20trollii%20Capuron%20&%20Rauh/data