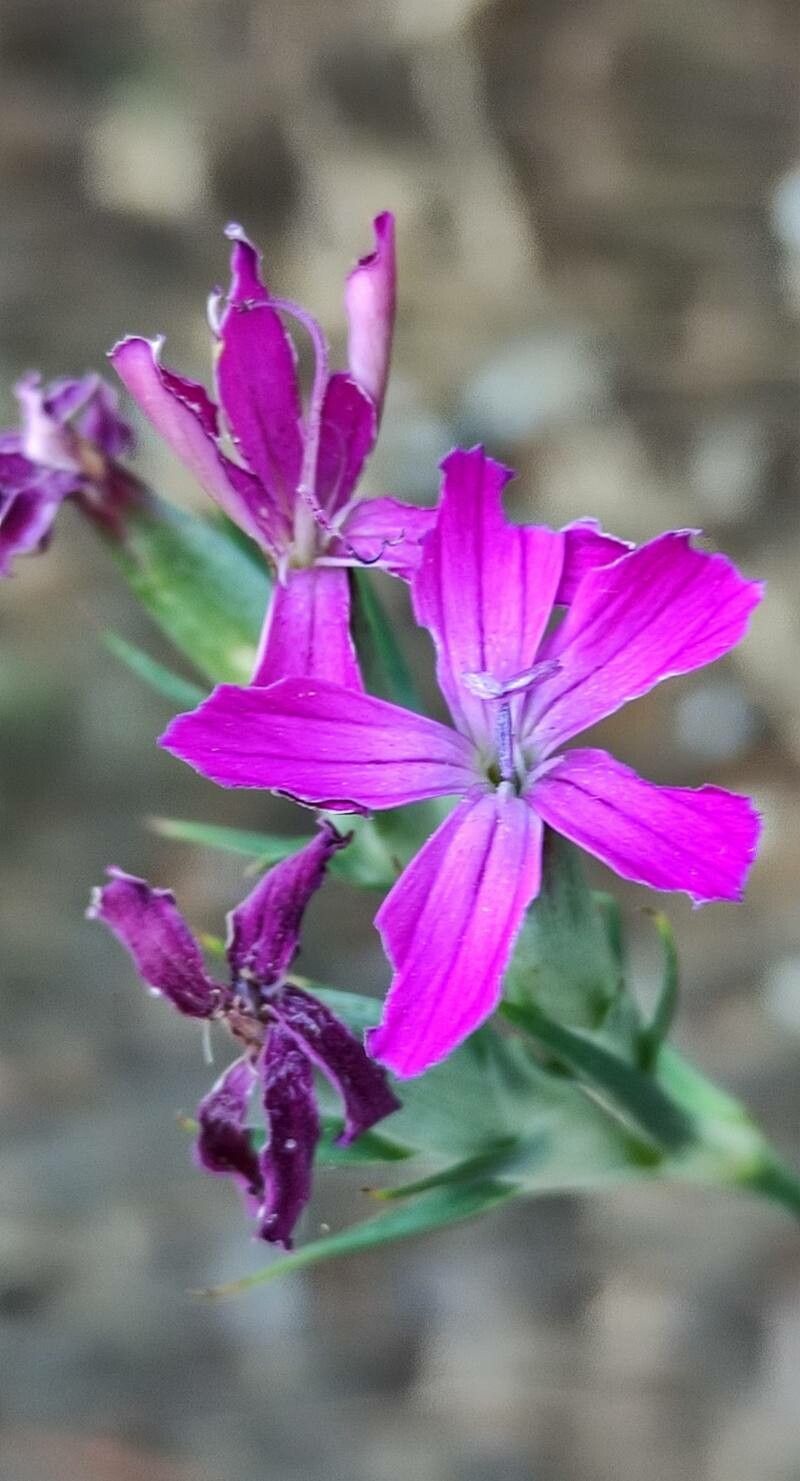
Hello there, fellow garden enthusiasts! I’m so glad you’ve found your way here. Today, we’re diving into the delightful world of Dianthus anticarius, or what I affectionately call the Pinks. If you love those charming, often fragrant, ruffled blooms that dance in the breeze, you’re in for a treat. Not only are they beautiful, but propagating them yourself is incredibly rewarding. It’s like making your own little garden army! For those just starting out, I’d say Dianthus anticarius is moderately easy to propagate. A little patience goes a long way!
The Best Time to Start
For the highest success rate with your Dianthus anticarius, I always reach for my tools in late spring to early summer. This is when the plant is actively growing, and the new shoots are firm enough to take cuttings but still flexible. You want to avoid propagating from old, woody stems. Think of it like trying to get a head start on the plant’s next big flourish!
Supplies You’ll Need
Before we get our hands dirty, let’s gather our essentials:
- Sharp pruning shears or a clean knife: For making clean cuts.
- Rooting hormone (powder or gel): Not strictly essential for all dianthus, but it really helps speed things up and improve success.
- A well-draining potting mix: A mix of equal parts perlite and peat moss or coco coir works beautifully. You can also use a specialized seed-starting mix.
- Small pots or seed trays: With drainage holes, of course!
- A spray bottle: For misting.
- Plastic bags or a propagation dome: To create a humid environment.
- Optional: Bottom heat mat: This can significantly boost root development.
Propagation Methods
Let’s talk about how to get those new little pinks started!
Stem Cuttings
This is my go-to method for Dianthus anticarius, and it’s very effective.
- Take the Cuttings: When you see those lovely new, non-flowering shoots, use your sharp pruners to snip off a section that’s about 3-4 inches long. Make your cut just below a leaf node (where the leaves attach to the stem).
- Prepare the Cuttings: Gently remove the lower leaves from the cutting, leaving maybe two sets of leaves at the top. This prevents them from rotting in the soil or water.
- Dip in Rooting Hormone: If you’re using rooting hormone, dip the cut end of the stem into it, tapping off any excess.
- Plant Them Up: Fill your pots or trays with your prepared potting mix. Make a small hole in the center with your finger or a pencil. Gently insert the cutting into the hole, ensuring the leaves aren’t touching the soil.
- Water Gently: Water the soil lightly to settle it around the cuttings.
- Create Humidity: Cover the pots with a plastic bag or place them under a propagation dome. Make sure the plastic doesn’t touch the leaves. You can also prop it up with a few stakes.
- Find a Good Spot: Place the pots in a bright spot that receives indirect sunlight. Avoid direct sun, as this can scorch the delicate cuttings.
Division
If you have an established, larger clump of Dianthus anticarius, division is a fantastic way to multiply your plants.
- Prepare to Dig: Water your existing plant thoroughly a day or two before you plan to divide it. This helps reduce transplant shock.
- Gently Extract: Carefully dig up the entire plant, trying to keep as much of the root ball intact as possible.
- Separate the Clumps: Use a clean trowel, spade, or even your hands to gently pull or cut the root ball into sections. Each section should have healthy roots and some leafy shoots.
- Replant Immediately: Replant the divisions into their new locations (either in the garden or in pots) at the same depth they were previously growing. Water them in well.
The “Secret Sauce” (Pro Tips)
Here are a couple of things I’ve learned over the years that make a big difference:
- The “Heel” Trick: Sometimes, when taking cuttings, you can find a stem that has what’s called a “heel” – a small piece of the older stem attached. This can actually encourage faster rooting, so if you can find one, go for it!
- Bottom Heat is Your Friend: If you plan on doing a lot of propagating, investing in a small bottom heat mat can be a game-changer, especially for cuttings. It encourages root development from the bottom up, mimicking warmer soil temperatures and giving your little dianthus a real boost.
Aftercare & Troubleshooting
Once your cuttings have rooted, it’s time for continued care. You’ll know they’re rooted when you see new leaf growth and they offer a gentle resistance when you tug on them slightly.
- Acclimatize: Once roots have formed, start gradually acclimatizing your new plants to drier air. Loosen the plastic cover for a few hours each day, then remove it completely over a week or so.
- Potting Up: Once they are well-rooted and growing actively, you can pot them into slightly larger individual pots.
- Watering: Water them as you would established dianthus – allow the soil to dry slightly between waterings.
- Watch for Rot: The most common failure is rot. This usually happens if the cuttings are kept too wet or in poor drainage. If you see a cutting turning black and mushy, sadly, it’s likely beyond saving. Remove it immediately to prevent it from affecting others.
A Little Patience, A Lot of Joy
Propagating Dianthus anticarius is such a satisfying process. Don’t be discouraged if your first few attempts aren’t perfect. Gardening is all about learning and adapting. Just be patient, give them good care, and soon you’ll be rewarded with a garden full of these beautiful blooms. Happy propagating!
Resource:
https://identify.plantnet.org/k-world-flora/species/Dianthus%20anticarius%20Boiss.%20&%20Reut./data