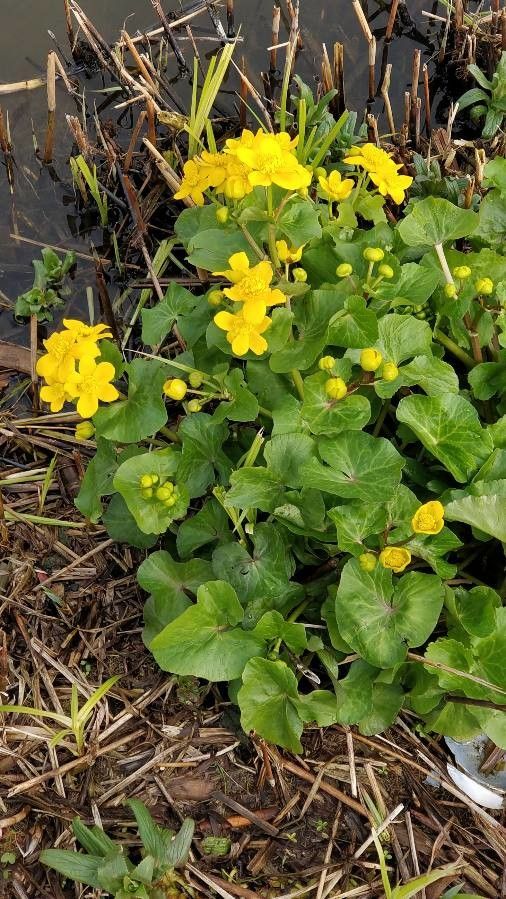
Ah, marsh marigolds! If you love a splash of sunshine in your damp corners, you’re going to adore Caltha palustris. These vibrant butter-yellow blooms are a true delight, bursting with cheerful color when many other plants are still just waking up. Propagating them yourself is incredibly rewarding. It’s a wonderful way to fill out bog gardens or bring that happy glow to water features. And for beginners? You’ll be happy to hear that marsh marigolds are quite forgiving. You’ll likely have success on your first try!
The Best Time to Start
For the highest success rate, I find that late spring or early summer, right after the plant has finished its spectacular flowering display, is the sweet spot. The plant is full of energy then, and the new growth is sturdy enough to take root. You can also divide established clumps in early spring as soon as the ground is workable.
Supplies You’ll Need
Here’s what you’ll want to have on hand:
- Sharp pruning shears or a clean knife: For making neat cuts.
- Well-draining potting mix: A good blend for cuttings would be equal parts peat moss or coco coir and perlite. For division, regular garden soil that you’ve amended to improve drainage works fine.
- Small pots or trays: For your new cuttings. Clean ones prevent disease.
- Perlite or coarse sand: To mix into your soil for better aeration.
- Rooting hormone (optional but recommended for cuttings): Helps speed up the process.
- Watering can with a fine rose: To water gently.
- Gloves (if you prefer): Protecting your hands is always a good idea.
Propagation Methods
Marsh marigolds are wonderfully versatile, and thankfully, propagating them is pretty straightforward. Here are my favorite methods:
1. Division
This is probably the easiest method, especially for more mature plants.
- Dig Carefully: In early spring, gently dig up an established marsh marigold clump. Try to disturb the roots as little as possible.
- Separate the Roots: You’ll often see natural divisions where the plant has spread. Use your hands or a clean trowel to gently pull or cut these apart. Make sure each division has some roots and a few shoots.
- Replant Immediately: Find a new home for your divisions in a suitable moist spot. Water them in well.
2. Stem Cuttings
This method is fantastic for creating lots of new plants from a single, vigorous specimen.
- Take Cuttings: When your plant is actively growing, look for healthy, non-flowering stems. Using your sharp shears, take cuttings that are about 4-6 inches long. Make your cut just below a leaf node (where a leaf attaches to the stem).
- Prepare the Cuttings: Remove the lower leaves, leaving just a few at the top. This prevents them from rotting when buried. If you’re using rooting hormone, dip the cut end into it now.
- Plant Them Up: Fill small pots with your well-draining potting mix. Make a hole with your finger or a pencil and insert the cut end of the stem. Gently firm the soil around it.
- Water and Cover: Water the soil gently. I like to place the pots in a clear plastic bag or cover them with a clear dome to create a mini-greenhouse effect. This helps maintain humidity, which is crucial for successful rooting. Place them in a bright spot, but out of direct, scorching sunlight.
The “Secret Sauce” (Pro Tips)
Here are a couple of little tricks I’ve learned over the years that really make a difference:
- Water Quality Matters for Rooting: When propagating by division or even just watering cuttings, I always aim to use rainwater or filtered water if my tap water is particularly hard. Caltha palustris loves moisture, but it can be sensitive to the chemicals in some treated water.
- Think “Boggy, Not Soggy” for Cuttings: While these plants love moisture in their natural habitat, soggy soil can actually encourage rot for cuttings. Ensure your potting mix is well-aerated with perlite, and aim for consistently moist, but not waterlogged, conditions. A small amount of sand mixed in can also help with drainage.
Aftercare & Troubleshooting
Once your cuttings have rooted (you’ll see new growth appearing and they’ll feel a bit more resistant when gently tugged), it’s time for them to mature a bit.
- Gradual Acclimation: If you’re using the plastic bag method, start by opening the bag for a few hours each day to let them get used to drier air. Eventually, you can remove the bag entirely.
- Transplanting: Once the new plants have developed a good root system – usually after a few weeks – you can transplant them into larger pots or their final garden location. Remember to keep them well-watered, especially during their first season.
- Common Issues: The biggest culprit for failure is rot, usually caused by overwatering or poor drainage. If you see your cuttings turning mushy or blackening, it’s a sign they’re getting too much water. If your divisions aren’t taking, it could be due to being planted too dry or in soil that’s too compacted. Be patient!
Don’t be discouraged if your first attempt isn’t perfect. Gardening is all about learning and observing. Enjoy the process of nurturing these cheerful marsh marigolds – you’ll be rewarded with their sunny disposition in no time! Happy growing!
Resource:
https://identify.plantnet.org/k-world-flora/species/Caltha%20palustris%20L./data