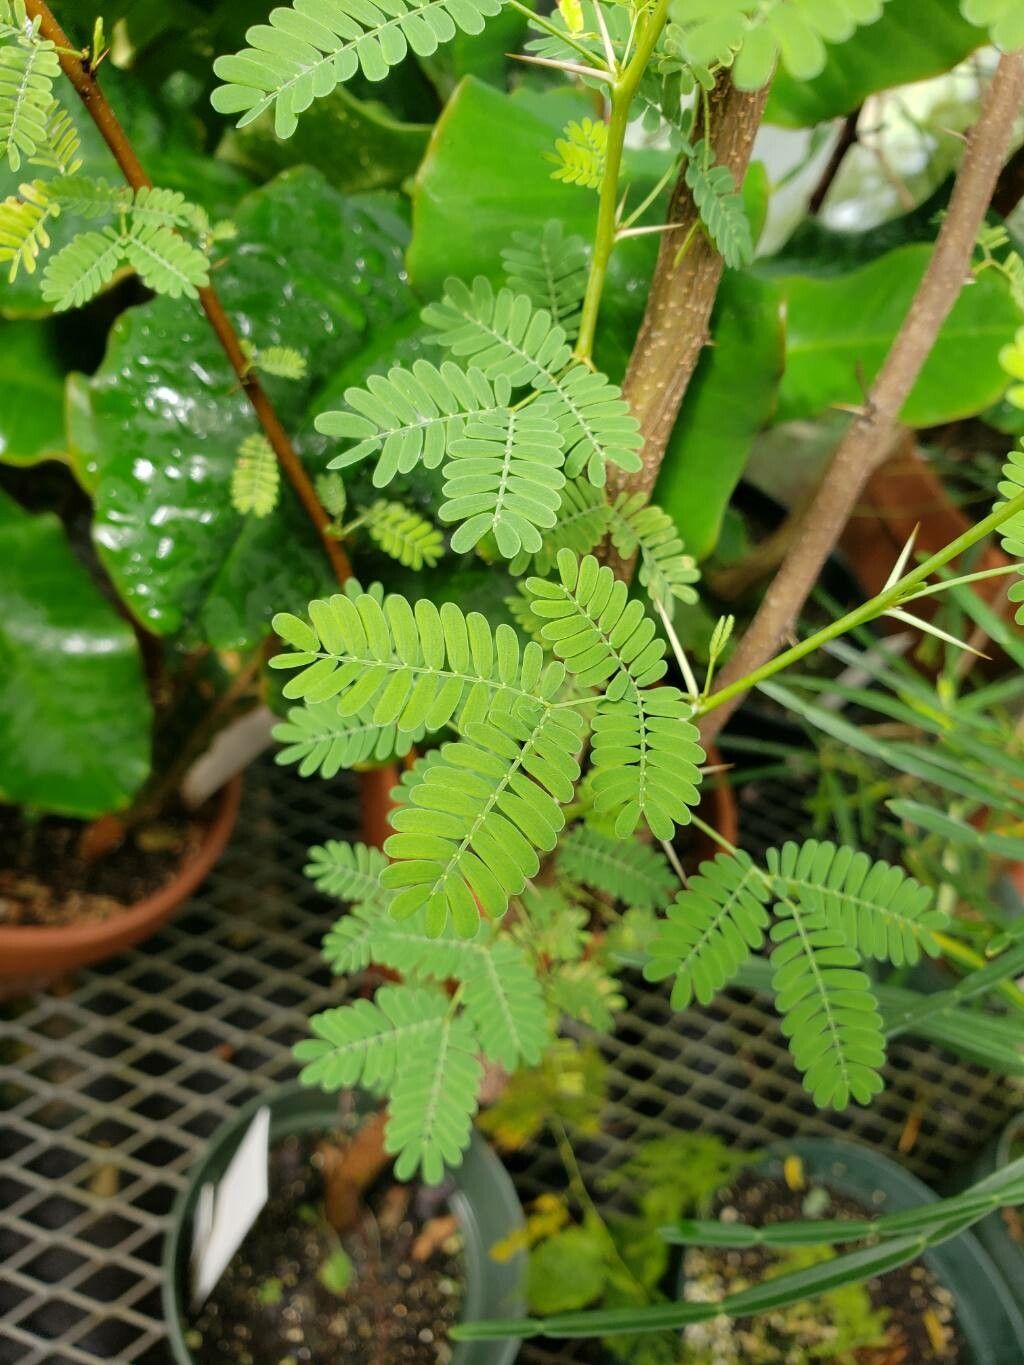
Hey there, fellow plant lovers! It’s great to be back with you. Today, we’re diving into the wonderful world of Vachellia nilotica, also known as the gum arabic tree. This beauty is a marvel, with its delicate, fern-like foliage and fragrant, creamy-yellow flower clusters that smell absolutely divine. Plus, the history attached to it – its sap being the source of gum arabic – is just fascinating.
If you’ve ever admired this tree and dreamed of having more, you’re in luck! Propagating Vachellia nilotica can be a truly rewarding experience. Now, for our beginners out there, I’ll be honest – it’s not the absolute easiest plant to start with, but with a little patience and careful attention, you can absolutely succeed! Think of it as a lovely challenge that pays off beautifully.
The Best Time to Start
When it comes to getting cuttings to root, spring is your best friend for Vachellia nilotica. This is when the plant is actively growing and has plenty of stored energy. Look for new growth that’s still a bit soft and pliable, but not so fresh that it wilts easily. You want that “green wood” stage. Aim for a period after the last frost, when temperatures are consistently warm but not scorching hot.
Supplies You’ll Need
Before we get our hands dirty, let’s gather our tools:
- Sharp Pruning Shears or a Craft Knife: Cleanliness is key to preventing disease.
- Rooting Hormone: A crucial helper for encouraging root development. Look for one with fungicide if you’re prone to damping off.
- Well-Draining Potting Mix: I like a blend of perlite, coco coir, and a bit of compost. You want good aeration. Avoid heavy garden soil.
- Small Pots or Seedling Trays: Clean ones, of course!
- Plastic Bags or a Propagation Dome: To create a humid environment.
- Watering Can with a Fine Rose: For gentle watering.
- Optional: A Heat Mat: This can significantly speed up root formation.
Propagation Methods
Let’s explore a couple of tried-and-true ways to get your Vachellia nilotica growing.
1. Stem Cuttings (My Go-To for This One!)
This is generally the most reliable method.
- Take Your Cuttings: Select healthy, semi-hardwood stem tips that are about 4-6 inches long. Make your cut just below a leaf node (where the leaves attach to the stem). Remove the lower leaves, leaving just a couple at the top. This reduces water loss.
- Prepare the Cutting: Dip the cut end into rooting hormone, coating it well. Tap off any excess.
- Plant Your Cuttings: Fill your clean pots with the well-draining potting mix. Make a small hole with a pencil or your finger. Insert the cutting into the hole, ensuring it makes good contact with the soil. Gently firm the soil around the stem.
- Create Humidity: Water the soil thoroughly until it drains from the bottom. Then, cover the pot with a clear plastic bag (pollinate it with a few tiny holes for air circulation) or place it under a propagation dome. This traps moisture, which is vital for cuttings that can’t yet absorb water through roots.
2. Water Propagation (A Bit More Fiddly)
While I prefer soil for Vachellia nilotica, you can try water propagation, but with a caveat.
- Prepare Your Cuttings: As above, take your semi-hardwood cuttings. Remove the lower leaves.
- Place in Water: Fill a clean jar or glass with clean water.
- The Crucial Detail: Place your cuttings in the water, ensuring that no leaves are submerged. Leaves submerged in water will rot and can infect the cutting, leading to failure.
- Change Water Regularly: Change the water every couple of days to keep it fresh and oxygenated.
The “Secret Sauce” (Pro Tips)
Here are a few little tricks I’ve learned over the years:
- Bottom Heat is Your Friend: If you have a heat mat, pop your pots on it. This gentle warmth from below encourages root development like nothing else. It can make the difference between success and sluggishness.
- Don’t Rush the Transplant: Even if you see tiny roots peeking out, wait until the cutting has a good root system before you try to move it. For cuttings in soil, give them a gentle tug. If there’s resistance, you’ve got roots! For water propagation, wait until the roots are at least an inch long.
- Use a Fungicide Drench (Optional but Recommended): When you first pot your cuttings, a very light drench with a diluted fungicide can help prevent fungal diseases, especially in humid conditions. Just follow the label instructions carefully.
Aftercare & Troubleshooting
Once roots have formed, it’s time for a little extra TLC.
- Acclimatize Slowly: If you’ve been using a plastic bag or dome, gradually introduce your new plant to open air over a week or two. Start by opening the bag for a few hours each day. This prevents shock.
- Gentle Watering: Water consistently, keeping the soil moist but not waterlogged. Allow the top inch of soil to dry out slightly between waterings.
- Bright, Indirect Light: Place your young plant in a spot with bright, indirect sunlight. Direct, hot sun can scorch tender new growth.
Now, what if things go wrong? The most common issue you’ll face is rot. If your cutting turns mushy, black, or develops fuzzy grey mold, it’s likely succumbed to fungal disease. This often happens due to overwet conditions or poor air circulation. If you see this, it’s usually best to discard the affected cutting to prevent it from spreading to others. Don’t feel discouraged; even seasoned gardeners lose cuttings!
A Little Encouragement to Close
Growing plants from cuttings is a magical process. It connects you more deeply to your plants and gives you the joy of seeing life emerge from what seems like a simple twig. Be patient with your Vachellia nilotica. It might take its sweet time, but the reward of nurturing a new tree from scratch is immense. Enjoy the journey, and happy gardening!
Resource: