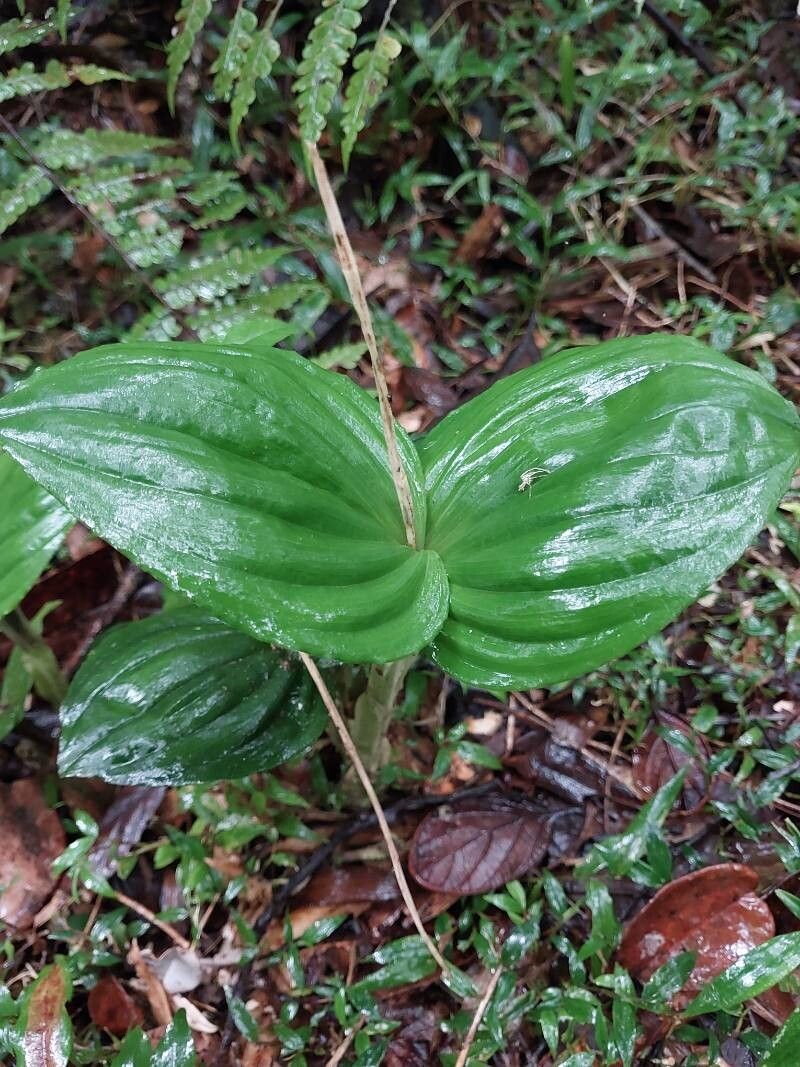
Hello, fellow plant enthusiasts! Today, we’re diving into the delightfully intriguing world of Liparis longicaulis. If you’ve ever admired its delicate, cascading foliage and subtle, almost ethereal blooms, you’re not alone. This orchid relative brings a touch of understated elegance to any space. And guess what? Propagating it can be an incredibly rewarding journey. Now, for the honest truth: Liparis longicaulis isn’t the absolute easiest plant to propagate for a complete beginner, but with a little care and attention, you’ll find it’s far from impossible. Think of it as a gentle challenge, a chance to hone your skills.
The Best Time to Start
The sweet spot for propagating Liparis longicaulis is during its active growth phase. This typically falls in late spring to early summer. You’ll notice the plant pushing out new shoots or increasing in size. This is when it has the most energy reserves to dedicate to developing new roots. Trying to propagate when it’s dormant or stressed simply won’t yield the best results.
Supplies You’ll Need
Gathering your supplies beforehand makes the whole process smoother. Here’s what I usually have on hand:
- Sharp, sterile pruning shears or a clean knife: Essential for making clean cuts.
- Well-draining potting mix: A blend of orchid bark, perlite, and a bit of sphagnum moss is ideal. You want excellent aeration.
- Small pots or trays: Individual small pots are great for giving new propagations their own space.
- Rooting hormone (optional but helpful): Especially for stem cuttings, a bit of rooting powder can give them a good start.
- Spray bottle: For gentle misting.
- Clear plastic bag or humidity dome: To create a humid environment.
- Labels and a marker: To keep track of what you’ve potted and when.
Propagation Methods
Liparis longicaulis is primarily propagated through division and, with a bit more patience, stem cuttings.
Division
This is generally the most successful method for experienced growers.
- Gently unpot your plant: Carefully ease the Liparis longicaulis out of its current container.
- Examine the root system: Look for natural divisions. You’ll see where new pseudobulbs (the swollen stem-like structures) have emerged and are developing their own root systems.
- Make your cut: Using your sterile shears or knife, carefully separate a section of the plant that has at least two healthy pseudobulbs and a good amount of attached roots. Ensure each division has enough of a root system to support itself.
- Pot up your divisions: Plant each new division in its own small pot filled with your well-draining mix. Make sure the pseudobulbs are slightly above the soil surface.
- Water lightly: Give them a gentle watering, just enough to settle the potting mix.
Stem Cuttings
This method requires more finesse and patience, as you’re essentially trying to get a section of the stem to root.
- Identify a healthy stem: Look for a mature, healthy stem (often called a pseudobulb with an attached leaf) that’s not actively flowering.
- Make a clean cut: Using your sterile shears, cut the stem from the mother plant. Aim for a section that includes at least one mature pseudobulb and a healthy leaf.
- Allow it to callus: Let the cut end air dry for a day or two. This helps prevent rot. You’ll see a dry, sealed surface form.
- Apply rooting hormone (optional): Lightly dip the callused end in rooting hormone powder.
- Plant the cutting: Pot the cutting upright in your well-draining mix, ensuring the pseudobulb is at or slightly above soil level. You can lightly support the stem if it’s wobbly.
- Create humidity: Cover the pot with a clear plastic bag or place it under a humidity dome. You want the environment to be quite humid for rooting.
The “Secret Sauce” (Pro Tips)
Here are a couple of tricks I’ve learned over the years that can really boost your success:
- Bottom heat is your friend: For stem cuttings, placing the pot on a gentle heat mat can significantly speed up root development. Orchids love a bit of warmth from below to encourage them to start growing.
- Don’t overwater, ever: This is critical for Liparis. They are prone to rot. When you first pot up divisions or cuttings, water sparingly. It’s far better to err on the side of slightly dry than too wet. You can always add more water, but you can’t take it away if rot sets in.
Aftercare & Troubleshooting
Once your divisions or cuttings have settled in, keep them in bright, indirect light and maintain that high humidity. For divisions, you can start watering a bit more regularly once you see new leaf growth or signs of roots emerging from the drainage holes. For stem cuttings, patience is key. It can take weeks, or even months, for roots to develop.
The most common sign of trouble is rot. If the pseudobulb or stem turns mushy and black, it’s likely rot. This usually occurs due to overwatering and poor drainage. If you catch it early, you might be able to cut away the rotted parts and try to re-root the healthy section, but often, it’s a sign the cutting or division is lost. Conversely, if the leaves start to yellow and wither without any sign of rot, it might indicate the plant isn’t getting enough moisture or is struggling to establish its roots.
A Little Encouragement to Finish
Propagating plants is a dance with nature, and it’s okay if every attempt isn’t a roaring success. Be patient with your Liparis longicaulis. Celebrate the tiny successes, like the first hint of a new root or the unfurling of a new leaf. Enjoy the process of learning and growing alongside your plants. Happy propagating!
Resource:
https://identify.plantnet.org/k-world-flora/species/Liparis%20longicaulis%20Ridl./data