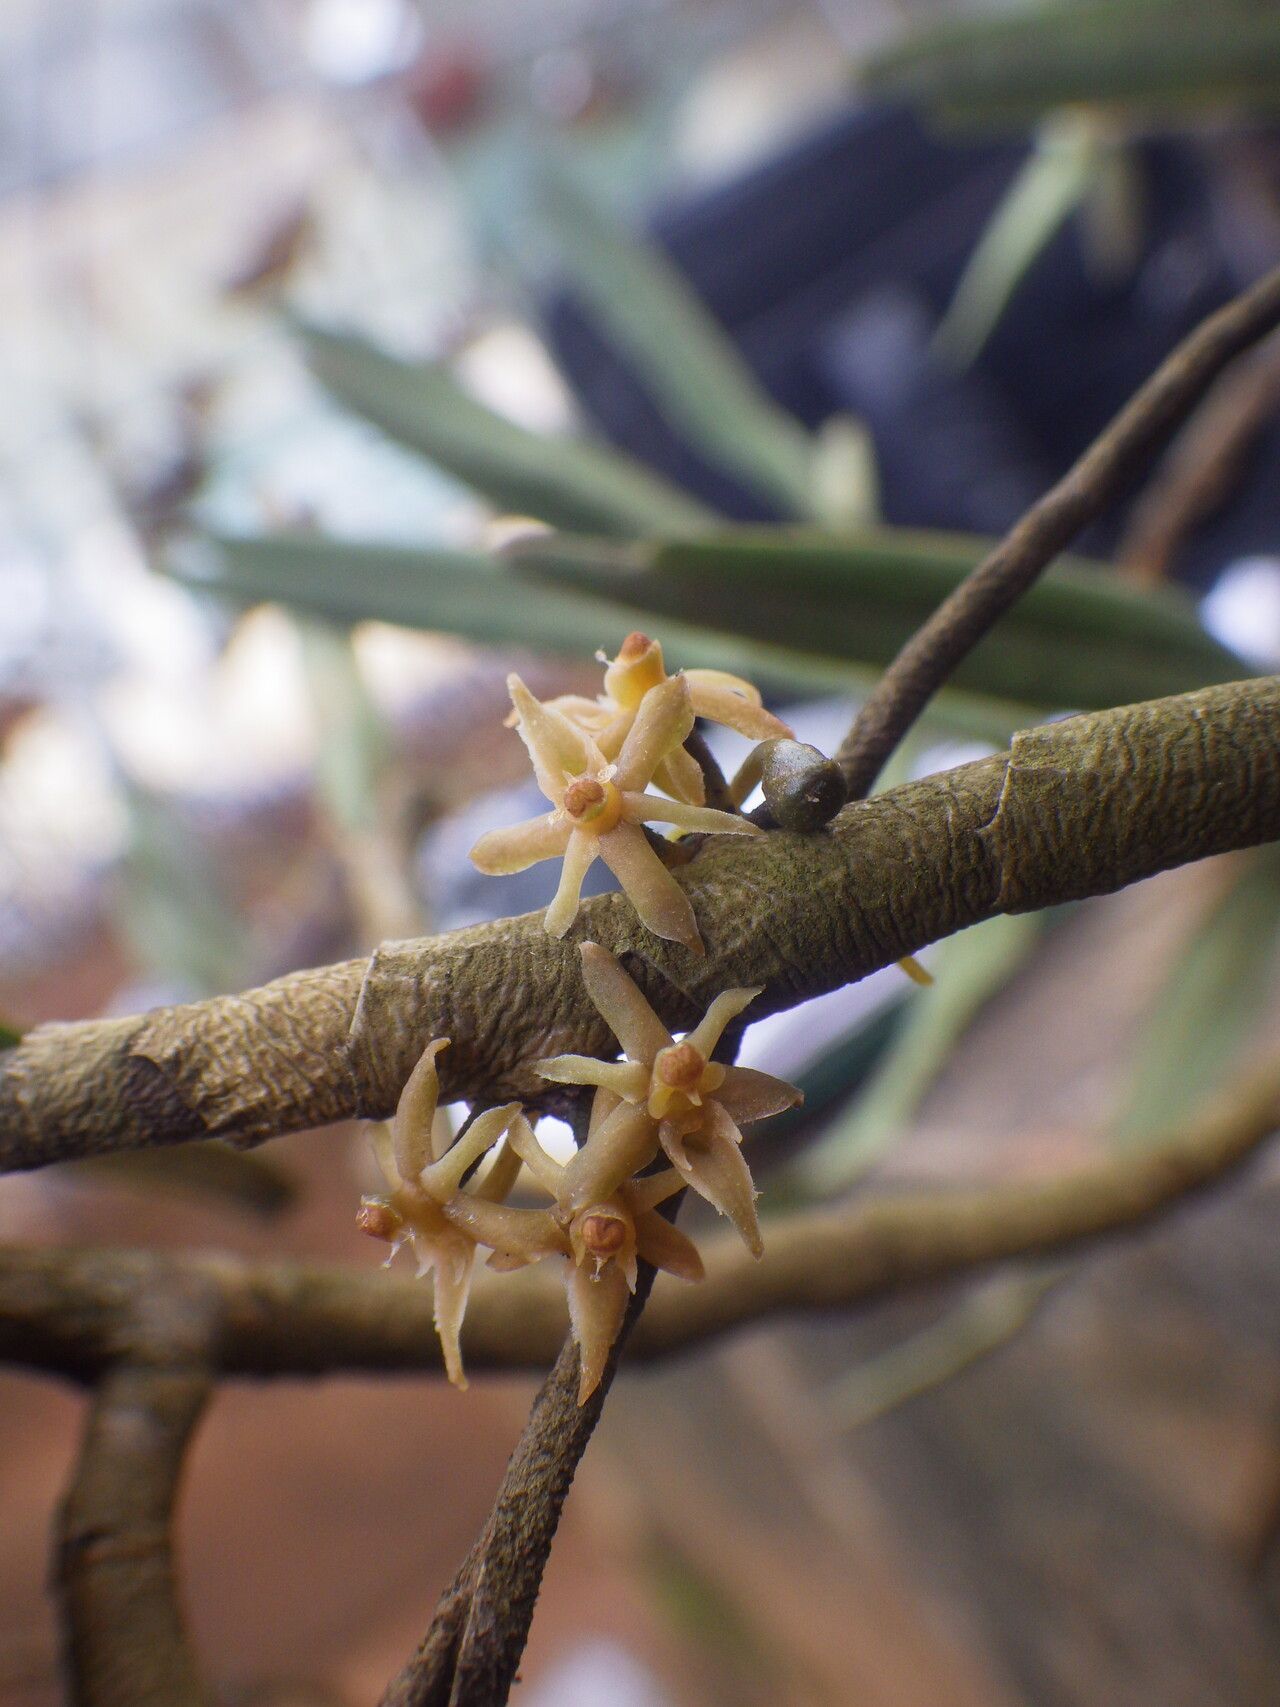
Oh, the Tridactyle anthomaniaca! It’s a plant that truly sings in the garden, isn’t it? Those delicate, almost ethereal blooms are such a joy, and there’s a special kind of magic in coaxing a new life from an existing one. If you’ve ever admired its charm and wished for more, you’re in the right place. Propagating this beauty is a wonderfully rewarding endeavor, though I’ll be honest, it can be a tad tricky for absolute beginners. But don’t let that deter you! With a little patience and this guide, you’ll be well on your way.
The Best Time to Start
For the highest success rate, spring transitioning into early summer is your golden window. This is when the plant is actively growing, full of energy, and ready to put out new shoots. Look for stems that are firm and show signs of vigorous growth, but aren’t yet woody. Trying to propagate when the plant is dormant or stressed can make the process much more challenging.
Supplies You’ll Need
Here’s what you’ll want to have on hand:
- Sharp pruning shears or a clean craft knife: For making clean cuts.
- Rooting hormone (optional but highly recommended): A powder or gel to encourage root development.
- Well-draining potting mix: A blend of peat moss, perlite, and a bit of compost works beautifully. You want something that won’t hold too much moisture.
- Small pots or seed trays: With drainage holes, of course!
- Plastic bags or a propagator: To create a humid environment.
- Watering can or spray bottle: For gentle watering.
- Labels and a waterproof pen: To keep track of your precious new ventures!
Propagation Methods
While Tridactyle anthomaniaca can be a bit particular, the most successful methods typically involve stem cuttings. Division is also possible, but I find stem cuttings give you more control and a greater chance of success.
Method: Stem Cuttings
- Select your parent plant: Choose a healthy, vigorous specimen.
- Take cuttings: Using your sharp pruning shears, take cuttings that are about 4-6 inches long. Make the cut just below a leaf node (where a leaf attaches to the stem). This is where the plant’s growth hormones are concentrated and where roots are most likely to form. Remove any flowers or developing buds from the cutting – the plant’s energy needs to go towards roots, not blooms!
- Prepare the cuttings: Gently strip off the lower leaves, leaving just a couple at the top. This prevents them from rotting when buried.
- Apply rooting hormone: Dip the cut end into your rooting hormone, tapping off any excess.
- Pot up your cuttings: Fill your small pots with your well-draining mix. Make a small hole with your finger or a pencil and carefully insert the cut end of the stem, firmly but gently pressing the soil around it. For multiple cuttings, you can place them in a seed tray, ensuring they have a bit of space.
- Create humidity: Water the soil gently. Then, cover the pots with a clear plastic bag or place them in a propagator. This creates a miniature greenhouse, keeping the humidity high, which is crucial for cuttings waiting to root. Make sure the leaves aren’t touching the plastic if possible, or poke a few small holes in the bag to allow for some air circulation.
- Placement: Place your pots in a bright spot out of direct sunlight. Too much sun can scorch the delicate cuttings. A gentle warmth from the bottom is also beneficial – a heat mat designed for seedlings can work wonders.
The “Secret Sauce” (Pro Tips)
Here are a couple of things I’ve learned over the years that really make a difference:
- Don’t let leaves touch the water: If you decide to try water propagation (though I find it less reliable for this species), make sure only the stem is submerged, not any leaves. Waterlogged leaves are a fast ticket to rot.
- Bottom heat is your friend: As I mentioned, a little warmth from below can significantly speed up root development. It mimics spring soil temperatures and gives those nascent roots a real boost.
- Patience is paramount: Tridactyle can be slow to root, and that’s okay! Don’t be tempted to dig them up and check for roots too soon. Give it at least 4-6 weeks before you gently tug on a cutting. If there’s resistance, you likely have new roots!
Aftercare & Troubleshooting
Once you see signs of new growth, like tiny new leaves emerging, or feel that resistance when you gently tug, congratulations! It’s time for slightly different care. Gradually reduce the humidity by opening the plastic bag a little more each day over a week or so. Water when the top inch of soil feels dry, always ensuring good drainage.
The most common issue you’ll encounter is rot. If a cutting turns black and mushy, it’s a sign that it’s rotted. This usually happens due to too much moisture and not enough air circulation. If you catch rot early, you might be able to save the cutting by removing the rotted part and repotting it in fresh, dry soil, but often, it’s a loss. Yellowing leaves can also indicate too much or too little water, or potentially insufficient light.
A Encouraging Closing
Growing new plants is a journey, and with Tridactyle anthomaniaca, it’s a particularly rewarding one. Don’t be discouraged if your first attempt isn’t a roaring success. Gardeners learn from every bloom and every setback. Be patient, observe your cuttings closely, and most importantly, enjoy the process of bringing more of this exquisite plant into your life! Happy propagating!
Resource: