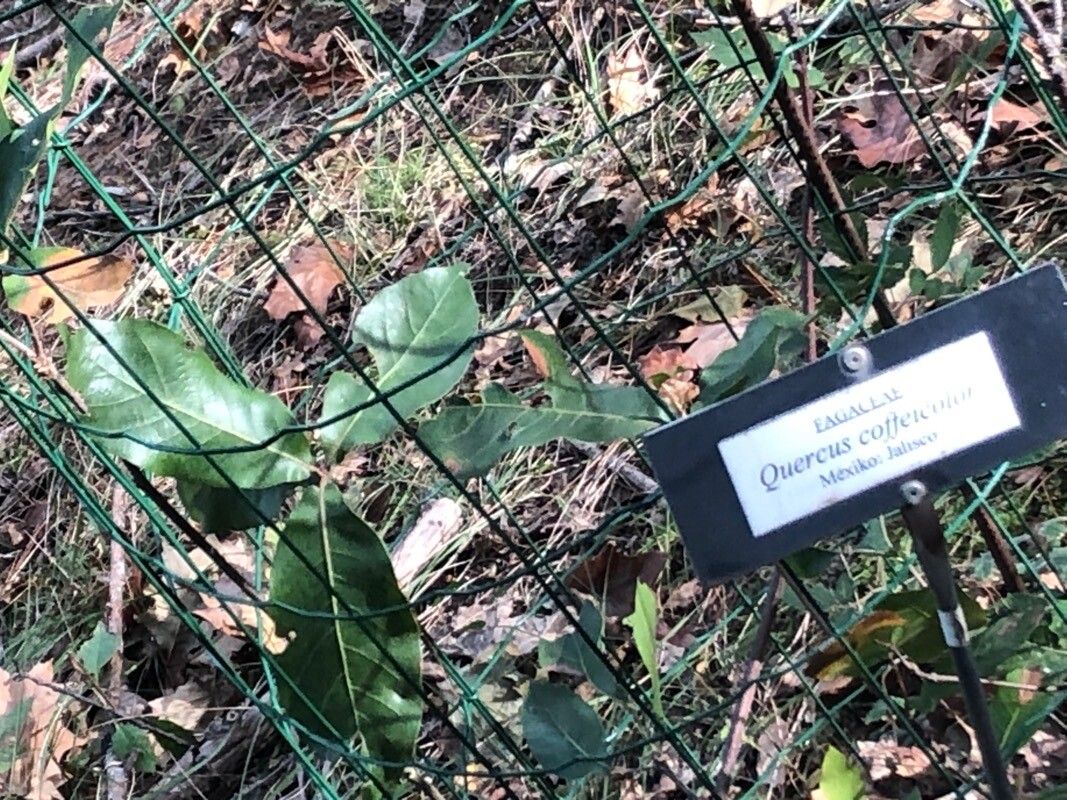
Hello there, green thumbs! I’m so excited to chat with you today about a tree that truly captures my heart: Quercus coffeicolor. You might know it by its common name, the Coffee Oak, and oh, the fragrance of its blossoms in spring! It’s a truly elegant specimen, with a lovely, dark green foliage that stands out beautifully in any landscape. Plus, there’s a special kind of joy that comes from nurturing a new tree from a tiny cutting, watching it grow and knowing you played a part in its journey. Now, let’s be honest, propagating oaks can sometimes feel a bit daunting, and Quercus coffeicolor is no exception. It’s a bit of a finer art than, say, a simple pothos, but with a little know-how and patience, it’s absolutely within reach, even for those of you just dipping your toes into tree propagation.
The Best Time to Start
For the highest success rate with Quercus coffeicolor, I always lean towards late spring to early summer. This is when the plant is in a vigorous growth phase, and the new stems are semi-hardwood – that perfect stage where they have some flexibility but also the energy to root. Trying too early in spring might mean the stems are too soft, and attempting it in late summer or fall could mean the plant isn’t putting on enough new growth to support the rooting process.
Supplies You’ll Need
Gathering your supplies beforehand makes the whole process smoother. Here’s what I usually have on hand:
- Sharp Pruning Shears or a Knife: Clean cuts are essential.
- Small Pots or Seed Starting Trays: With good drainage holes, of course!
- Well-Draining Potting Mix: I like a blend of half perlite and half peat moss, or a quality seed-starting mix.
- Rooting Hormone: The powder form is my personal favorite for ease of use.
- Plastic Bags or a Propagation Dome: To create a humid environment.
- Watering Can with a Fine Rose: For gentle watering.
- Labeling Stakes: So you don’t forget what you’ve planted!
Propagation Methods
While you could try acorns, I find stem cuttings to be the most reliable and rewarding method for Quercus coffeicolor for home gardeners. Here’s how I go about it:
- Select Your Cuttings: Look for healthy, vigorous stems that are about pencil-thick. You want to take cuttings that are roughly 6 to 8 inches long. Pinch off any leaves from the bottom half of the stem – these will just rot if they’re buried or in contact with the soil.
- Make the Cut: Using your clean shears or knife, make a clean cut just below a leaf node (that little bump where a leaf emerges). This is where the magic of root development really happens.
- Apply Rooting Hormone: Dip the cut end of the stem into your rooting hormone, ensuring about an inch of the stem is coated. Tap off any excess.
- Plant Your Cuttings: Fill your pots or trays with your prepared potting mix. Make a small hole in the center with your finger or a pencil. Gently insert the prepared cutting into the hole, ensuring the bottom nodes are below the soil surface. Firm the soil gently around the cutting.
- Create Humidity: Water the soil thoroughly but gently. Then, cover the pots with a clear plastic bag or set them in a propagation dome. This will trap moisture and create the humid environment the cuttings need to root. You can use stakes to keep the plastic from touching the leaves.
The “Secret Sauce” (Pro Tips)
Here are a few little tricks I’ve learned over the years that seem to make a difference:
- Think “Cleanliness is King”: Always make sure your tools are sterilized before you start. A quick wipe with rubbing alcohol can prevent the transmission of diseases.
- The Power of Patience and Heat: If you have a heat mat, occasional bottom heat can really encourage root formation. Just a gentle warmth (around 70-75°F) beneath your pots can speed things up considerably. Be careful not to overheat.
- “Heel” It If You Can: Sometimes, if you can take a cutting from a side shoot that has a little bit of the mother branch attached – like a tiny sliver of older wood – this is called taking a “heel.” Oaks can sometimes root more readily from these.
Aftercare & Troubleshooting
Once your cuttings are planted, it’s all about maintaining that consistent moisture and humidity. Keep them out of direct, harsh sunlight. A bright, indirect light is perfect. Mist the leaves occasionally if you notice them looking a bit dry, even within the humidity dome.
Rooting can take time – anywhere from 4 to 12 weeks, or even longer for some oaks. You’ll know they’re rooting when you see new leaf growth. Give the cutting a gentle tug; if you feel resistance, it means roots have formed.
The most common problem you’ll encounter is rot. This usually happens if the soil is too wet or the humidity is too high without enough air circulation. If you see wilting followed by mushy, black stems, it’s usually a sign of rot. Pull out any infected cuttings immediately to prevent it from spreading. Sometimes, just opening the plastic bag for a few hours a day can help with air circulation.
A Little Something to Grow On
So there you have it! Propagating Quercus coffeicolor is a rewarding endeavor that might take a little extra care, but the payoff is immense. Don’t get discouraged if your first few attempts aren’t perfect. Gardening is all about learning and adapting. Be patient, enjoy the process of nurturing these potential new trees, and soon enough, you’ll be admiring your very own Coffee Oaks! Happy propagating!
Resource:
https://identify.plantnet.org/k-world-flora/species/Quercus%20coffeicolor%20Trel./data