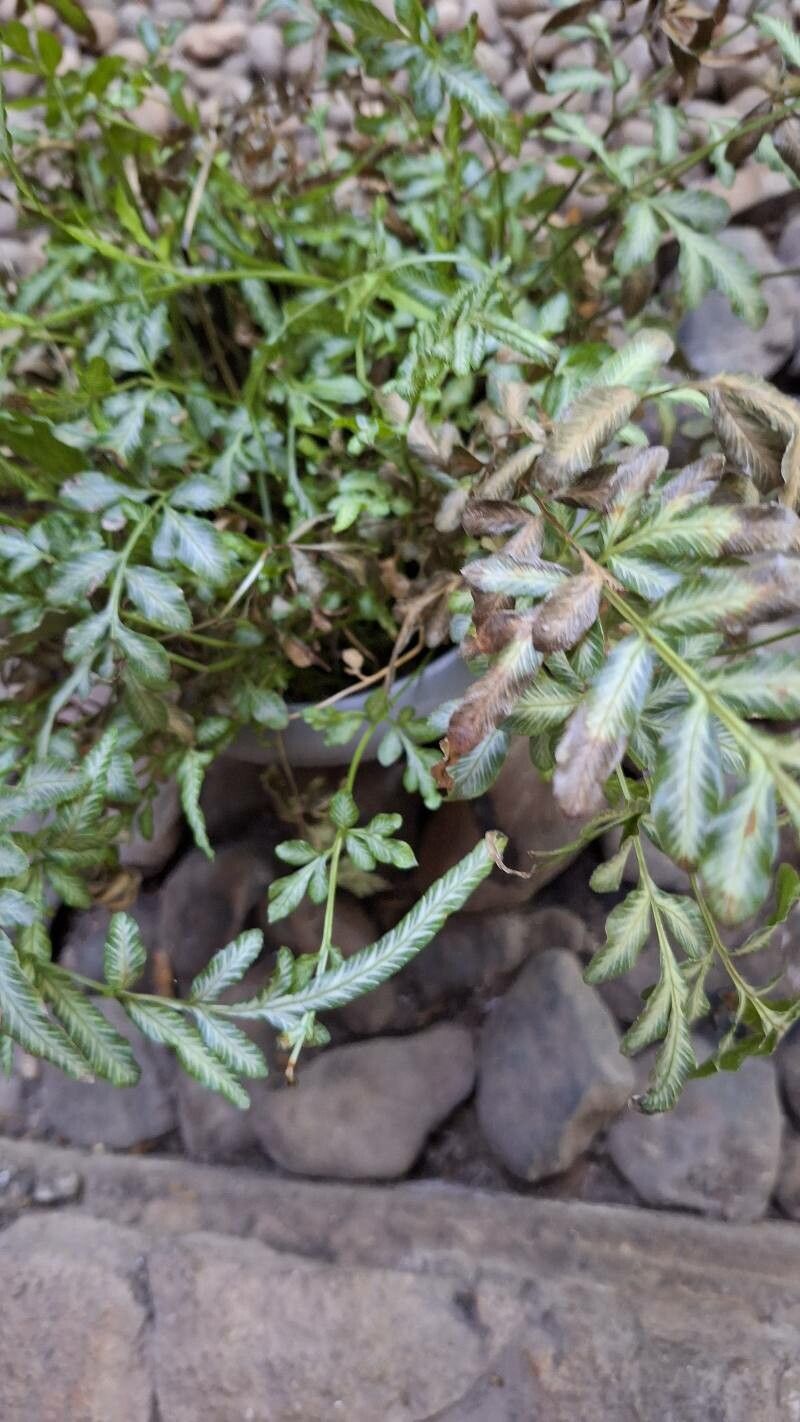
Oh, isn’t this a lovely fern to talk about! Pteris ensiformis, also known as the Slender Brake Fern or Sword Brake Fern, is such a gem for any indoor garden. Its delicate, yet striking, fronds bring a touch of airy elegance to shady corners. And guess what? Propagating it is surprisingly straightforward and incredibly rewarding. I’ve found it to be a wonderfully beginner-friendly fern to work with, which is always a treat. Seeing a tiny piece of a plant you love grow into its own full specimen is just pure garden magic, and Pteris ensiformis is a perfect plant to start that journey with.
The Best Time to Start
For the most success with propagating Pteris ensiformis, I always recommend spring or early summer. This is when the plant is in its active growth phase, meaning it has the energy reserves to put into developing new roots. You’ll see plenty of new fronds unfurling, a sure sign your fern is feeling robust and ready to share its bounty. Trying to propagate when the plant is dormant, like in the middle of winter, is just asking for a bit of a struggle.
Supplies You’ll Need
Before we dive in, let’s gather our tools. You don’t need anything too fancy, just these basics:
- Sharp pruning shears or a clean knife: For making clean cuts.
- A good quality potting mix: I like a peat-based mix with perlite for excellent drainage. You can also use a special fern mix.
- Small pots or trays: Whatever you have on hand will work, just ensure they have drainage holes.
- Watering can or spray bottle: For gentle watering.
- Rooting hormone (optional but helpful): Especially for stem cuttings.
- Clear plastic bag or dome: To create a humid environment.
- Small rocks or pebbles: Optional, for water propagation to keep leaves out of the water.
Propagation Methods
Pteris ensiformis is quite versatile. I’ve had great luck with a couple of methods, but division is really my go-to for this fern.
Division
This is arguably the easiest and most successful method for Pteris ensiformis. Think of it like gently splitting a clump into smaller, manageable pieces.
- Gently remove the parent plant from its pot. If it’s been in there a while, you might need to run a knife around the edge to loosen it.
- Inspect the root ball. You’ll likely see that the plant has grown into several distinct sections, often with their own crown.
- Carefully tease apart the sections. You can use your fingers or a clean knife to help separate them. Try not to damage the roots too much – a little breakage is inevitable, but go gently.
- Prepare your new pots. Fill them with your chosen potting mix.
- Plant each division. Make sure the crown (where the fronds emerge) is at soil level.
- Water thoroughly. Make sure the soil is evenly moist but not soggy.
- Place in a bright, indirect light location. Keep them in a warm spot.
Stem Cuttings (Less Common, but Possible)
While division is king here, you can try stem cuttings if you’re feeling adventurous.
- Select a healthy, mature frond that has a bit of stem attached.
- Make a clean cut just below a node (where a leaflet emerges from the stem).
- Remove the lower leaflets from the stem, leaving a few at the top.
- Dip the cut end in rooting hormone (if using).
- Insert the cutting into moist potting mix.
- Cover the pot with a clear plastic bag or dome to maintain high humidity.
- Place in bright, indirect light and keep the soil consistently moist. Rooting can take several weeks.
The “Secret Sauce” (Pro Tips)
Here are a couple of my little tricks that really help:
- Don’t drown your cuttings! When doing water propagation (though I find division much better for this fern), it’s crucial to ensure the leaves never touch the water. Even a little bit of submerged leaf can lead to rot. I often use a few small pebbles at the bottom of the jar to keep the stem elevated.
- Humidity is their friend. Ferns, and especially cuttings, absolutely love humidity. That plastic bag or dome trick you see everywhere? It’s not just for show. It creates a mini-greenhouse effect that mimics their natural, humid environment, which significantly boosts their chances of rooting.
Aftercare & Troubleshooting
Once your divisions have settled in or your cuttings show signs of new growth (a sure sign roots are forming!), you can gradually reduce the humidity you’re providing. Keep the soil consistently moist – think damp, not waterlogged. As they grow stronger, you can slowly introduce them to slightly brighter light, but always indirect.
The most common issue you might run into is rot. This usually happens if the soil is too wet and there’s poor air circulation. Signs include mushy stems or fronds turning yellow and limp. If you see this, act fast. Remove the affected parts with clean shears and allow the surrounding soil to dry out a bit. For water props, it might mean starting over with a clean jar and fresh water.
A Encouraging Closing
So there you have it! Propagating Pteris ensiformis is a wonderfully accessible way to fill your home with more of these delightful ferns. Remember to be patient. Nature takes its time, and so do plants. Enjoy the process, learn from each attempt, and soon you’ll have a whole collection of these beautiful, elegant ferns to share and admire. Happy gardening!
Resource:
https://identify.plantnet.org/k-world-flora/species/Pteris%20ensiformis%20Burm.f./data