Hello friends! Pull up a chair, let’s chat about a plant that’s captured my heart over the years: Helwingia himalaica. Isn’t it just remarkable? Those glossy leaves, the delightfully unusual flowers that appear right on the leaf surface – it’s a true conversation starter. If you’re looking to expand your garden with something a little out of the ordinary, or simply want to share this gem with fellow plant lovers, propagating your own Helwingia is incredibly rewarding. Now, between you and me, it’s not the absolute easiest plant to propagate for a complete beginner, but with a little know-how and a dash of patience, you’ll be well on your way.
The Best Time to Start
Timing is everything, as we all know in the garden! For Helwingia himalaica, I’ve found the absolute best time to propagate is late spring to early summer. Think of it as the plant hitting its stride, full of energy for new growth after the initial spring surge. This is when young, semi-hardwood stems are most amenable to rooting.
Supplies You’ll Need
Here’s what you’ll want to have on hand to get started. It’s always good to be prepared!
- Sharp Pruning Shears or a Craft Knife: Clean cuts are crucial for success.
- Rooting Hormone: Gel or powder, whichever you prefer. I lean towards the gel myself.
- Small Pots or Trays: Clean ones, please!
- Well-Draining Potting Mix: A 50/50 blend of peat moss or coconut coir and perlite works wonderfully. You want it to drain like a sieve.
- Plastic Bags or a Propagator: To create a humid environment.
- Watering Can with a Fine Rose: For gentle watering.
- Optional: Bottom Heat Mat: This can significantly speed up root development.
Propagation Methods
Let’s get our hands dirty! Stem cuttings are my go-to method for Helwingia.
Stem Cuttings
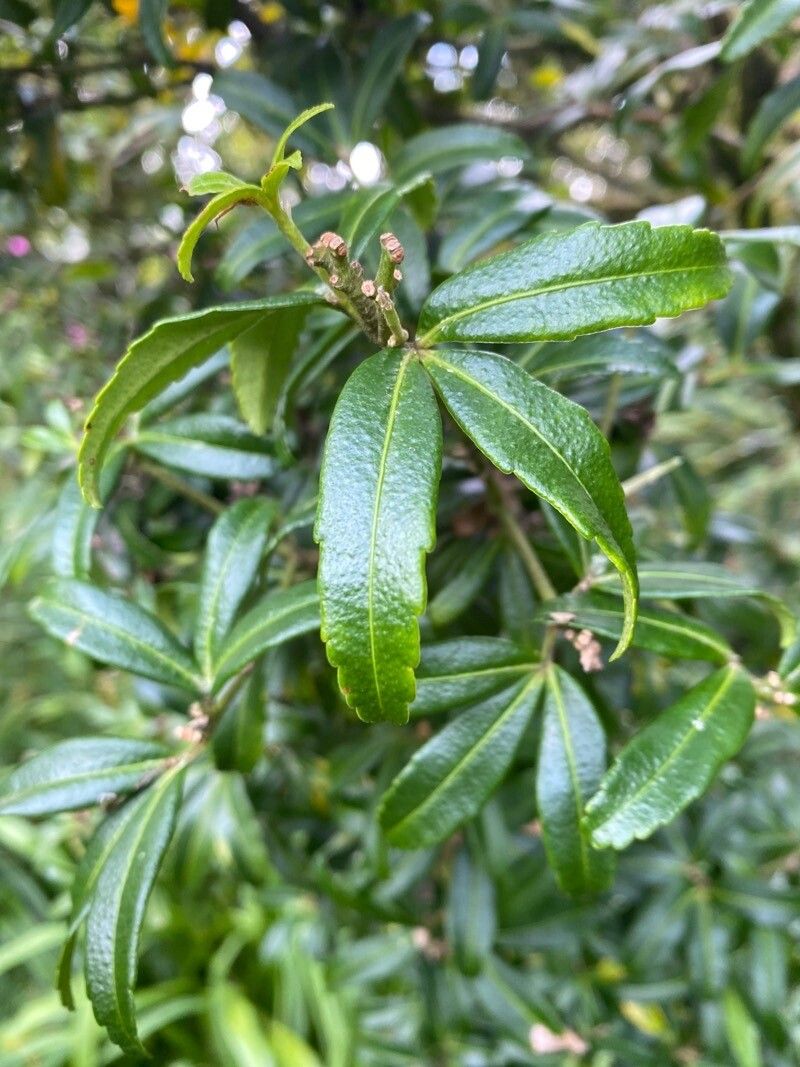
- Select Your Stems: Look for healthy, current year’s growth that has started to firm up but isn’t woody. You’re aiming for semi-hardwood cuttings. Gently bend a stem – if it snaps cleanly, it’s likely a good candidate.
- Take Your Cuttings: Using your clean shears or knife, take cuttings that are about 4-6 inches long. Make the cut just below a leaf node (that little bump where a leaf emerges).
- Prepare the Cuttings: Remove the lower leaves from the cutting, leaving just one or two sets at the very top. This prevents them from rotting in the soil. You can also gently scrape a small sliver of bark off the bottom inch of the stem to expose more surface area for rooting.
- Apply Rooting Hormone: Dip the cut end of the stem into your rooting hormone. Tap off any excess.
- Pot Them Up: Fill your clean pots or trays with the well-draining potting mix. Make a small hole in the center of the mix with your finger or a pencil.
- Insert the Cuttings: Place the hormone-coated end of the cutting into the hole. Gently firm the soil around the base of the stem.
- Water Gently: Moisten the soil thoroughly but avoid making it soggy.
- Create Humidity: Cover the pots with a plastic bag (ensure it doesn’t touch the leaves) or place them in a propagator. This is key to retaining moisture.
- Provide Light and Warmth: Place the cuttings in a bright spot out of direct sunlight. If you’re using a bottom heat mat, set it to a comfortable warmth (around 70-75°F / 21-24°C).
The “Secret Sauce” (Pro Tips)
Over the years, I’ve picked up a few tricks that make a real difference:
- Don’t Let Leaves Touch the Water (if you ever try water propagation, though I don’t recommend it for Helwingia): While not directly applicable to soil propagation, the principle holds. For soil, it means ensuring no leaves are buried in the soil or touching the sides of the pot where moisture can linger and encourage rot.
- Bottom Heat is Your Best Friend: I can’t stress this enough. That gentle warmth from below really encourages those roots to form faster and more reliably. It mimics what happens naturally in the soil during the growing season.
- Patience with the Leaves: If your leaves look a little droopy at first, don’t panic! This is normal as the cutting conserves energy while it’s busy forming roots. As long as the leaves are still green and not yellowing or mushy, give it time.
Aftercare & Troubleshooting
Once you start to see new leaf growth appearing on your cuttings, that’s a fantastic sign that roots have formed!
- Acclimatization: Gradually reduce the humidity over a week or two. Start by opening the plastic bag a little more each day, or lifting the lid of your propagator for longer periods. This helps your new plant get used to the drier air.
- Watering: Water the new plants when the top inch of soil feels dry. Always water from the bottom if possible, allowing the potting mix to soak up moisture from below.
- Repotting: Once your cuttings are growing well and have a good root system (you might see roots peeking out of the drainage holes), you can pot them up into slightly larger pots with a general-purpose, well-draining potting mix.
Now, what if things go wrong? The most common issue you’ll encounter is rot. If your cutting turns black and mushy, or the leaves yellow and drop drastically, it’s likely succumbed to rot. This is usually due to too much moisture and not enough air circulation. If you see this, unfortunately, it’s best to discard the cutting and start again, paying close attention to your watering and drainage.
A Encouraging Closing
Propagating Helwingia himalaica is a journey, my friends. There will be times it feels a bit fiddly, but the satisfaction of nurturing a new life from a simple cutting is immense. Be patient with the process, observe your plants closely, and don’t be afraid to experiment. Happy propagating, and may your gardens be ever greener!
Resource: