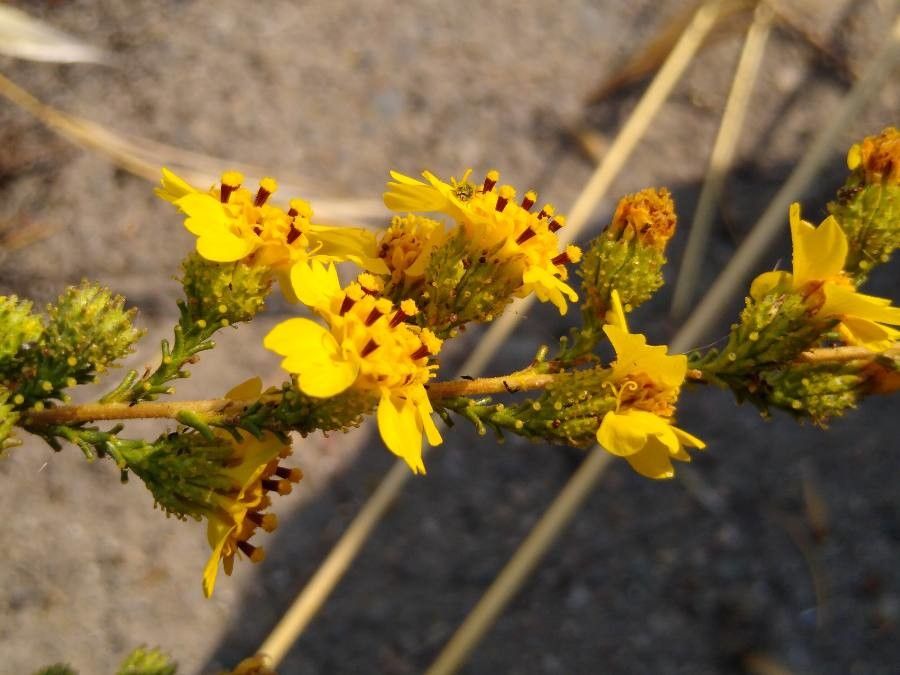
Hello lovely green thumbs! I’m so excited to chat with you today about a plant that truly brightens my garden: Deinandra bacigalupii. If you haven’t met this beauty yet, imagine a delightful burst of sunshine with delicate, daisy-like flowers that seem to shimmer in the breeze. It’s just one of those plants that brings a smile to your face. And the best part? Sharing this joy by propagating it is incredibly rewarding. For those of you just starting out in the world of plant propagation, I’d say Deinandra bacigalupii falls into the “moderately easy” category. With a little patience and these tips, I think you’ll do wonderfully!
The Best Time to Start
My favorite time to get busy with propagating Deinandra bacigalupii is late spring to early summer. This is when the plant is actively growing and has plenty of energy. You’ll want to look for stems that are healthy and vigorous, not flowering just yet, but showing good new growth. Think of it as catching the plant at its peak enthusiasm!
Supplies You’ll Need
Here’s a little kit to have ready:
- Sharp, clean pruning shears or a sharp knife: For making clean cuts.
- Small pots or seed trays: For your new little ones.
- Well-draining potting mix: I like a blend of perlite, coco coir, and a bit of potting soil. The key is good drainage!
- Rooting hormone (optional but helpful): A powder or gel that can encourage root development.
- Watering can with a fine mist setting: To keep things moist without drowning your cuttings.
- Clear plastic bags or domes: To create a humid environment.
Propagation Methods
I find stem cuttings to be the most reliable way to propagate Deinandra bacigalupii. Here’s how I do it:
- Take the Cuttings: Using your clean shears, select a healthy stem. Make a cut just below a leaf node (where the leaves attach to the stem). You’re looking for cuttings that are about 4-6 inches long.
- Prepare the Cuttings: Gently remove the lower leaves from the bottom inch or two of the stem. This prevents them from rotting when you plant the cutting.
- Apply Rooting Hormone (if using): Dip the cut end into your rooting hormone, tap off any excess.
- Plant Them: Fill your small pots with your well-draining mix. Make a small hole with your finger or a pencil, and carefully insert the cutting. Gently firm the soil around the stem.
- Create Humidity: Water the soil lightly. Then, cover the pots with a clear plastic bag or a dome. This traps moisture and helps the cuttings stay hydrated while they develop roots. You can prop up the bag with a few sticks so it doesn’t touch the leaves.
The “Secret Sauce” (Pro Tips)
Now, for a couple of my trick-of-the-trade insights that I’ve learned over the years:
- Don’t Skimp on Air Circulation: While the humidity is crucial, you absolutely must ventilate the bags or domes daily for a few minutes. This is super important to prevent fungal diseases from setting in. Just lift the bag or take off the dome for a short while.
- Consider Bottom Heat: If you have a heat mat designed for propagation, using it can be a game-changer. Placing your pots on gentle bottom heat really encourages those roots to form more quickly and robustly. It’s like a warm hug for your cuttings!
Aftercare & Troubleshooting
Once you see fresh new growth emerging from your cuttings—that’s a great sign roots are forming! Gradually reduce the humidity by opening the bags more each day. Continue to keep the soil consistently moist but not waterlogged. You’ll know they’re ready to be transplanted into slightly larger pots when they feel a bit resistant when you give them a gentle tug.
The most common thing to watch out for is rot. If your cuttings turn dark and mushy, or if the leaves start yellowing and dropping rapidly despite being in humid conditions, it’s often a sign of too much moisture and not enough air. Don’t be discouraged if a few don’t make it; it happens to all of us! Just try to identify what might have gone wrong and try again.
Get Growing!
Propagating Deinandra bacigalupii is a wonderful way to expand your collection or share your love of gardening with friends. Be patient with your little cuttings. They have their own timeline, and sometimes it takes a few weeks, or even a couple of months, for them to really establish themselves. Enjoy the process of nurturing these tiny beginnings into beautiful, blooming plants. Happy propagating, everyone!
Resource:
https://identify.plantnet.org/k-world-flora/species/Deinandra%20bacigalupii%20B.G.Baldwin/data