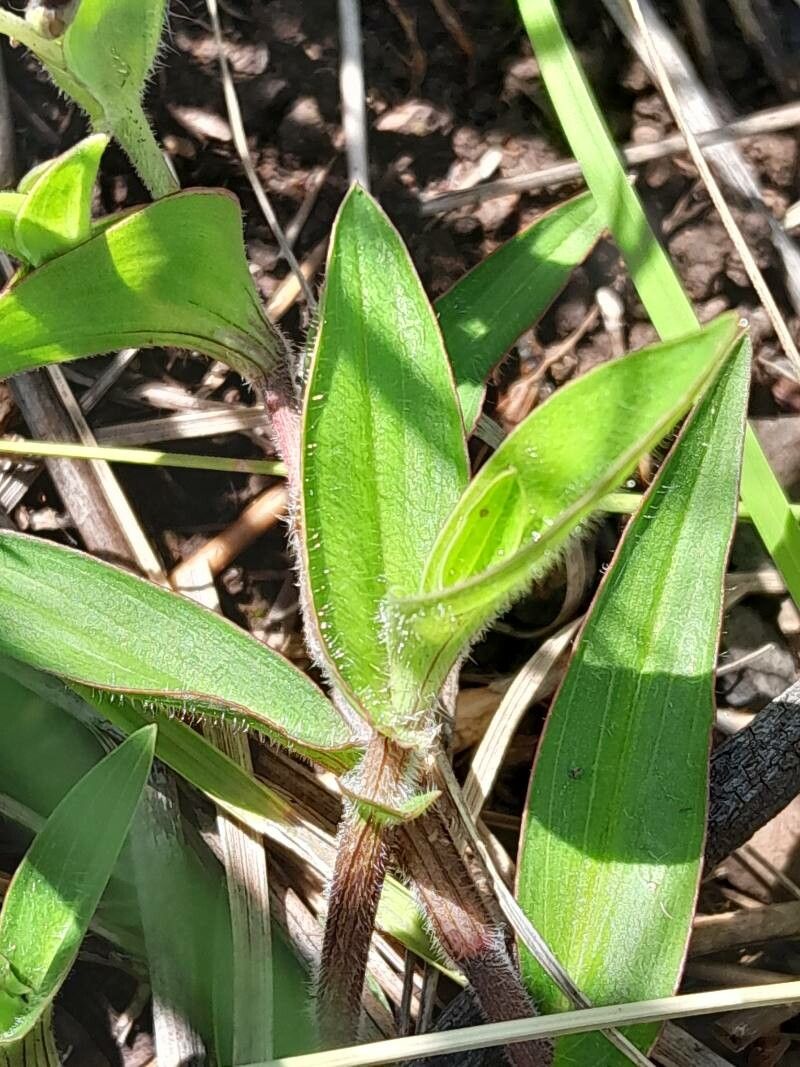
Hey there, fellow plant lovers! Today, we’re diving into the wonderfully easy world of propagating Commelina madagascarica, also known as the Madagascar Spiderwort. If you’ve ever admired its delicate, sky-blue flowers that pop up seemingly out of nowhere, you’ll be thrilled to know how simple it is to bring more of this beauty into your garden or home. And for beginners? You’re in for a treat – this one’s a fantastic plant to start your propagation journey with. It’s incredibly rewarding to watch a tiny cutting transform into a thriving new plant.
The Best Time to Start
For the highest success rate with Commelina madagascarica, I always find late spring through summer to be the absolute sweet spot. This is when the plant is actively growing, full of vigor, and eager to put out new roots. You can certainly try at other times, but you’ll likely see quicker, more robust results when you propagate during its prime growing season.
Supplies You’ll Need
Here’s a little kit to get you going:
- Sharp pruning shears or a clean, sharp knife: For making neat cuts.
- Small pots or containers: Clean ones are a must! Old yogurt cups with drainage holes work perfectly.
- Potting mix: A light, well-draining mix is key. I like to use a blend of equal parts potting soil and perlite or coarse sand.
- Water: For misting and watering.
- Optional: Rooting hormone powder (though honestly, Commelina madagascarica is so keen to root, it often isn’t strictly necessary).
- Optional: A clear plastic bag or propagator lid to create a humid environment.
Propagation Methods
This plant is a dream because it’s so flexible with how you can propagate it. Here are my two favorite ways:
Stem Cuttings
This is my go-to method for Commelina madagascarica. They just love to root from stem cuttings.
- Select your material: Look for healthy, non-flowering stems. Aim for pieces that are about 4-6 inches long. You can often find these just by gently pruning back an overgrown plant.
- Make the cut: Using your sharp shears or knife, make a clean cut just below a leaf node. A leaf node is where a leaf attaches to the stem; this is where roots are most likely to form.
- Prepare the cutting: Gently remove the leaves from the bottom half of the stem. You want to expose the nodes. You can leave one or two leaves at the very top.
- Optional rooting hormone: If you’re using rooting hormone, dip the cut end into the powder, tapping off any excess.
- Plant it up: Moisten your potting mix in the small pots. Make a hole with your finger or a pencil, and insert the cut end of the stem about 1-2 inches deep, ensuring at least one leaf node is buried. Gently firm the soil around it.
- Water gently: Give the soil a light watering.
Water Propagation
Many people adore water propagation, and Commelina madagascarica is no exception.
- Take your cuttings: Follow steps 1-3 from the stem cutting method above. You can trim the cuttings to about 4-6 inches.
- Place in water: Find a clean jar or glass and fill it with fresh water. Place your cuttings into the water, ensuring that no leaves are submerged. The leaves being wet can lead to rot. Again, a leaf node submerged is what you’re aiming for.
- Find a bright spot: Place the container in a location with bright, indirect light. Avoid direct sun, which can scorch the delicate cuttings.
- Change the water: Change the water every few days, or whenever it starts to look cloudy. This keeps things fresh and prevents bacterial growth.
The “Secret Sauce” (Pro Tips)
Here are a couple of things I’ve learned over the years that really help these little guys thrive:
- Don’t drown them in humidity (initially): While a bit of humidity is good, Commelina madagascarica can be prone to sap bleeding and rot if it’s too soggy right from the start. Ensure good air circulation. If you’re using a plastic bag, open it up for a few hours each day to prevent stale, overly damp air.
- Bottom heat is your friend: If you can provide a little warmth from below, like placing your pots on a heat mat designed for seedlings, it will significantly speed up root development. This mimics the warmth of summer soil and gives those roots an extra boost.
Aftercare & Troubleshooting
Once you see signs of new growth – tiny leaves emerging or a gentle tug on the cutting indicating resistance – you know roots are forming!
- For cuttings in soil: Keep the soil consistently moist, but not waterlogged. You can gently mist the leaves as well. Once the plant is well-established and you see robust new growth, you can start treating it like a mature plant and gradually introduce it to more light.
- For cuttings in water: Once the roots are about an inch or two long, you can pot them up into soil using the method described above. Be very gentle when handling the new roots.
The most common issue you might run into is rot. If a cutting turns mushy, black, or smells off, it’s likely rotted. This usually happens from too much moisture combined with poor air circulation, or using dirty tools. Don’t be discouraged if one or two don’t make it; it’s part of the learning process! Just try again with fresh cuttings and ensure your conditions are right.
A Encouraging Closing
Propagating Commelina madagascarica is a wonderfully accessible way to multiply your plant collection. Be patient, watch for those first signs of life, and don’t be afraid to experiment. The joy of nurturing a new plant from a tiny piece is truly unmatched. Happy propagating!
Resource:
https://identify.plantnet.org/k-world-flora/species/Commelina%20madagascarica%20C.B.Clarke/data