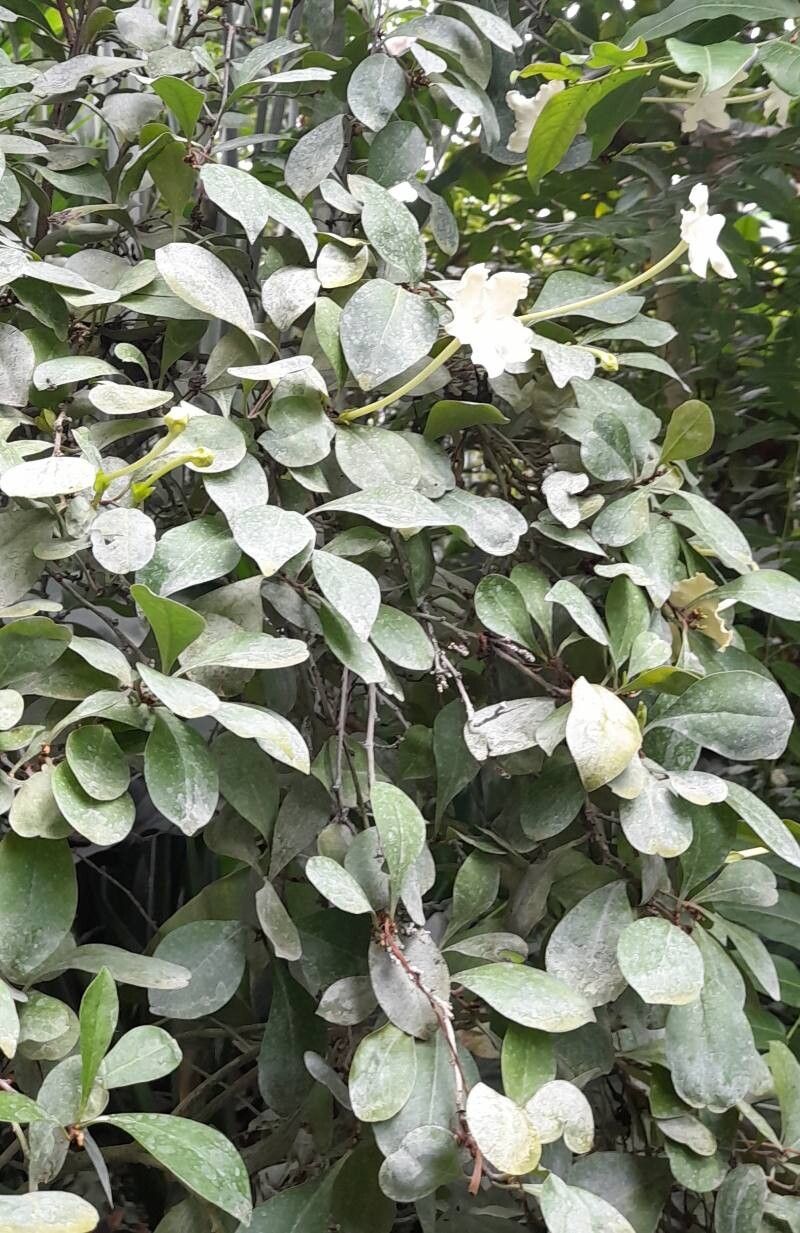
Hello, fellow plant lovers! Today, we’re diving into the delightful world of Brunfelsia undulata, often called the Yesterday-Today-Tomorrow plant for its magical transformation of bloom colors. Watching those creamy white flowers slowly deepen to lavender is pure garden joy. And the fragrance! Oh, it’s subtly sweet and utterly captivating. Propagating these beauties is a truly rewarding endeavor, offering you the chance to share this wonder with friends, fill your garden with more of them, or simply expand your own blooming collection. While Brunfelsia undulata isn’t the absolute easiest to start from scratch, with a little care and attention, you’ll find it quite manageable.
The Best Time to Start
For the highest success rate with Brunfelsia undulata, I find spring is your best bet. Think of it as piggybacking on the plant’s natural surge of energy as warmer days arrive. You’re looking for semi-hardwood cuttings, which means they’re not brand new, flexible shoots, nor are they old, woody stems. They’ll have a bit of flexibility but feel firm when you bend them. You can also take cuttings after the main flowering flush has finished, usually in early summer.
Supplies You’ll Need
Gathering your tools beforehand makes the whole process smoother. Here’s what you’ll want to have on hand:
- Sharp pruning shears or a clean, sharp knife: For making clean cuts.
- Rooting hormone powder or gel: This is your best friend for encouraging root development.
- A well-draining potting mix: I love a blend of equal parts peat moss, perlite, and a good quality potting soil. Some gardeners also use a specific seedling mix.
- Small pots or trays: Clean pots are crucial to prevent disease.
- Plastic bags or a propagator: To create a humid environment.
- Labeling stakes or tags: To keep track of what you’ve potted.
- Watering can or spray bottle: For gentle watering.
- Optional: Heat mat: This can significantly speed up root formation.
Propagation Methods
The most reliable way to get new Brunfelsia undulata plants is through stem cuttings.
- Take Your Cuttings: Select healthy, non-flowering stems from your mature plant. Using your clean shears or knife, make a cut just below a leaf node (where a leaf attaches to the stem). Aim for cuttings that are about 4-6 inches long. Remove the lower leaves, leaving just the top two or three sets.
- Apply Rooting Hormone: Dip the cut end of each stem into your rooting hormone, ensuring it’s coated. Tap off any excess.
- Pot Them Up: Fill your small pots or tray with your prepared potting mix. Make a hole in the center of the soil with your finger or a pencil. Gently insert the cutting into the hole, ensuring the leaf nodes are buried. Firm the soil around the stem.
- Create Humidity: Water the soil gently until it’s moist but not waterlogged. Then, cover the pot or tray with a clear plastic bag, making sure the leaves don’t touch the sides of the bag if possible, or use a propagator lid. This traps moisture and keeps the humidity high, which is vital for cuttings to root.
- Provide Light and Warmth: Place the cuttings in a bright location that receives indirect sunlight. Avoid direct sun, which can scorch the young leaves. If you have a heat mat, place the pots on it. This warmth from below is a real game-changer.
The “Secret Sauce” (Pro Tips)
After years of tinkering, I’ve found a couple of things that make a big difference.
- Don’t Rush the Water: When you water after potting, be gentle. A light misting or carefully pouring water around the stem is better than drenching it. The goal is consistently moist, not soggy, soil. New cuttings are susceptible to rot if the soil stays too wet for too long.
- Bottom Heat is Your Friend: I mentioned it before, but I can’t stress it enough. Using a heat mat under your cuttings provides that constant, gentle warmth that encourages roots to develop much faster and more reliably. It mimics the feeling of being deeply rooted in the warm earth.
Aftercare & Troubleshooting
Once you start seeing signs of new growth – tiny leaves unfurling or a slight resistance when you gently tug on the cutting – it’s a good indication that roots have formed! At this point, you can gradually acclimate your new plant to less humid conditions by opening the plastic bag a little each day over a week or so. Continue to keep the soil consistently moist and in bright, indirect light.
The most common issue you’ll encounter is rot. If your cutting turns black and mushy, it’s a sign that it’s rotted. This is usually due to too much moisture and not enough air circulation, or sometimes starting with non-sterile tools. If you see a cutting failing, remove it promptly to prevent it from affecting others.
A Little Patience Goes a Long Way
Propagating plants is a journey, not a race. Be patient with your Brunfelsia undulata cuttings. It can take anywhere from a few weeks to a couple of months for noticeable root development. Celebrate the small victories, learn from any setbacks, and most importantly, enjoy the process of bringing new life into your garden. Happy growing!
Resource:
https://identify.plantnet.org/k-world-flora/species/Brunfelsia%20undulata%20Sw./data