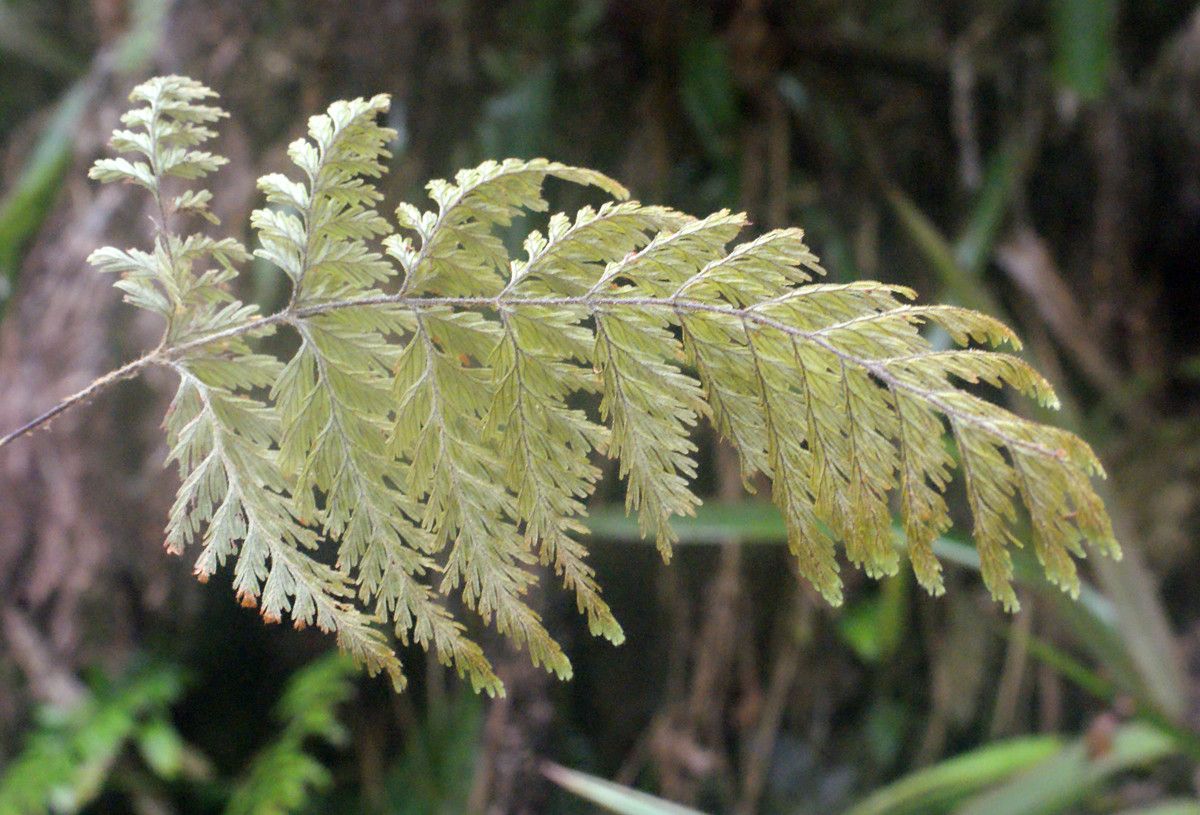
Hey there, fellow plant lovers! Today, I want to talk about a little gem that really makes my heart sing: Selaginella fruticulosa, also known as the Spikemoss. If you’re anything like me, you adore those intricate, almost feathery textures and the vibrant green they bring to shady corners. Seeing them unfurl and grow is just pure magic.
Now, I know some plants can be a bit fussy, and you might wonder if Selaginella fruticulosa is an easy one to tackle. I’m happy to say that propagating this beauty is surprisingly accessible, even for those of you who are just starting to explore the wonderful world of plant propagation. It’s incredibly rewarding to take a little piece of a plant you love and help it start its own journey.
The Best Time to Start
When it comes to getting the best results, I find that spring and early summer are your golden windows. This is when most plants, including our spikemoss friends, are in their active growth phase. They have more energy to put into developing roots. Think of it as their energetic prime time!
Supplies You’ll Need
Gathering your tools beforehand makes the whole process smoother. Here’s what I usually keep on hand:
- Sharp Pruning Shears or a Clean Knife: For taking clean cuts.
- Well-Draining Potting Mix: I often use a peat moss-based mix with some perlite for aeration. A good option is a blend of equal parts peat moss and perlite, or even some orchid bark mixed in.
- Small Pots or Seedling Trays: Clean ones are essential to prevent disease.
- Clear Plastic Bag or Humidity Dome: To create that humid environment spikemoss loves.
- Rooting Hormone (Optional but Recommended): Especially helpful for encouraging faster root development. Look for a powdered or gel form.
- Watering Can or Spray Bottle: For gentle watering.
- Gloves (Optional): If you prefer.
Propagation Methods
There are a couple of ways to go about this, and I find stem cuttings work wonders for Selaginella fruticulosa.
Stem Cuttings
This is my go-to method for this plant. It’s reliable and gives you multiples to work with!
- Take Your Cuttings: On a healthy, actively growing stem, make a clean cut just below a node (that little bump where a leaf emerges from the stem). You want cuttings that are about 3-4 inches long. Gently remove the lower leaves from the cutting, leaving just a few at the top.
- Apply Rooting Hormone (Optional): If you’re using rooting hormone, dip the cut end of the stem into the powder or gel, tapping off any excess. This step really gives your cuttings a boost!
- Plant Your Cuttings: Fill your small pots or trays with your prepared potting mix. Make a small hole in the center with your finger or a pencil. Gently insert the cut end of the spikemoss cutting into the hole, ensuring the node(s) where you removed leaves are buried. Firm the soil gently around the cutting.
- Create a Humid Environment: This is crucial! Lightly water the soil. Then, cover the pot loosely with a clear plastic bag or place it under a humidity dome. Poke a few small holes in the bag if you’re using one, or ensure your dome has ventilation. This traps in moisture, mimicking the humid conditions spikemoss thrives in.
- Placement: Place your pots in a bright spot with indirect light. Avoid direct sun, as it can scorch those delicate cuttings.
Water Propagation (With a Caveat)
While you can propagate some Selaginella in water, I find it’s a bit trickier with fruticulosa. The leaves can tend to rot if they sit in the water. If you choose this route, be very careful to ensure the leaves themselves don’t touch the water. Only the cut stem should be submerged. I usually stick to the soil method for better success!
The “Secret Sauce” (Pro Tips)
Here are a couple of things I’ve learned over the years that really make a difference:
- Don’t Let the Leaves Touch the Water (if using water propagation): I mentioned this, but it bears repeating. If you see any leaves submerged, prune them off immediately to prevent rot.
- Bottom Heat is Your Friend: Spikemoss, and many tropical plants, absolutely love a little warmth from below to encourage root growth. If you have a seedling heat mat, place your pots on it. It’s not strictly necessary, but it can significantly speed up rooting.
- Patience is Key: Spikemoss can be a bit slower to root than some other plants. Resist the urge to constantly pull them up to check for roots! You’ll only disturb them. Trust the process.
Aftercare & Troubleshooting
Once you see new growth emerging from the base of your cuttings, that’s a great sign that roots are forming!
- Acclimatize Them: Before removing the plastic bag or dome permanently, gradually introduce your new plants to the ambient humidity over a week or two. This prevents shock.
- Watering: Keep the soil consistently moist, but not waterlogged. Water when the top of the soil feels slightly dry to the touch.
- Troubleshooting: The most common issue you’ll encounter is rot, often due to overwatering or poor drainage. If a cutting turns black and mushy, unfortunately, it’s likely a goner. Ensure good air circulation and avoid letting the soil become soggy. Yellowing leaves might indicate not enough light, while brown, crispy edges can mean it’s too dry or the humidity is too low.
So there you have it! Propagating Selaginella fruticulosa is a wonderfully satisfying endeavor. Be patient, provide that vital humidity, and you’ll soon be rewarded with a whole new collection of these charming little plants. Happy propagating!
Resource: