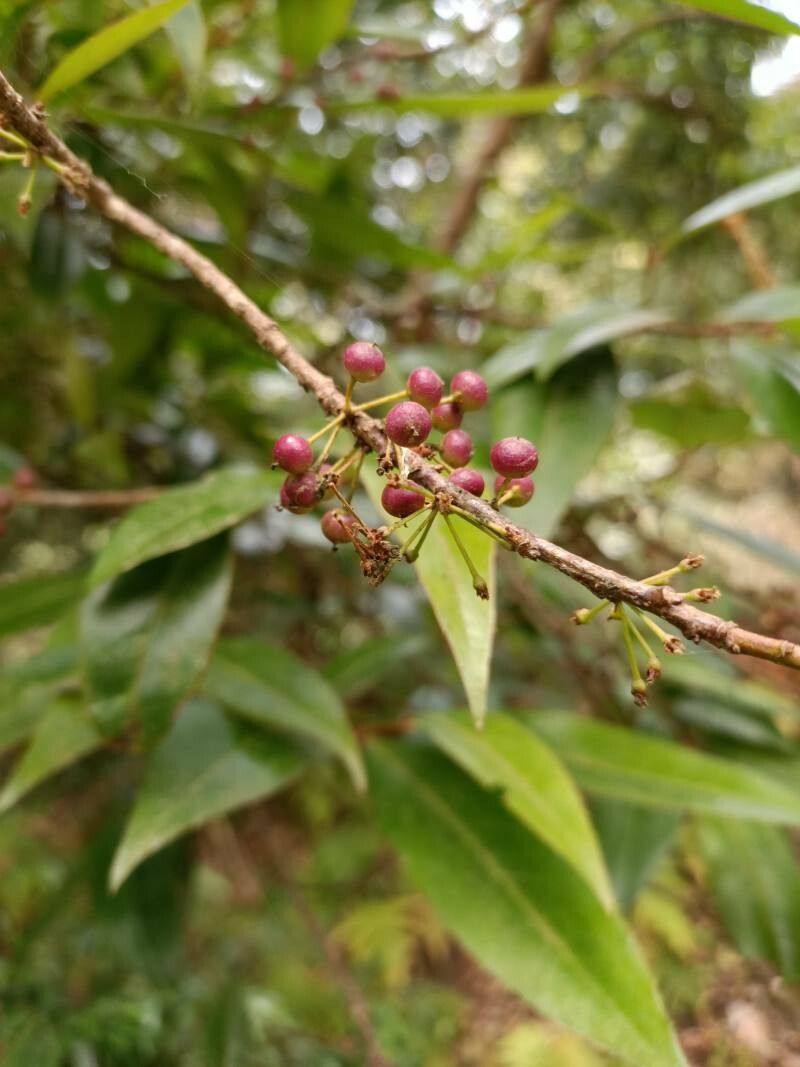
Oh, hello there! Come on in, grab a mug. I’ve been meaning to chat with you about Myrsine semiserrata. If you’ve ever admired those glossy, dark green leaves and the way they just fill out a space – its small, leathery leaves are quite something, aren’t they? – then you’re in for a treat. Propagating this beauty can bring an incredible sense of accomplishment. And the best part? Sharing these little green wonders with friends and family. Now, is it a walk in the park for absolute beginners? I’d say it’s moderately easy. With a little patience and a few handy tips, you’ll be well on your way to success.
The Best Time to Start
My favorite time to get stuck into propagating Myrsine semiserrata is during the active growing season. Think late spring through summer. The plant is bursting with energy then, and cuttings take root more readily when the weather is warm. You want to grab pieces that have started to harden off a bit, not the brand new, floppy growth. A stem that’s a little firm but not woody is usually perfect.
Supplies You’ll Need
Here’s what you’ll want to have on hand before you get grafting:
- Sharp Pruning Shears or Knife: Cleanliness is key to preventing disease!
- Rooting Hormone (Optional but Recommended): A little dip in this stuff can work wonders.
- Propagation Potting Mix: I like a blend of perlite and coco coir (about 50/50). It offers great drainage, which is vital.
- Small Pots or Trays: Whatever you’ll be rooting your cuttings in.
- Clean Water: For misting and for any water propagation.
- A Clear Plastic Bag or Dome: To create a humid environment.
- Labels and a Pen: So you don’t forget what you’ve planted!
Propagation Methods
Let’s get our hands dirty! I’ve found that stem cuttings are by far the most reliable method for Myrsine semiserrata.
- Selecting Your Cuttings: Look for healthy, semi-hardwood stems. Snip off pieces about 4-6 inches long. Make your cut just below a leaf node (where a leaf joins the stem).
- Preparing the Cuttings: Gently remove the lower leaves. You want to expose those little nodes, as that’s where the roots will emerge from. Leave just a few leaves at the top to help the cutting photosynthesize. If the leaves are quite large, I like to cut them in half, which reduces water loss.
- Applying Rooting Hormone: If you’re using rooting hormone, dip the cut end of the stem into the powder or gel. Tap off any excess. You just want a light coating.
- Planting the Cuttings: Fill your small pots with your moistened propagation mix. Make a hole in the center with a pencil or your finger. Insert the cutting, ensuring the leaf nodes are buried in the soil. Give the soil a gentle firming around the stem.
- Creating Humidity: Water gently to settle the soil. Then, cover the pot with a clear plastic bag or a propagation dome. You want to create a mini greenhouse effect. Make sure no leaves are touching the plastic, as this can lead to rot. I like to support the bag with little stakes if needed.
The “Secret Sauce” (Pro Tips!)
Here are a couple of things I’ve learned that really make a difference:
- Bottom Heat is Your Friend: If you have a seedling heat mat, use it! Placing your pots on a gentle heat source (around 70-75°F) will encourage root development significantly. It’s like a warm hug for your cuttings.
- Don’t Rush the Water: When you’re watering, avoid getting water directly on the leaves as much as possible. Water the soil gently. Too much moisture on the foliage can encourage fungal issues, which is the last thing we want.
- Patience with the Plastic: When those first tiny leaves start to unfurl, it’s tempting to whip off the plastic. Resist the urge! Gradually acclimate your cuttings to drier air by opening the bag for an hour or two each day over a week or two. This prevents shock.
Aftercare & Troubleshooting
Once you start to see new growth – usually after several weeks, but sometimes longer – that’s a good sign! You can gently tug on a cutting; if it resists, it has roots. Continue to keep the soil consistently moist but not soggy. As the plant grows and the roots fill the pot, you can transplant it into slightly larger pots with regular potting mix.
What if things go wrong? The most common culprit is rot. If your cutting turns mushy, black, and smells funky, it’s likely rotted. Overwatering is the usual cause, but poor drainage can also contribute. If you see a bit of wilting without any signs of rot, it might just be too dry or experiencing transplant shock. Don’t despair if a few don’t make it; that’s just part of the learning curve!
So there you have it! Propagating your Myrsine semiserrata is a truly rewarding journey. Be patient with the process, embrace the occasional hiccup, and most importantly, have fun watching those little roots begin to form. Happy gardening!
Resource:
https://identify.plantnet.org/k-world-flora/species/Myrsine%20semiserrata%20Wall./data