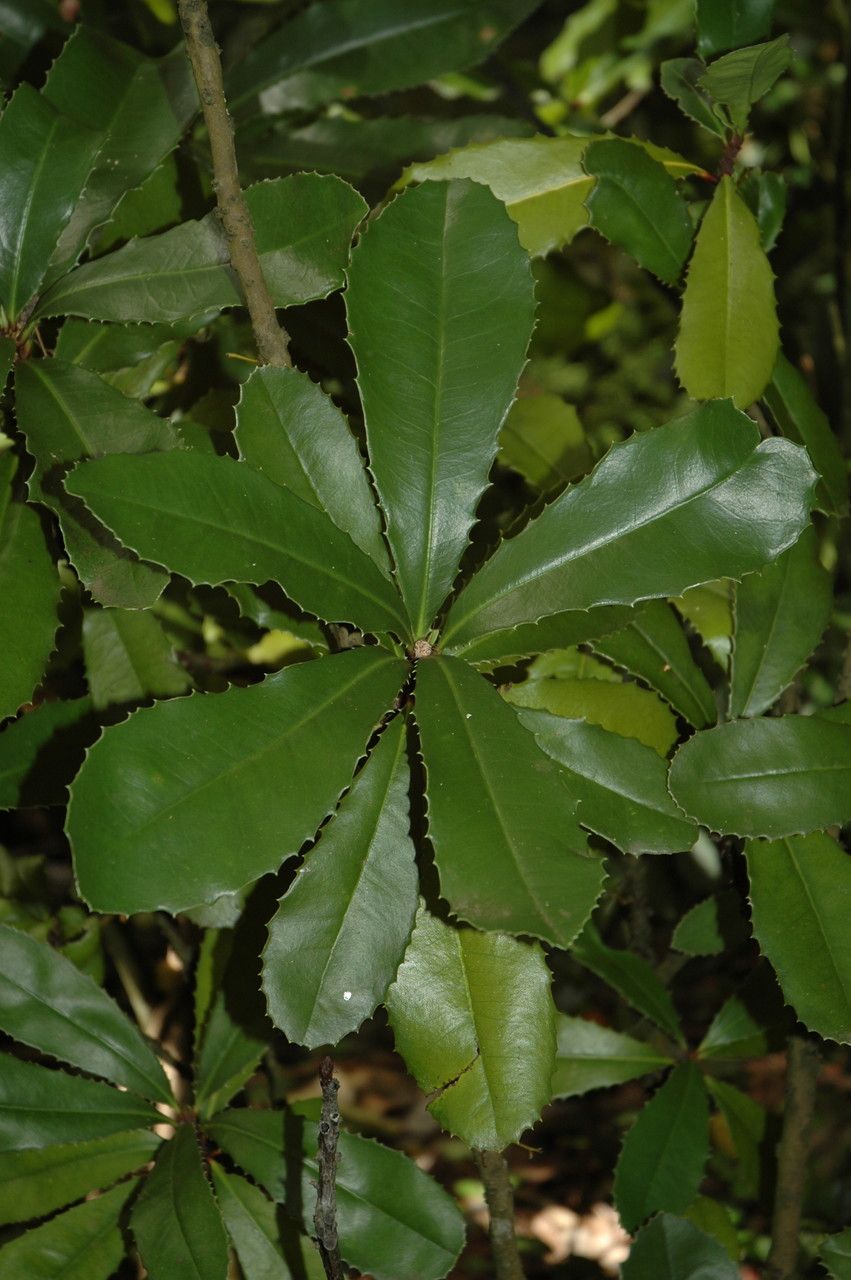
Oh, Clavija euerganea! What a truly delightful plant. Its vibrant foliage and unique architectural form always draw a second glance, don’t they? If you’ve fallen for this beauty, chances are you’ve thought about adding more of them to your collection. Propagating Clavija euerganea is a wonderfully rewarding endeavor. It’s a way to truly understand your plant’s life cycle and, of course, to fill your home with even more of its charm.
Now, for the beginner question: Is it easy? I’d say Clavija euerganea falls into the moderately challenging category. It’s not as forgiving as a Pothos, but with a little attention and understanding, it’s absolutely achievable. Don’t let that deter you; the success you’ll feel will be immense!
The Best Time to Start
Think about when your Clavija euerganea is really putting on a growth spurt. For most of us, this means the late spring and early summer months. When the days are longer and the temperatures are warmer, it signals to the plant that it’s time to grow and, importantly, time to heal. This active growth phase is when cuttings are most likely to root successfully. Aim for when you see new leaves unfurling.
Supplies You’ll Need
Gathering your supplies before you start makes the whole process much smoother. Here’s what I usually have on hand:
- Sharp, clean pruning shears or a knife: Sterilize them with rubbing alcohol to prevent disease.
- Well-draining potting mix: A blend of perlite and peat moss or coco coir works beautifully. I often mix in a bit of horticultural charcoal too, just to keep things fresh.
- Small pots or propagation trays: Terra cotta pots are great for allowing the soil to breathe, but plastic works too.
- Rooting hormone (optional but recommended): A powder or gel can significantly speed up and improve root development.
- Clear plastic bags or a propagation dome: This helps maintain high humidity around your cuttings.
- Spray bottle: For misting.
- Gravel or perlite (optional): For the bottom of pots if you’re worried about drainage.
Propagation Methods
We’ll focus on the two most reliable methods for Clavija euerganea: stem cuttings and division.
1. Stem Cuttings:
This is my go-to for increasing my Clavija collection.
- Select Your Cuttings: Look for healthy, mature stems. You want pieces that have at least two to three nodes. A node is where a leaf or branch grows from the main stem. These are where the magic of root formation happens. If your plant has long, leggy stems, this is the perfect time to prune them back and get cuttings!
- Make the Cut: Using your sterilized shears, make a clean cut just below a node. This is crucial!
- Prepare the Cuttings: Gently remove the lower leaves from the cutting, leaving just the top one or two. This prevents them from rotting in the soil. If your leaves are large, you can even cut them in half to reduce water loss.
- Apply Rooting Hormone (Optional): Dip the cut end of the stem into rooting hormone, tapping off any excess.
- Plant Your Cuttings: Fill your chosen pots with your well-draining potting mix. Make a small hole in the center with your finger or a pencil. Insert the cut end of the Clavija cutting into the hole, ensuring those nodes are buried. Gently firm the soil around the stem.
- Water and Cover: Water lightly until the soil is evenly moist but not soggy. Then, cover the pot with a clear plastic bag or place it under a propagation dome. This creates a miniature greenhouse, keeping humidity high. You can use stakes to keep the plastic from touching the leaves.
2. Division:
If your Clavija euerganea has become a bit of a bush and is producing pups or offsets at its base, division is an excellent option.
- Remove from Pot: Gently unpot your Clavija euerganea.
- Inspect the Roots: Carefully examine the root ball. You’re looking for a section of the plant that has its own healthy root system and at least one or two stems.
- Make the Separation: Using your clean hands or a sharp knife, carefully separate the desired section from the parent plant. Try to keep as much of the root system intact as possible. You might need to cut through some roots, which is perfectly fine.
- Pot Up the Divisions: Pot up each division into its own container filled with your well-draining potting mix.
- Water Lightly: Water the newly potted divisions gently.
The “Secret Sauce” (Pro Tips)
Here are a couple of things I’ve learned over the years that really make a difference:
- Bottom Heat is Your Friend: Clavija euerganea, like many tropical plants, loves a little warmth to encourage root growth. While not strictly necessary, placing your pots on a heat mat designed for propagation can dramatically speed things up and improve your success rate. Just a gentle warmth is all they need.
- Don’t Be Afraid to Mist, But Don’t Drown: While keeping humidity high is key, it’s a fine line. If you see condensation building up heavily on the inside of your plastic covering, air it out for a bit or lift the bag for an hour or two. You want moist air, not stagnant, waterlogged conditions, which can lead to rot.
- Patience is a Virtue (and it Pays Off!): I know it’s tempting to constantly check for roots, but try not to disturb your cuttings too much. I usually wait at least 3-4 weeks before I gently tug on a cutting to see if there’s any resistance, indicating root development.
Aftercare & Troubleshooting
Once you see new growth emerging – that’s your cue! New leaves mean roots have formed. Gradually acclimatize your new plant to normal household humidity by slowly opening the plastic bag over a week or so. Continue to keep the soil consistently moist but not soggy.
The most common sign of failure is rotting. If your cutting becomes limp, mushy, and turns brown or black, it’s likely rotted. This usually happens due to too much moisture and not enough air circulation. If you see this, sadly, it’s usually best to discard it and try again. Damping off, a fungal disease, can also affect young seedlings or cuttings if the environment is too wet and humid without enough airflow.
A Encouraging Closing
So there you have it! Propagating Clavija euerganea might take a little finesse, but the joy of watching those tiny roots take hold and a new plant emerge is truly unparalleled. Be patient with yourself and with your plant. Enjoy the process, learn from each attempt, and soon you’ll have a whole family of these spectacular beauties to admire. Happy propagating!
Resource:
https://identify.plantnet.org/k-world-flora/species/Clavija%20euerganea%20J.F.Macbr./data