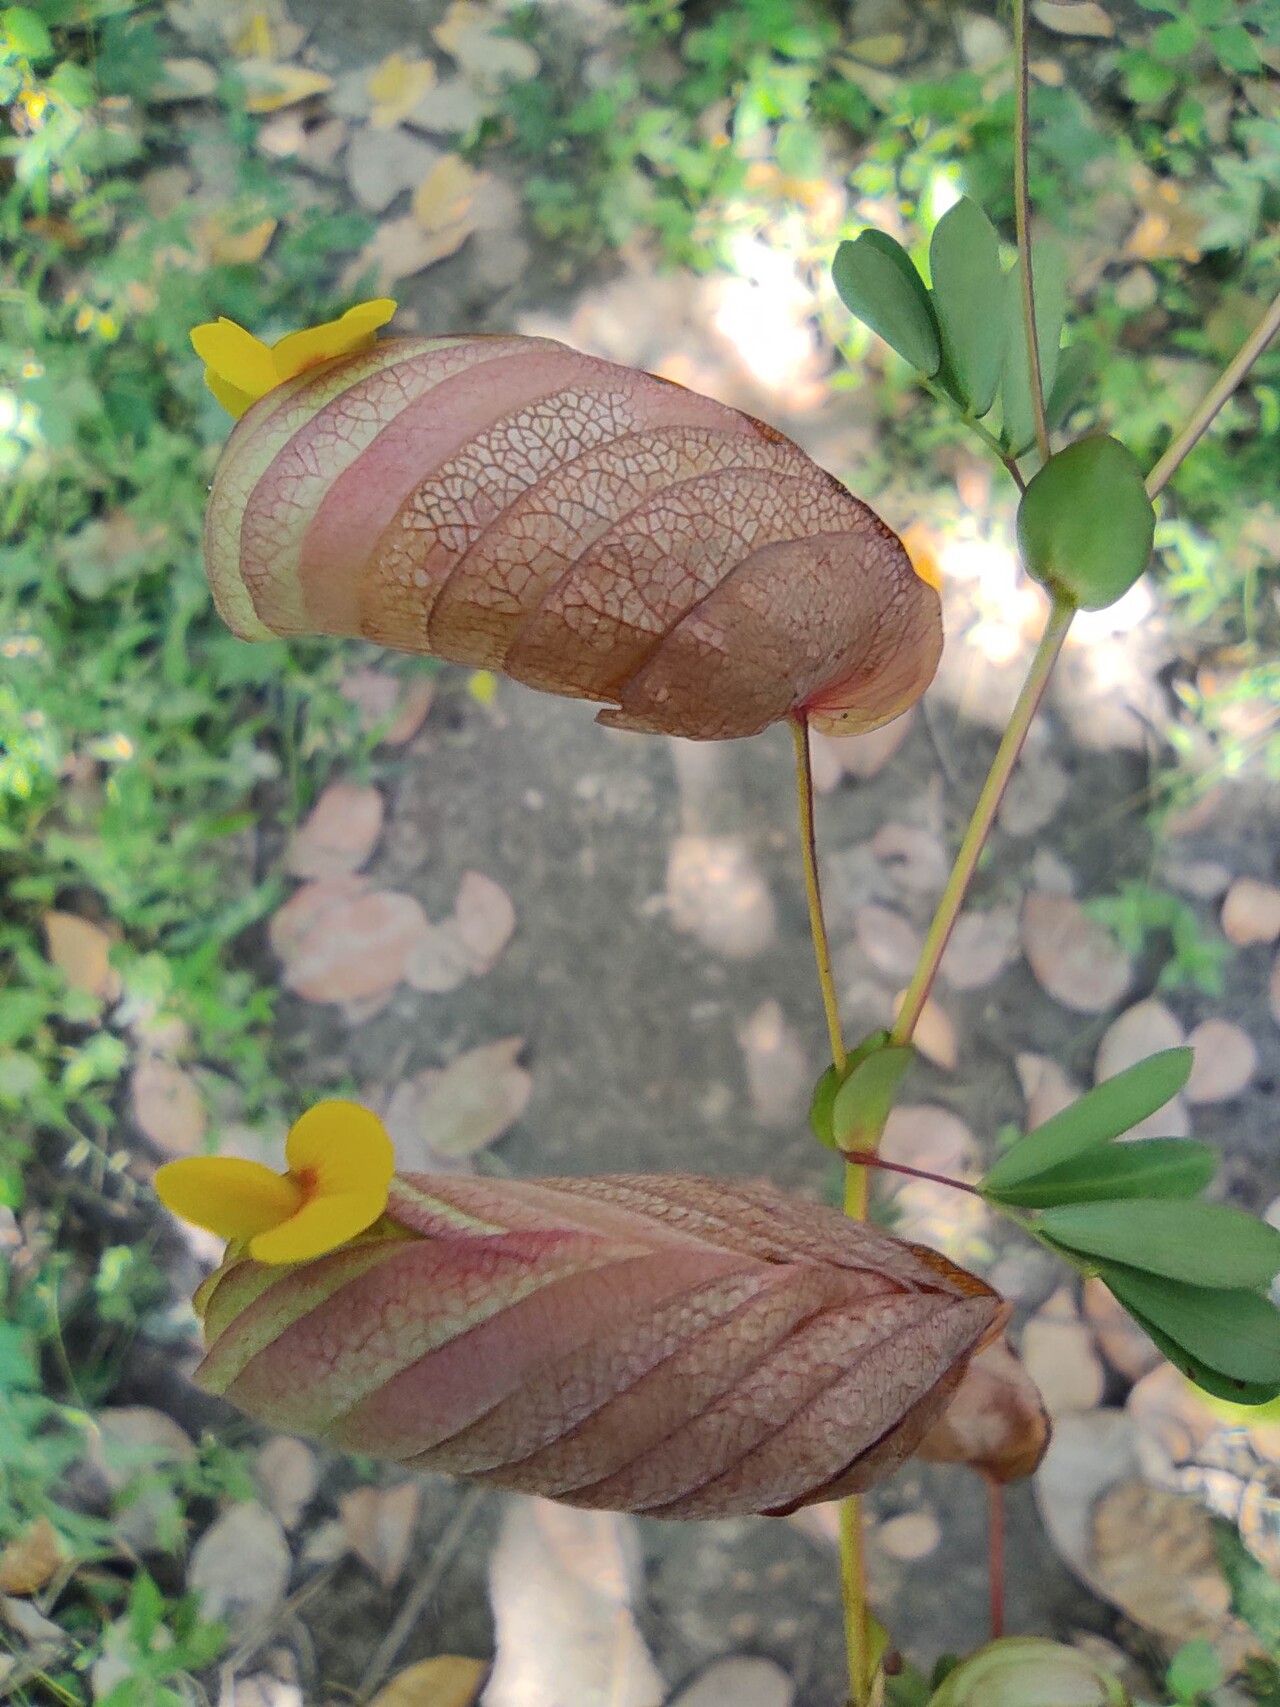
Oh, how I love my Bryaspis psittacorhyncha! Its vibrant, almost cartoonishly shaped leaves are such a joy to look at, and honestly, they just make me smile. It’s a bit of a conversation starter, too, nestled amongst my other green friends. If you’ve been eyeing this beauty and thinking about bringing more into your life, you’re in luck! Propagating it is a wonderfully rewarding experience, and I’m here to share how I do it. For those just starting out on their propagation journey, I’d say Bryaspis psittacorhyncha is moderately easy. It takes a little attention, but with the right steps, you’ll be surprised at how successful you can be.
The Best Time to Start
My favorite time to propagate is late spring through early summer. This is when the plant is in its most vigorous growth phase. The stems are firm but still pliable, and the energy levels are high, which really helps new cuttings root with gusto. If you miss this window, don’t despair; you can often get by with early fall propagation, but I find the spring is truly unbeatable for getting things off to a strong start.
Supplies You’ll Need
Here’s what I always have on hand when I decide to propagate my Bryaspis:
- Sharp, clean pruning shears or a knife: You want a clean cut to minimize damage and disease.
- Rooting hormone (optional, but recommended): This is a powdery or gel substance that encourages root development. I find it gives an extra boost.
- A well-draining potting mix: A blend of peat moss, perlite, and a bit of orchid bark works wonders. Or, if you find a good quality succulent/cactus mix, that’s a great base too.
- Small pots or trays: Clean containers are key. Yogurt cups with drainage holes poked in the bottom are my go-to for small cuttings.
- A spray bottle: For misting the cuttings.
- Plastic bags or a propagation dome: To create a humid environment.
Propagation Methods
I primarily rely on stem cuttings for my Bryaspis psittacorhyncha, and it’s quite straightforward.
- Select Your Cutting: Look for a healthy, non-flowering stem. Ideally, you want a piece that’s about 3-5 inches long, with at least two or three sets of leaves.
- Make the Cut: Using your sharp, clean shears, make a clean cut just below a leaf node. A leaf node is where a leaf joins the stem; this is where roots are most likely to form.
- Prepare the Cutting: Gently remove the bottom one or two leaves from your cutting. You want a bare stem section to work with.
- Apply Rooting Hormone (Optional): If you’re using it, dip the cut end of the stem into the rooting hormone powder or gel. Tap off any excess.
- Plant Your Cutting: Fill your small pot with your well-draining potting mix. Make a small hole in the center with your finger or a pencil. Insert the cut end of the stem into the hole, making sure it’s nestled securely in the soil. Gently firm the soil around it.
- Water Lightly: Water the soil gently. You want it moist, but not waterlogged.
- Create Humidity: Cover the pot with a clear plastic bag or place it inside a propagation dome. This helps retain moisture, which is crucial for cuttings. Prop the bag up with a stick or two so it doesn’t touch the leaves.
The “Secret Sauce” (Pro Tips)
Here are a couple of tricks I’ve learned over the years that really make a difference:
- Bottom Heat is Your Friend: If you have a heating mat designed for seedlings, pop your pots on it. This gentle warmth from below can significantly speed up root development. It mimics the cozy heat of a greenhouse floor, and Bryaspis absolutely loves it.
- Don’t Over-Water!: This is so important. While humidity is key, soggy soil is the fastest way to rot your precious cuttings before they even have a chance to root. Let the top inch of soil dry out slightly between waterings. It’s better to be a little on the dry side than too wet.
Aftercare & Troubleshooting
Once your cuttings are planted, place them in a bright, but indirect light location. Direct sun will scorch those delicate leaves. Keep an eye on the humidity and mist them occasionally if the soil starts to look dry.
You’ll know your cutting has rooted when you feel a gentle resistance when you tug on it very lightly, or when you see new leaf growth. This can take anywhere from 2 weeks to 2 months, so patience is your best friend here!
The most common problem you might encounter is rot. If you see the stem turning mushy or black at the soil line, it’s usually a sign of too much moisture. In this case, sadly, the cutting is likely lost. If you catch it early, you can try to cut away the rotten part and re-root the healthy section, but often, it’s best to start fresh.
A Encouraging Closing
Propagating plants is all about connection, isn’t it? It’s about nurturing life and creating more beauty to share. Don’t be discouraged if your first attempt isn’t perfect. Every cutting is a learning opportunity. Just remember to be gentle, be patient, and most importantly, enjoy the process of watching something new grow. Happy propagating!
Resource: